因为NPS默认也支持http的访问,所以在部署完后就一直没在意这个事情。
因为服务器是暴露在公网内的,所以还是要安全一点才行。不然一旦远控的机器被破解了就很危险了
一、使用nginx反向代理访问
1、首先在nps的配置文件里关闭使用https选项,同时修改端口为只允许本机连接
配置文件位于 /etc/nps/conf/nps.conf
#HTTP(S) proxy port, no startup if empty
http_proxy_ip=127.0.0.1  #注意修改
http_proxy_port=34565
https_proxy_port=34566
https_just_proxy=false
#default https certificate setting
#https_default_cert_file=conf/qingtongqing.cc_bundle.pem
#https_default_key_file=conf/qingtongqing.cc.key


#web
web_host=a.o.com
web_username=admin
web_password=xxxxxx
web_port = 34567
web_ip=127.0.0.1   #注意修改
web_base_url=
web_open_ssl=false
web_cert_file=conf/qingtongqing.cc_bundle.pem
web_key_file=conf/qingtongqing.cc.key
2、在nginx的配置文件下添加有关nps的配置文件,不建议直接修改nginx配置
在路径/etc/nginx/conf.d 下添加 nps.conf 配置文件
server {

    listen 3456 ssl;
    server_name www.qingtongqing.cc;  # 替换成你的NPS域名

    ssl_protocols TLSv1.2;  # 使用与NPS相同的SSL/TLS版本
    ssl_ciphers 'TLS_AES_128_GCM_SHA256:TLS_AES_256_GCM_SHA384:TLS_CHACHA20_POLY1305_SHA256:ECDHE-RSA-AES128-GCM-SHA256:ECDHE-RSA-AES256-GCM-SHA384';

    ssl_certificate /ssl/qingtongqing.cc_nginx/qingtongqing.cc_bundle.crt;  # 替换成你的SSL证书文件路径
    ssl_certificate_key /ssl/qingtongqing.cc_nginx/qingtongqing.cc.key;  # 替换成>你的SSL私钥文件路径

    location / {

        proxy_pass https://127.0.0.1:34567;  # 替换成你NPS服务的实际IP地址和端口号
        proxy_set_header Host $host;
        proxy_set_header X-Real-IP $remote_addr;
        proxy_set_header X-Forwarded-For $proxy_add_x_forwarded_for;
        proxy_set_header X-Forwarded-Proto $scheme;
    }
}
配置文件做完后要等待一段时间,记得重启nps客户端和nginx程序
二、直接配置文件修改使用https
nps的配置文件里打开使用https选项,同时修改端口为允许所有客户端连接
配置文件位于 /etc/nps/conf/nps.conf
#HTTP(S) proxy port, no startup if empty
http_proxy_ip=0.0.0.0
http_proxy_port=34565
https_proxy_port=34566
https_just_proxy=false
#default https certificate setting
#https_default_cert_file=conf/qingtongqing.cc_bundle.pem
#https_default_key_file=conf/qingtongqing.cc.key


#web
web_host=a.o.com
web_username=admin
web_password=xxxxxx
web_port = 34567
web_ip=0.0.0.0
web_base_url=
web_open_ssl=true
web_cert_file=/ssl/qingtongqing.cc_nginx/qingtongqing.cc_bundle.crt  #注意修改文件路径
web_key_file=/ssl/qingtongqing.cc_nginx/qingtongqing.cc.key   #注意修改文件路径
三、重启验证
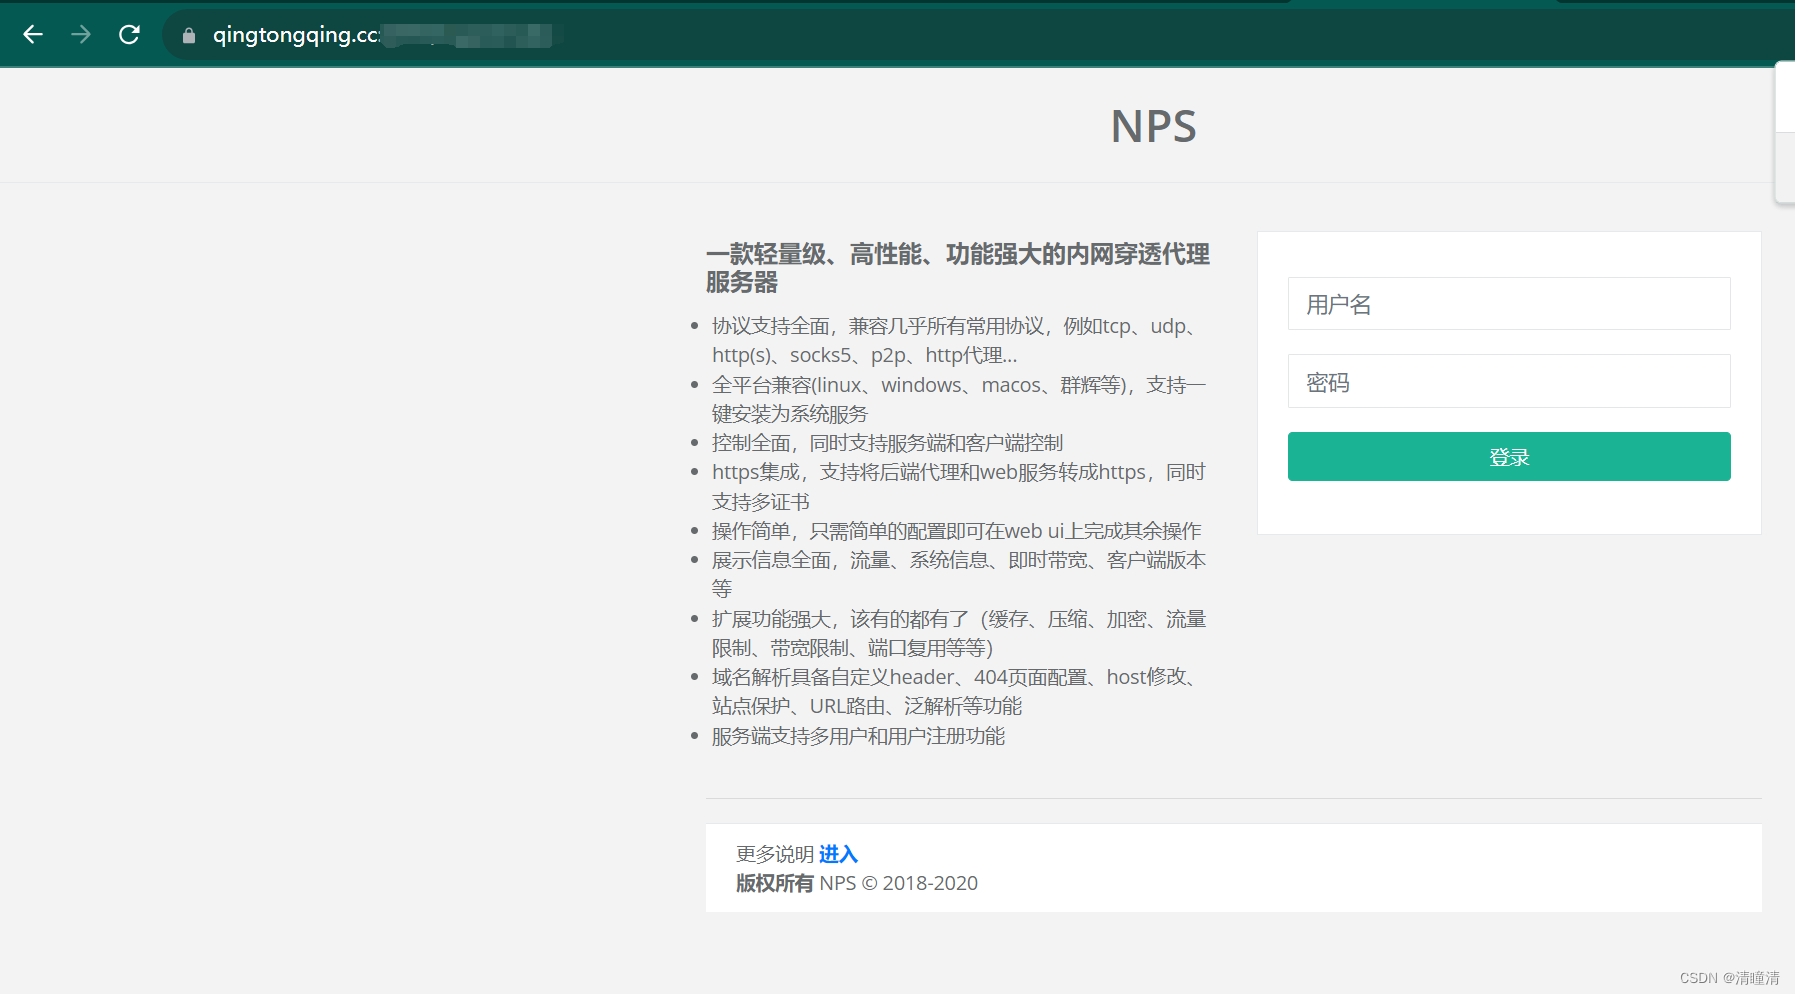
在这里还是推荐使用nginx反向代理的方法去做,NPS毕竟是非商业化的开源软件,开放端口暴露在公网上有一定的风险存在。


