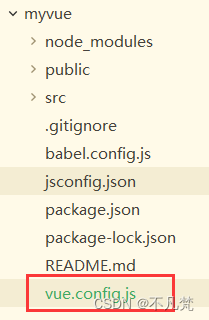
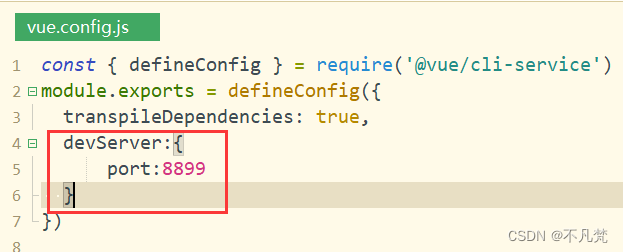
一、更改 node服务器 端口号

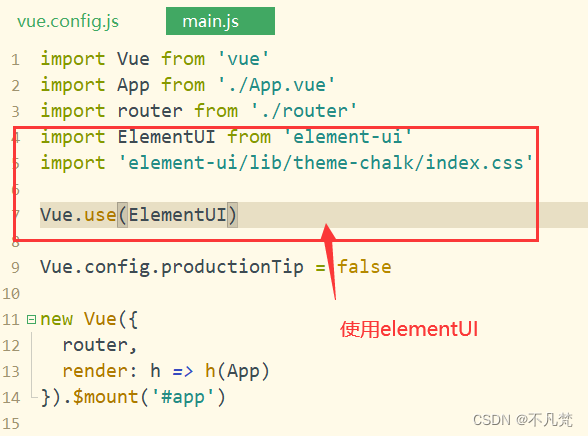
二、Vue 使用elementUI
1、命令
命令: npm i element -ui

2、使用 elementUI
在 main.js 里引入element-ui
如果不在main.js里引入 element-ui,那么只有引入element-ui的页面能使用
element-ui
三、Vue 使用 axios
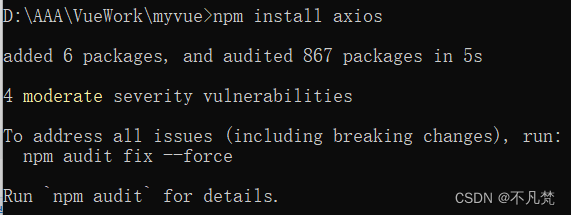
1、下载 axios 命令行
命令:npm install axios
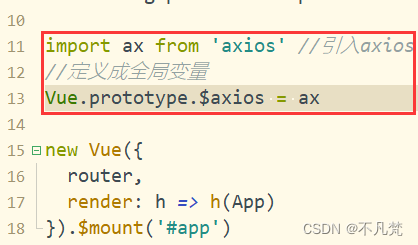
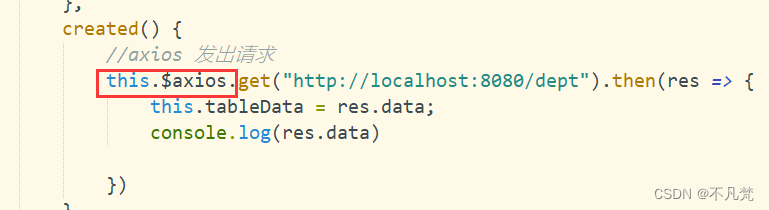
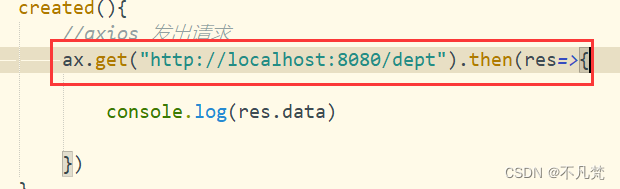
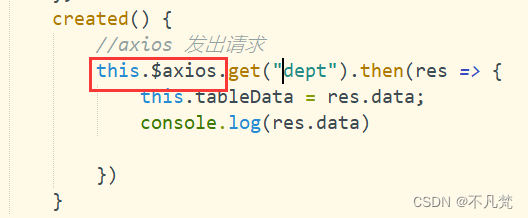
2、使用 axios
四、Mp+SpringBoot
1、依赖 jar
加在 pom.xml 文件中
 <dependency>
      <groupId>org.springframework.boot</groupId>
      <artifactId>spring-boot-starter-web</artifactId>
      <version>3.0.0</version>
    </dependency>
    <!--连接数据库-->
    <dependency>
      <groupId>mysql</groupId>
      <artifactId>mysql-connector-java</artifactId>
      <version>8.0.32</version>
    </dependency>

    <!-- mp-->
    <dependency>
      <groupId>com.baomidou</groupId>
      <artifactId>mybatis-plus-boot-starter</artifactId>
      <version>3.5.3</version>
    </dependency>

    <!-- 自动生成代码-->
    <dependency>
      <groupId>com.baomidou</groupId>
      <artifactId>mybatis-plus-generator</artifactId>
      <version>3.5.3</version>
    </dependency>

    <!--模板-->
    <dependency>
      <groupId>org.apache.velocity</groupId>
      <artifactId>velocity-engine-core</artifactId>
      <version>2.3</version>
    </dependency>

    <dependency>
      <groupId>org.freemarker</groupId>
      <artifactId>freemarker</artifactId>
    </dependency>

    <!--lombok-->

    <dependency>
      <groupId>org.projectlombok</groupId>
      <artifactId>lombok</artifactId>
      <version>1.18.6</version>
    </dependency>
2、Mp自动生成代码的配置类
public class MyTest {
    public static void main(String[] args) {
        //
        FastAutoGenerator.create("jdbc:mysql:///gkf","root","root")
                // 全局配置
                .globalConfig((scanner, builder) -> builder
                        .author("gkf")
                        .outputDir("D:\\AAA\\VueWork\\IDEAVue\\mytest\\src\\main\\java")
                )
                // 包配置
                .packageConfig(
                        (scanner, builder) ->
                                builder
                                        .parent("com.aaa")
                                        .pathInfo(Collections.singletonMap(OutputFile.xml, "D:\\AAA\\VueWork\\IDEAVue\\mytest\\src\\main\\resources\\mapper")))
                // 策略配置
                .strategyConfig((scanner, builder) -> builder.addInclude(getTables(scanner.apply("请输入表名,多个英文逗号分隔?所有输入 all")))
                        .controllerBuilder().enableRestStyle().enableHyphenStyle()
                        .entityBuilder().enableLombok().addTableFills(
                                new Column("create_time", FieldFill.INSERT)
                        ).build())
                /*
                    模板引擎配置,默认 Velocity 可选模板引擎 Beetl 或 Freemarker
                   .templateEngine(new BeetlTemplateEngine())
                   .templateEngine(new FreemarkerTemplateEngine())
                 */
                .execute();


// 处理 all 情况

    }

    protected static List<String> getTables(String tables) {
        return "all".equals(tables) ? Collections.emptyList() : Arrays.asList(tables.split(","));
    }

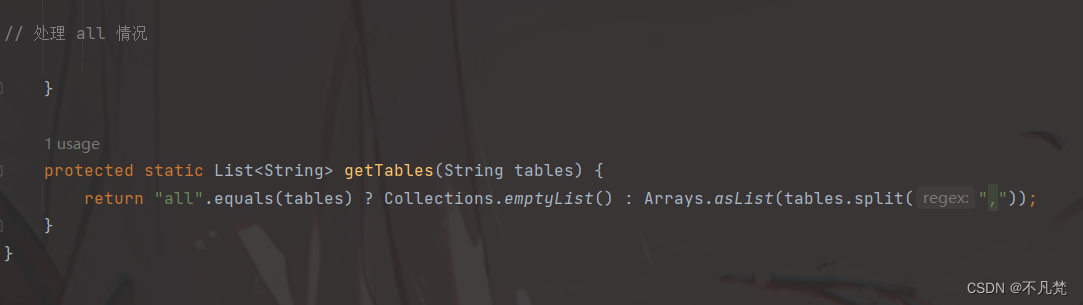
如果要全部创建输入 all 即可
3、配置application.properties文件
spring.datasource.driver-class-name=com.mysql.cj.jdbc.Driver
spring.datasource.url=jdbc:mysql://localhost:3306/gkf?useSSL=false&serverTimezone=UTC&useUnicode=true&characterEncoding=utf-8
spring.datasource.username=root
spring.datasource.password=root
#  规定时间格式    仅对 java.util 有效
spring.jackson.date-format=yyyy-MM-dd HH:mm:ss
spring.jackson.time-zone=GMT+8
# 不转换成时间戳格式
spring.jackson.serialization.write-date-keys-as-timestamps=false
#logging.level.com.baomidou.ant.test.dao=debug
#mybatis-plus my_name   myName
mybatis-plus.configuration.map-underscore-to-camel-case=true
# 打印 sql 语句
mybatis-plus.configuration.log-impl=org.apache.ibatis.logging.stdout.StdOutImpl
#mybatis-plus.configuration.log-impl=
mybatis-plus.mapper-locations=classpath:/mapper/*.xml
#逻辑删除   删除之前的值是0  之后是1
mybatis-plus.global-config.db-config.logic-not-delete-value=0
mybatis-plus.global-config.db-config.logic-delete-value=1
4、开始使用
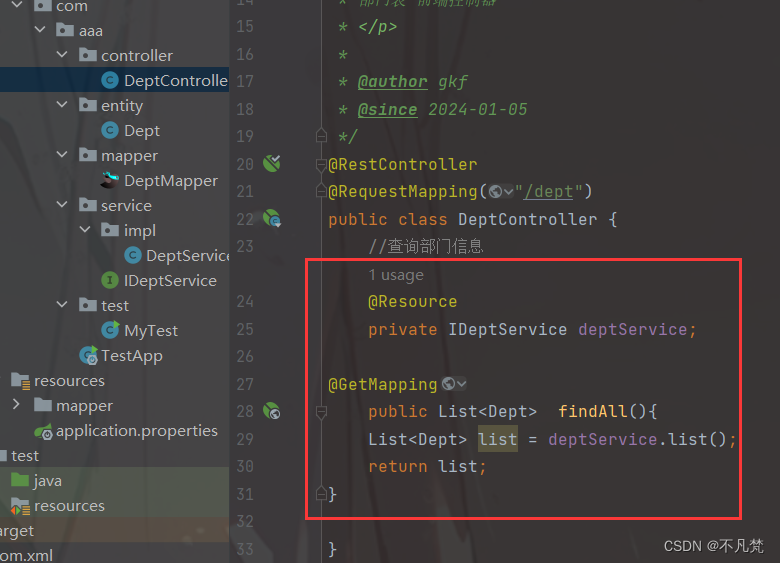
5、结果

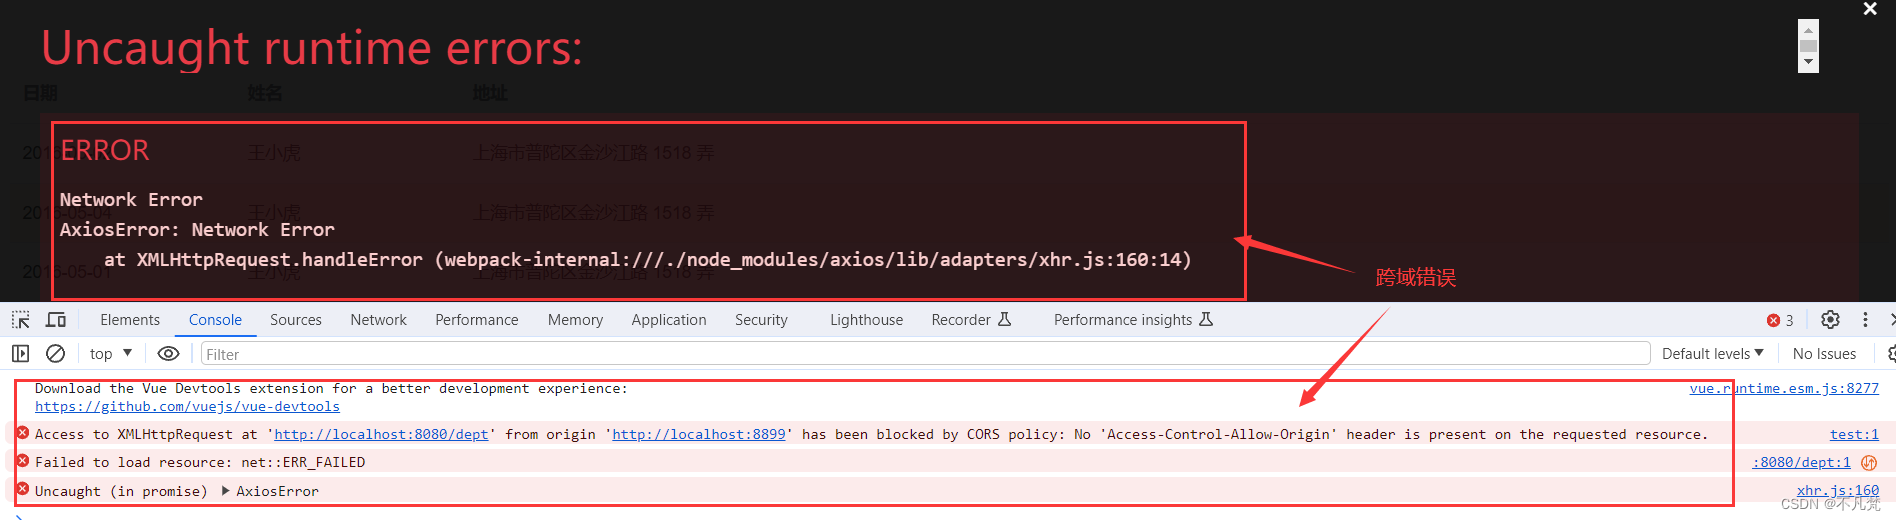
五、跨域
1、出现错误
是因为现在前端用的是 node服务器 端口号为8899
后端用的是 tomcat服务器 端口号为8080
如果都用tomcat或node 只要是端口号不一致都需要跨域
2、解决办法
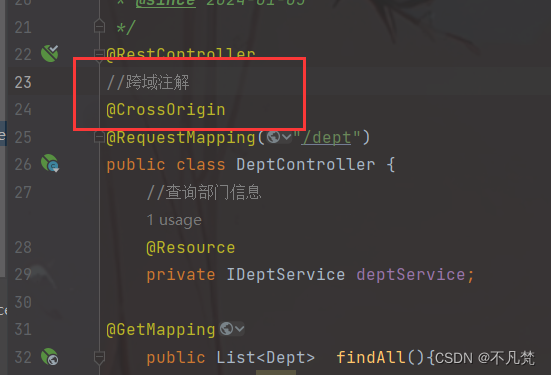
①添加注解
@CrossOrigin (可用在方法和类上)
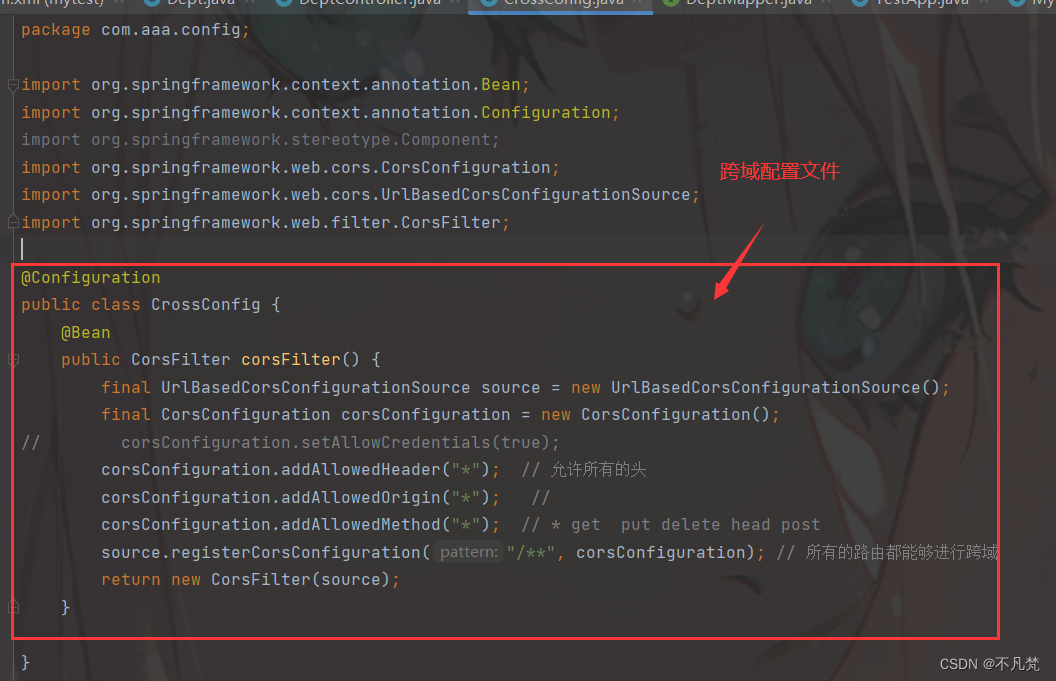
②配置文件
package com.aaa.config;

import org.springframework.context.annotation.Bean;
import org.springframework.context.annotation.Configuration;
import org.springframework.stereotype.Component;
import org.springframework.web.cors.CorsConfiguration;
import org.springframework.web.cors.UrlBasedCorsConfigurationSource;
import org.springframework.web.filter.CorsFilter;

@Configuration
public class CrossConfig {
    @Bean
    public CorsFilter corsFilter() {
        final UrlBasedCorsConfigurationSource source = new UrlBasedCorsConfigurationSource();
        final CorsConfiguration corsConfiguration = new CorsConfiguration();
//        corsConfiguration.setAllowCredentials(true);
        corsConfiguration.addAllowedHeader("*");  // 允许所有的头
        corsConfiguration.addAllowedOrigin("*");   //
        corsConfiguration.addAllowedMethod("*");  // * get  put delete head post
        source.registerCorsConfiguration("/**", corsConfiguration); // 所有的路由都能够进行跨域
        return new CorsFilter(source);
    }

}
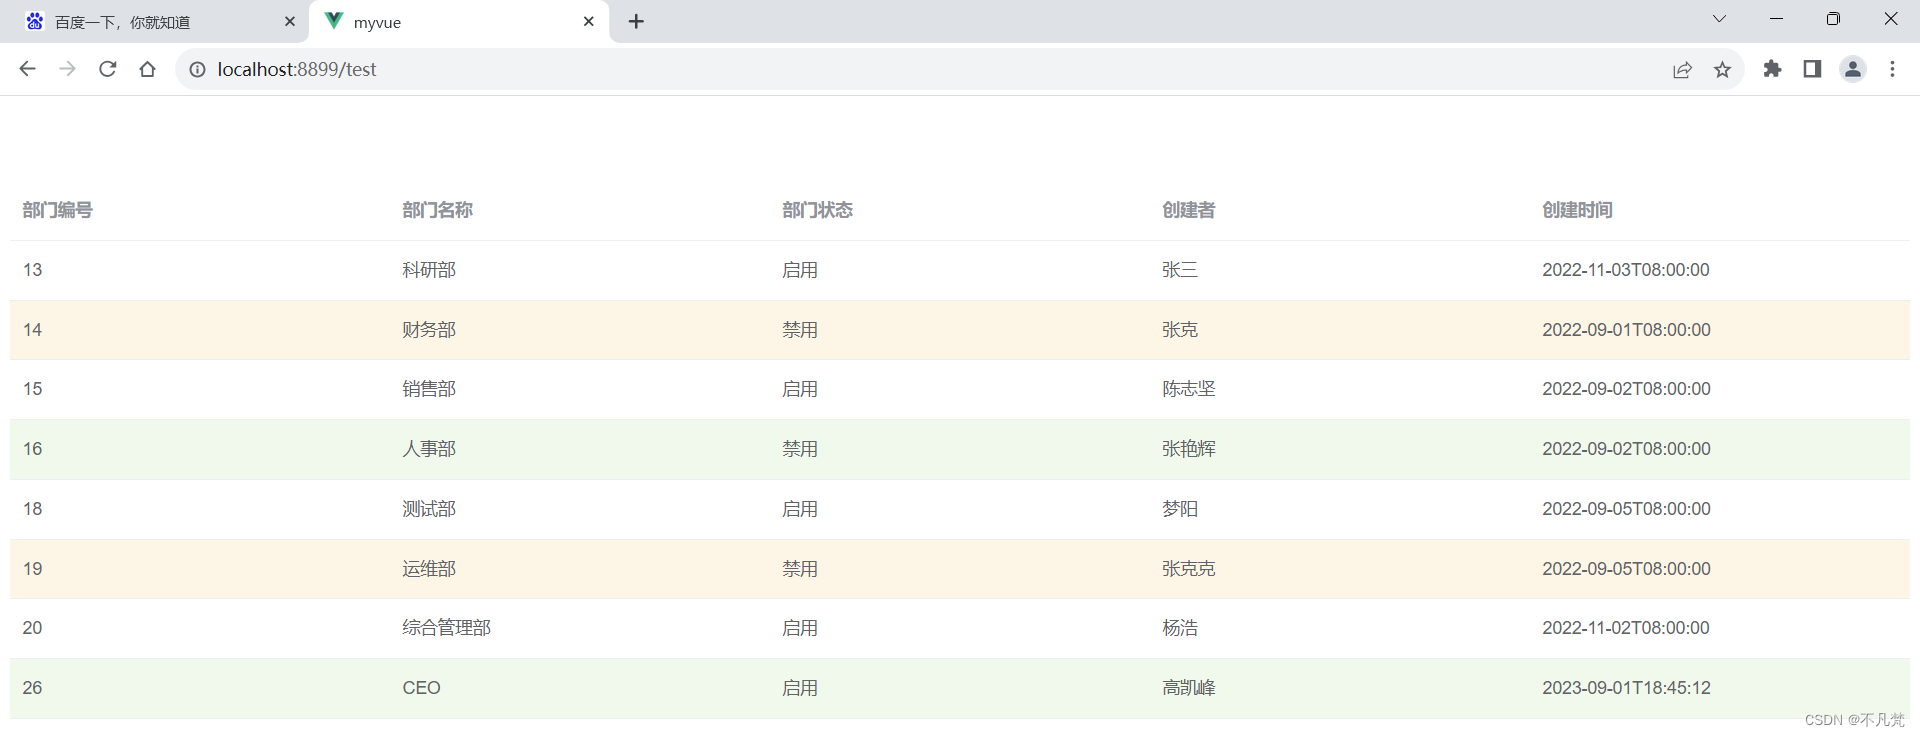
③完成效果
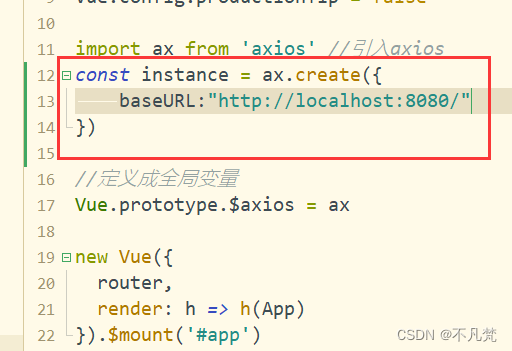
六、注册全局变量
1、实例
2、使用
七、布局
1、布局容器

需先写出一个简易登录页面

代码示例
<template>
<div>
<fieldset>
<h1>登录</h1>
<el-form :model="ruleForm" status-icon ref="ruleForm" label-width="100px"
class="demo-ruleForm">
<el-form-item label="账号" prop="loginname">
<el-input type="text" v-model="ruleForm.loginname" autocomplete="off"></el-input>
</el-form-item>
<el-form-item label="密码" prop="password">
<el-input type="password" v-model="ruleForm.password" autocomplete="off"></el-input>
</el-form-item>
<el-form-item>
<el-button type="primary" @click="submitForm('ruleForm')">提交</el-button>
<el-button @click="resetForm('ruleForm')">重置</el-button>
</el-form-item>
</el-form>
</fieldset>
</div>
</template>
<style>
fieldset{
width: 360px;
margin: 40px auto;
}
h1{
text-align: center;
}
</style>
<script>
export default {
data() {
return {
ruleForm: {
loginname: 'user000',
password: '123456',
},
};
},
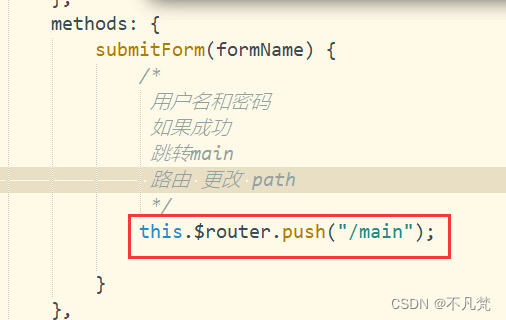
methods: {
submitForm(formName) {
/*
用户名和密码
如果成功
跳转main
路由 更改 path
*/
this.$router.push("/main");
}
},
resetForm(formName) {
this.$refs[formName].resetFields();
},
}
</script>
再通过代码来进行更改路由
要想让main展示内容 要用到了 嵌套路由

2、容器
①配置菜单和路由进行适配

②Main里面写一个容器

3、演示代码
<template>
	<el-container>
	  <el-aside width="200px">
		  <el-aside width="200px" style="background-color: rgb(238, 241, 246)">
			  <!-- router 按照路由规则进行跳转-->
		      <el-menu :default-openeds="['1', '3']" :router="true">
		        <el-submenu index="1">
		          <template slot="title"><i class="el-icon-message"></i>导航一</template>
		          <el-menu-item-group>
		            <template slot="title">分组一</template>
		            <el-menu-item index="/test">选项1</el-menu-item>
		            <el-menu-item index="1-2">选项2</el-menu-item>
		          </el-menu-item-group>
		          <el-menu-item-group title="分组2">
		            <el-menu-item index="1-3">选项3</el-menu-item>
		          </el-menu-item-group>
		          <el-submenu index="1-4">
		            <template slot="title">选项4</template>
		            <el-menu-item index="1-4-1">选项4-1</el-menu-item>
		          </el-submenu>
		        </el-submenu>
		        <el-submenu index="2">
		          <template slot="title"><i class="el-icon-menu"></i>导航二</template>
		          <el-menu-item-group>
		            <template slot="title">分组一</template>
		            <el-menu-item index="2-1">选项1</el-menu-item>
		            <el-menu-item index="2-2">选项2</el-menu-item>
		          </el-menu-item-group>
		          <el-menu-item-group title="分组2">
		            <el-menu-item index="2-3">选项3</el-menu-item>
		          </el-menu-item-group>
		          <el-submenu index="2-4">
		            <template slot="title">选项4</template>
		            <el-menu-item index="2-4-1">选项4-1</el-menu-item>
		          </el-submenu>
		        </el-submenu>
		        <el-submenu index="3">
		          <template slot="title"><i class="el-icon-setting"></i>导航三</template>
		          <el-menu-item-group>
		            <template slot="title">分组一</template>
		            <el-menu-item index="3-1">选项1</el-menu-item>
		            <el-menu-item index="3-2">选项2</el-menu-item>
		          </el-menu-item-group>
		          <el-menu-item-group title="分组2">
		            <el-menu-item index="3-3">选项3</el-menu-item>
		          </el-menu-item-group>
		          <el-submenu index="3-4">
		            <template slot="title">选项4</template>
		            <el-menu-item index="3-4-1">选项4-1</el-menu-item>
		          </el-submenu>
		        </el-submenu>
		      </el-menu>
		    </el-aside>
	  </el-aside>
	  <el-container>
	    <el-header>Header</el-header>
	    <el-main>
			<!-- 存放对应组件的内容 -->
			<router-view></router-view>

		</el-main>
	    <el-footer>Footer</el-footer>
	  </el-container>
	</el-container>
</template>

<script>
</script>

<style>
	.el-header, .el-footer {
	    background-color: #B3C0D1;
	    color: #333;
	    text-align: center;
	    line-height: 60px;
	  }

	  .el-aside {
	    background-color: #D3DCE6;
	    color: #333;
	    text-align: center;
	    line-height: 200px;
	  }

	  .el-main {
	    background-color: #E9EEF3;
	    color: #333;
	    text-align: center;
	    line-height: 20px;
	  }

	  body > .el-container {
	    margin-bottom: 40px;
	  }

	  .el-container:nth-child(5) .el-aside,
	  .el-container:nth-child(6) .el-aside {
	    line-height: 260px;
	  }

	  .el-container:nth-child(7) .el-aside {
	    line-height: 320px;
	  }
	  .el-aside {
	      color: #333;
	    }
</style>
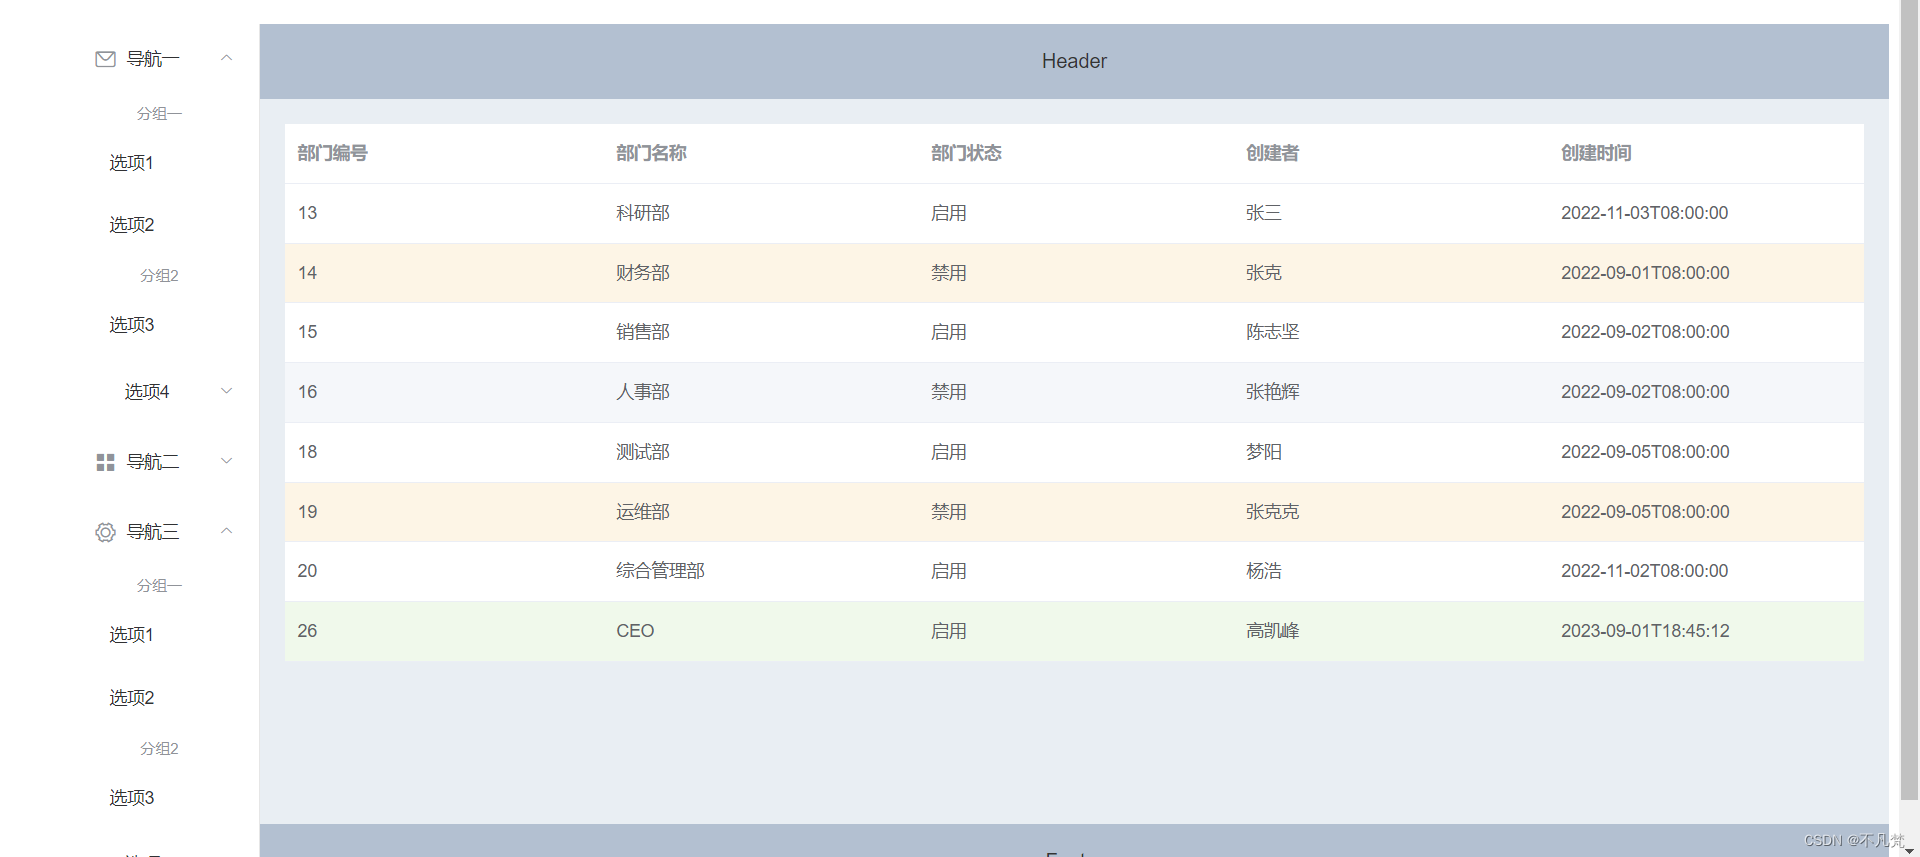
效果实现图
4、404
当路由不存在的时候跳转到404 页面
在路由文件里面写路由的规则
Router/index.js中配置
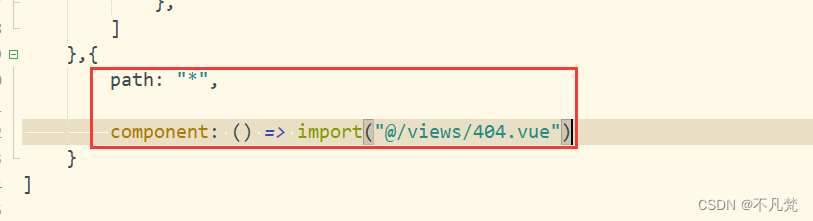
实现代码
import Vue from 'vue'
import VueRouter from 'vue-router'
import HomeView from '../views/login.vue'

Vue.use(VueRouter)

const routes = [{
		path: '/', //定义路径 路径一定是唯一的
		name: 'home', //name 可以省略
		component: HomeView //立即加载
	},
	{
		path: '/about',
		name: 'about',
		// route level code-splitting
		// this generates a separate chunk (about.[hash].js) for this route
		// which is lazy-loaded when the route is visited.
		component: () => import( /* webpackChunkName: "about" */ '../views/AboutView.vue')
	}, {
			path: "/main", // 定义路径的时候 路径名字不可重复,而且必须是以 / 为开始
			name: "/main",
			component: () => import("@/views/main/main.vue"), //嵌套路由
			children: [{
				path: "/test", // 定义路径的时候 路径名字不可重复,而且必须是以 / 为开始
				name: "/test",
				component: () => import("@/views/test.vue")
			},
		]
	},{
		path: "*",

		component: () => import("@/views/404.vue")
	}
]

const router = new VueRouter({
	mode: 'history',
	base: process.env.BASE_URL,
	routes
})

export default router


![[嵌入式C][入门篇] 快速掌握基础(9个语句)](https://img-blog.csdnimg.cn/direct/8a4086b77aa94ec7b71ae2a12bb60088.png)