目录
四 安装nginx
4.1 官网下载nginx
官网地址:nginx: download,我们可以看到下载地址分为三部分:
Mainline version:最新版本
Stable version:最新稳定版本
Legacy versions:以前版本
4.2 下载解压安装nginx
我们在usr/local中创建目录nginx。
cd /usr/localmkdir nginxcd /usr/local/nginxwget http://nginx.org/download/nginx-1.24.0.tar.gz下载结果如下:

我们将该压缩包解压到当前目录
tar -zxvf nginx-1.24.0.tar.gz解压后当前目录中多出一个文件夹

4.3 进行configure
进入nginx的根目录,执行命令
cd /usr/local/nginx/nginx-1.24.0./configure如果执行configure时报错,执行命令 yum -y install pcre-devel,然后再进行configure
yum -y install pcre-devel如果执行时还报错,可以执行命令
yum -y install openssl openssl-devel然后再执行configure
4.4 执行make
还是在该目录下,执行make
make执行完make之后,执行命令make install
make install4.5 查看nginx是否安装成功
whereis nginx出现nginx目录则表示安装成功

4.6 nginx的一些常用命令
以下命令都是在进入安装Nginx的sbin目录中操作,我这里是 /usr/local/nginx/sbin
4.6.1 启动nginx
./nginx4.6.2 通过命令查看nginx是否启动成功
ps -ef | grep nginx
4.6.3 关闭Nginx
./nginx -s stop然后我们接着使用命令查看nginx进程是否还在
ps -ef | grep nginx![]()
4.6.5 重启Nginx
./nginx -s reload4.6.6 杀掉所有Nginx进程
pkill -9 nginx4.6.7 指定nginx的配置文件
./nginx -t -c /usr/local/nginx/conf/nginx.conf4.7 验证nginx是否可以正常访问
输入命令:
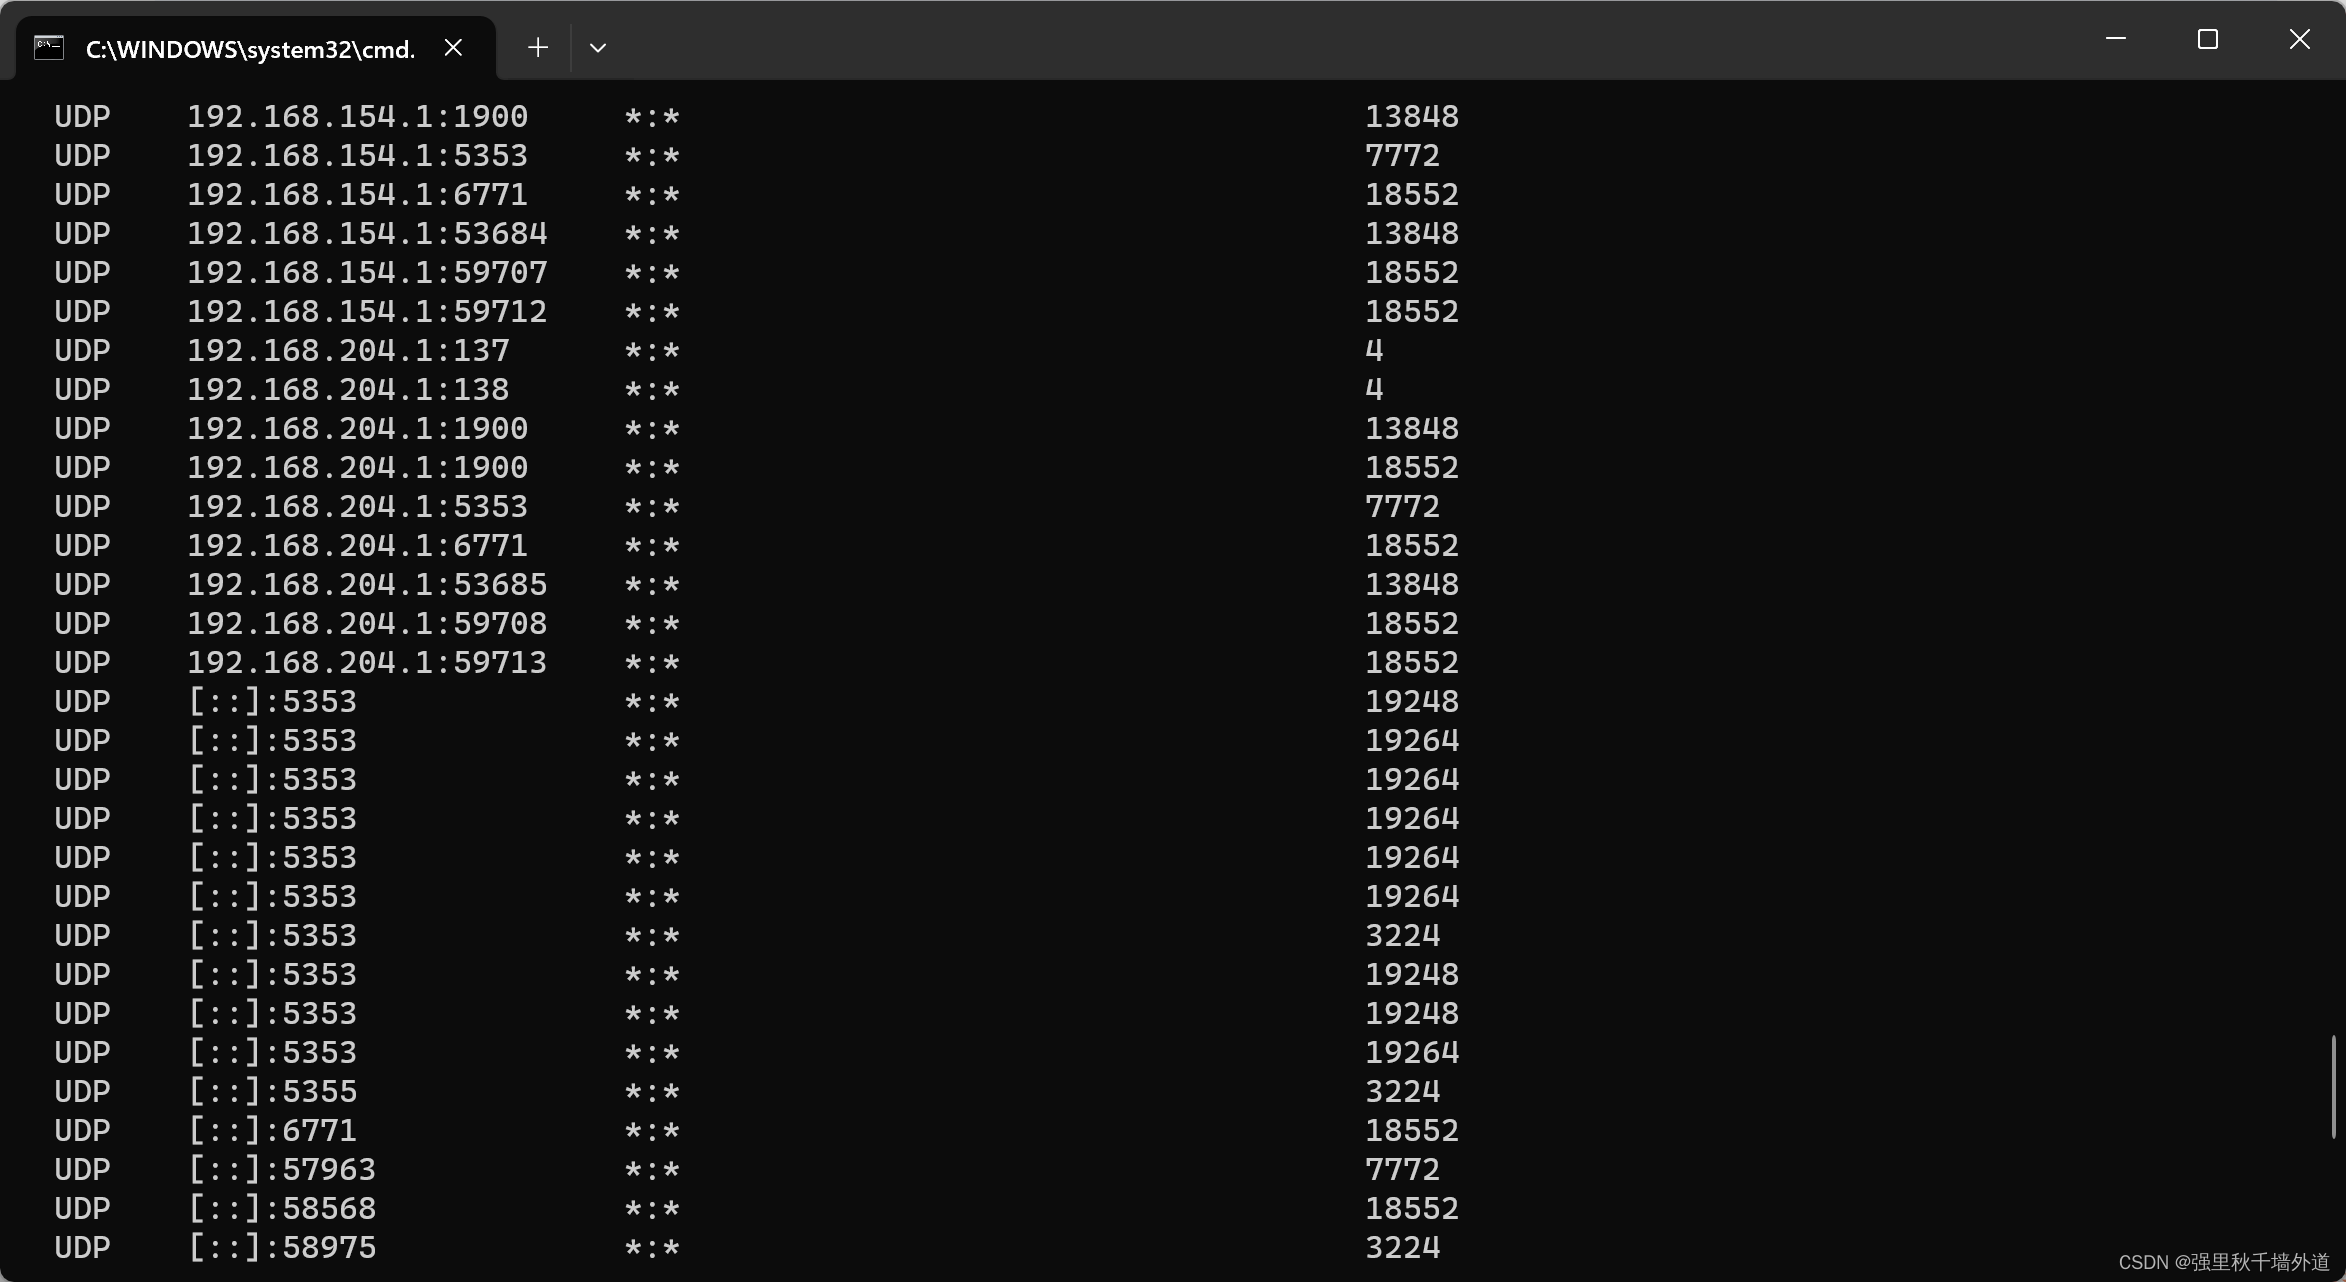
netstat -anput | grep nginx我们发现80端口已经被nginx命令占用
![]() 我们通过浏览器直接对Ip地址进行访问,如果出现该界面,则说明nginx安装完成
我们通过浏览器直接对Ip地址进行访问,如果出现该界面,则说明nginx安装完成

4.8 解决nginx加载时Pid为空的问题
执行 nginx -s reload 加载配置文件的时候报错了。
提示 nginx: [error] invalid PID number "" in "/run/nginx.pid"
输入命令
./nginx -t我们可以查看到配置文件的位置

执行下 nginx -c /etc/nginx/nginx.conf 重新设置下配置文件就好了,"/run/nginx.pid" 文件里的主进程号也被同步进来了
五 打包vue项目并上传
5.1 打包VUE项目
npm run build然后我们将dist中的文件上传至linux服务器

5.2 配置nginx.conf
在nginx下的conf中,找到配置文件nginx.conf

在文件中编辑 http{} 块 中的 server{} 块
新增(或者编辑已经不用的)server,这是nginx.conf原始配置文件:
server {
        listen       80;
        server_name  localhost;

        #charset koi8-r;

        #access_log  logs/host.access.log  main;

        location / {
            root   html;
            index  index.html index.htm;
        }
    }
listen :代理端口
# server{}中的server_name
server_name:服务名,比较简单的就写服务器ip;
# 注意,还可以写域名,但是需要额外的配置,后面示例会介绍,这个实例是简单的测试服务器的nginx配置、不过多说明# location{}中的root和index
root :资源根目录
index :默认索引页面
附完整的配置文件内容
server {
    listen       4012;
    server_name  192.168.191.52;
    location / {
      root   /usr/local/publish_2023/forum_manage_vue;
      try_files $uri $uri/ /index.html $uri/ =404;
      index  index.html index.htm;
      add_header X-Content-Type-Options  'nosniff';#禁止嗅探文件类型
      add_header Content-Security-Policy "script-src 'self' 'unsafe-eval' 'unsafe-inline' oyxdwx.com:9443 *.aliyun.com unpkg.com g.alicdn.com *.alibaba.com *.aliapp.org *.csslcloud.net *.qq.com *.bokecc.com";#只允许同源下的js
      add_header X-XSS-Protection "1; mode=block";#开启XSS过滤器
    }
  }
以我对上面admin的配置为例子,访问首页的地址应该是
http://192.168.191.52:40125.3 nginx主子配置
一台nginx服务器,往往不只为我们一个项目使用;尤其在测试环境,多个项目公用一个nginx的情况很多,这个时候,如果多个项目的nginx配置都放在一个conf配置文件中,会特别混乱。所以我们需要对nginx配置文件进行优化
- 在nginx.conf这个主配置中,我们保留所有公共配置,但是所有server不要写在主配置中
- 在nginx/conf文件夹下新建一个文件夹,我这里叫www,在此文件夹下建多个.conf配置文件,具体建多少个看需要,一般是一个项目一个;这些子配置文件,最好以
项目名简称.conf格式命名、做到见名知义
如下图:

然后我们需要在该配置文件中单独配置该项目的server{}模块
server {
    listen       4101;
    server_name  192.168.191.52;
    location / {
      root   /webserver/nuohua/ui/admin;
      try_files $uri $uri/ /index.html $uri/ =404;
      index  index.html index.htm;
      add_header X-Content-Type-Options  'nosniff';#禁止嗅探文件类型
      add_header Content-Security-Policy "script-src 'self' 'unsafe-eval' 'unsafe-inline' oyxdwx.com:9443 *.aliyun.com unpkg.com g.alicdn.com *.alibaba.com *.aliapp.org *.csslcloud.net *.qq.com *.bokecc.com";#只允许同源下的js
      add_header X-XSS-Protection "1; mode=block";#开启XSS过滤器
    }
  }

  # xxx项目-用户端pc
  server {
    listen       4102;
    server_name  192.168.191.52;
    location / {
      root   /usr/local/publish_2023/forum_manage_vue;
      try_files $uri $uri/ /index.html $uri/ =404;
      index  index.html index.htm;
      add_header X-Content-Type-Options  'nosniff';#禁止嗅探文件类型
      add_header Content-Security-Policy "script-src 'self' 'unsafe-eval' 'unsafe-inline' *.bokecc.com class.csslcloud.net *.amap.com *.haoyisheng.com 192.168.191.52";#只允许同源下的js
      add_header X-XSS-Protection "1; mode=block";#开启XSS过滤器
    }
  }
在主配置的http模块加include,引入子配置
http {
	......
	include /usr/local/nginx/conf/www/*.conf;
}
ok,让我们访问以下地址:
http://192.168.191.52:4012按照nginx配置,它应该监听4012端口,然后找到根目录/usr/local/publish_2023/forum_manage_vue,访问我们的vue网站,可是却提醒我们,该网页无法显示。
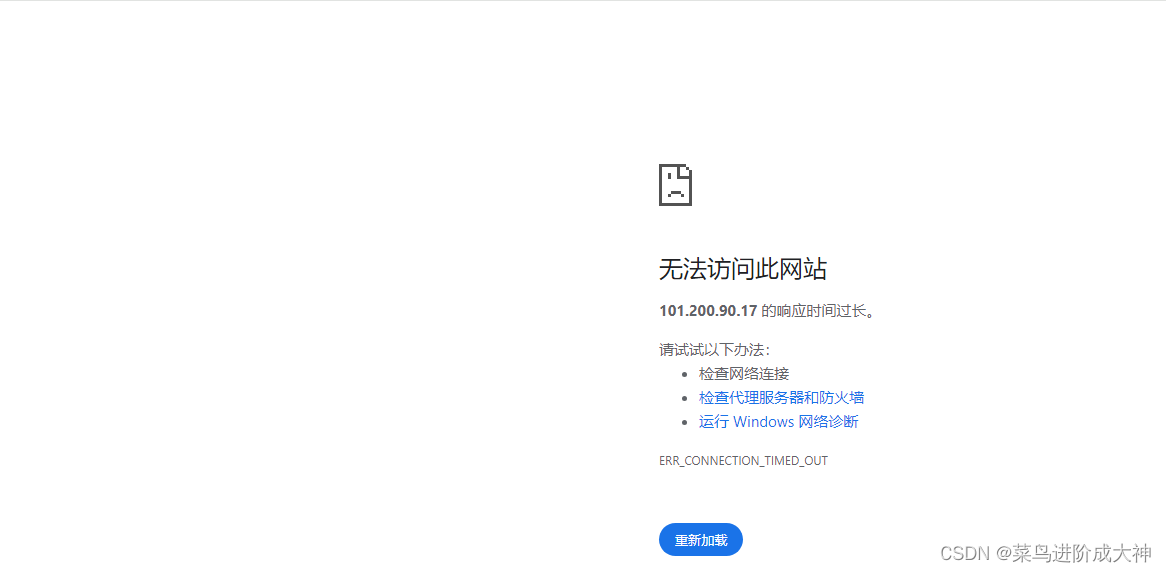
我们检查阿里云的安全组,确定该端口已经放开,但是依然无法访问。这是什么原因呢?
主要问题是云服务器上面的防火墙为了安全起见阻碍了外界的访问,只需要再在防火墙开放访问端口就可以了!
# 查看 开放的端口列表
firewall-cmd --list-ports

# 开放 自己的端口
firewall-cmd --zone=public --add-port=自己想开放的端口/tcp --permanent

# 关闭自己的端口
firewall-cmd --zone=public --remove-port=自己想开放的端口/tcp --permanent

# 重启防火墙
systemctl restart firewalld.service

# 再次确认 自己的端口 是否开放
firewall-cmd --list-ports
ok,到这里我们的vue项目就可以正常通过IP地址以及端口的方式进行访问了。
5.4 配置vue的Api代理
我们继续更改我们的forum.conf文件,我们需要在该配置文件中增加代理监视配置信息:
location  /api {
          proxy_set_header Host $http_host;
          proxy_set_header ?X-Real-IP $remote_addr;
          proxy_set_header X-Forwarded-For $proxy_add_x_forwarded_for;
          proxy_set_header X-Forwarded-Proto $scheme;
          rewrite ^/api/(.*)$ /$1 break; #重写
          proxy_pass http://127.0.0.1:8030; # 设置代理服务器的协议和地址
    }
完整配置文件如下:
# forum项目-用户端pc
  server {
    listen       8087;
    server_name  101.200.90.17;
    location / {
      root   /usr/local/publish_2023/forum_manage_vue;
      try_files $uri $uri/ /index.html $uri/ =404;
      index  index.html index.htm;
    }
    location  /api {
          proxy_set_header Host $http_host;
          proxy_set_header ?X-Real-IP $remote_addr;
          proxy_set_header X-Forwarded-For $proxy_add_x_forwarded_for;
          proxy_set_header X-Forwarded-Proto $scheme;
          rewrite ^/api/(.*)$ /$1 break; #重写
          proxy_pass http://127.0.0.1:8030; # 设置代理服务器的协议和地址
    }

  }
至此我们的项目就可以正常使用Ip地址进行访问了,但是这远远不够,我们正常上线的项目都有域名以及Https证书。下文我们将会介绍如何使用nginx部署一个可以正常使用的项目。