配置基于数据库的认证信息和角色授权
1.首先导入依赖
 <dependencies>

        <dependency>
            <groupId>org.springframework.boot</groupId>
            <artifactId>spring-boot-starter-parent</artifactId>
            <version>2.5.6</version>
        </dependency>

        <dependency>
            <groupId>mysql</groupId>
            <artifactId>mysql-connector-java</artifactId>
            <version>8.0.30</version>
        </dependency>

        <dependency>
            <groupId>com.baomidou</groupId>
            <artifactId>mybatis-plus-boot-starter</artifactId>
            <version>3.4.1</version>
        </dependency>

        <dependency>
             <groupId>com.alibaba</groupId>
             <artifactId>druid</artifactId>
             <version>1.2.6</version>
        </dependency>

       <dependency>
            <groupId>org.springframework.boot</groupId>
            <artifactId>spring-boot-starter-data-jdbc</artifactId>
       </dependency>
       <dependency>
            <groupId>org.springframework.boot</groupId>
             <artifactId>spring-boot-starter-jdbc</artifactId>
       </dependency>

       <dependency>
           <groupId>org.springframework.boot</groupId>
            <artifactId>spring-boot-starter-security</artifactId>
       </dependency>
       <dependency>
            <groupId>org.springframework.security</groupId>
            <artifactId>spring-security-test</artifactId>
            <scope>test</scope>
       </dependency>

        <dependency>
        <groupId>org.springframework.boot</groupId>
        <artifactId>spring-boot-starter-web</artifactId>
        </dependency>

        <dependency>
            <groupId>org.springframework.boot</groupId>
            <artifactId>spring-boot-starter-test</artifactId>
            <scope>test</scope>
        </dependency>
依赖要找正确,否则在写代码的时候是找不到关键字的,并且会一路爆红
2.编写用户实体类和角色实体类
@Data
@TableName("userlist")
public class userpojo {

    @TableId(value = "id",type = IdType.AUTO)
    private Integer id;
    @TableField(value = "username")
    private String username;
    @TableField(value = "password")
    private  String password;
    @TableField(value = "role")
    private  String role;
}
@Data
@TableName("rolelist")
public class rolepojo {
    @TableId(value = "id",type = IdType.AUTO)
    private Integer id;
    @TableField(value = "role")
    private  String role;
    @TableField(value = "permisssion")
    private  String permission;
}
@TableName 注解用来将指定的数据库表和 JavaBean 进行映射
@TableId注解是专门用在主键上的注解,如果数据库中的主键字段名和实体中的属性名不一样,可以在实体中表示主键的属性上加@Tableid注解,并指定@Tableid注解的value属性值为表中主键的字段名既可以对应上。
@TableField注解可以指定字段的一些属性,避免不一致导致登陆出错,常常解决的问题有两个:
1.对象中的属性名和表中的字段名不一致(非驼峰)
2.对象中的属性字段在表中不存在
3.编写userMapper接口确定sql语句通过用户名来查询用户信息
@Repository
public interface userDao extends BaseMapper<userpojo> {
}
@Repository
public interface roleDao  extends BaseMapper<rolepojo> {
}@Repositoy该注解的作用不只是将类识别为Bean,同时它还能将所标注的类中抛出的数据访问异常封装为 Spring 的数据访问异常类型。
这里就可以不用写一些SQL语句了,因为有BaseMapper<>
4.创建 UserDetailsService 的实现类,编写自定义认证逻辑
@Service
public class userServiceImpl implements UserDetailsService {

    @Autowired
    userDao userDao;
    @Autowired
    roleDao roleDao;

    @Override
    public UserDetails loadUserByUsername(String s) throws UsernameNotFoundException {
        //自定义认证逻辑
        QueryWrapper<userpojo> queryWrapper = new QueryWrapper<>();
        queryWrapper.eq("username", s);
        //查询用户
        userpojo user= userDao.selectOne(queryWrapper);
        // 判断用户是否存在
        if (user == null) {
            throw new UsernameNotFoundException("用户名不存在");
        }
       else {
           List<SimpleGrantedAuthority> authorities = new ArrayList<>();
           QueryWrapper<rolepojo> queryWrapper1 = new QueryWrapper<>();
           queryWrapper1.eq("role", user.getRole());
           List<rolepojo> rolepojos=roleDao.selectList(queryWrapper1);
           rolepojos.forEach(role -> {
                authorities.add(new SimpleGrantedAuthority(role.getPermission()));
            });
            return new User(user.getUsername(), user.getPassword(), authorities);
        }
    }
}
我这里实现了自定义认证逻辑,最重要的是else里面的内容,如果role.getPermission()不通过,那么就没有权限允许连接
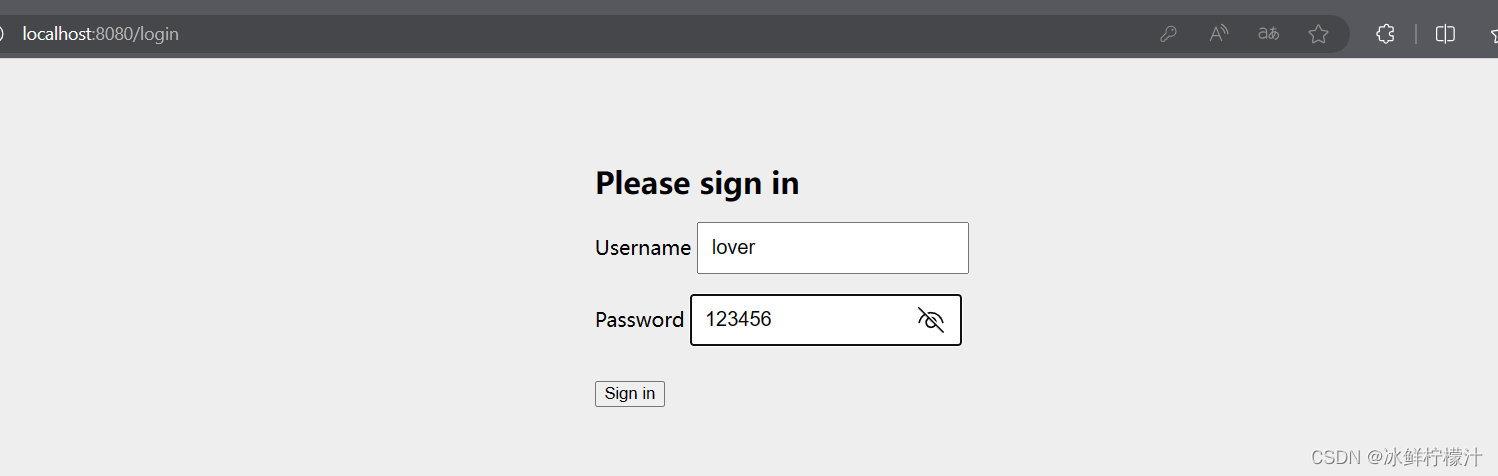
5.编写SecurityConfig配置类
@Configuration  //指明是配置类
@EnableWebSecurity//开启Spring Security的功能
@EnableGlobalMethodSecurity(prePostEnabled=true)
//prePostEnabled属性决定Spring Security在接口前注解是否可用@PreAuthorize,@PostAuthorize等注解,设置为true,会拦截加了这些注解的接口
public class SecurityConfig  extends WebSecurityConfigurerAdapter {
    @Autowired
    userServiceImpl userService;

    /**
     *
     * @param http
     * @throws Exception
     */
   @Override
    protected  void  configure(HttpSecurity http) throws  Exception{
       http
               .authorizeRequests()
               .mvcMatchers("/").permitAll()
               .mvcMatchers("/hello").hasAuthority("world")
               .mvcMatchers("/welcome").hasAuthority("family")
               .anyRequest().authenticated();
       http.formLogin();
   }

    /**
     *
     * @param auth
     * @throws Exception
     */
   @Override
    protected  void configure(AuthenticationManagerBuilder auth) throws  Exception{
       auth.userDetailsService(userService)
               .passwordEncoder(passwordEncoder());
   }

    /**
     * 加密
     * @return
     */
   @Bean
    public PasswordEncoder passwordEncoder(){
       return NoOpPasswordEncoder.getInstance();
   }
    }
注意我这里URL路径匹配,一个是hello一个是welcome,还有注意hasAuthority里面的内容对照着rolelist里面的permission,如果这两个对不上,就不允许进入,比如我走localhost:8080/hello,
会出现
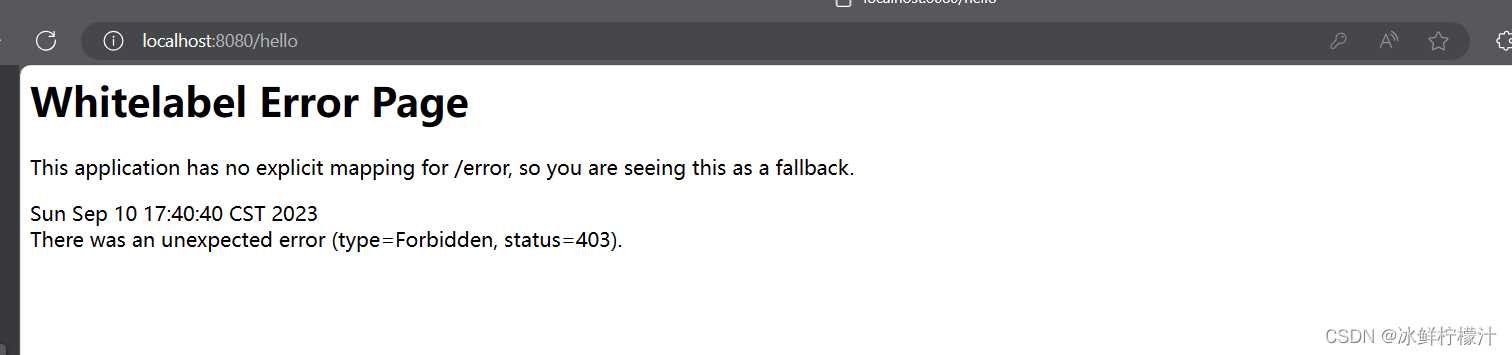
直接403,拒接访问
6.创建一个数据库,在数据库中创建两张表

7.准备数据库连接,在application.properties文件中写
spring.datasource.driver-class-name=com.mysql.cj.jdbc.Driver
spring.datasource.url=jdbc:mysql://127.0.0.1:3306/securitylist?characterEncoding=utf-8&useSSL=false&allowPublicKeyRetrieval=true
spring.datasource.password=1234
spring.datasource.username=root
这里连接数据库的时候要注意书写,不要一下直接创建,看清楚,我就是把spring.datasourse.username写成spring.datasourse,name,报了两个错误,折腾了半天,查找了很多资料,但是都没用,哈哈
8.随便写个DemoController
@RestController
public class DemoControlller {
    @RequestMapping("/hello")
    public static  String hello(){
        return "hello world!";
    }
    @RequestMapping("/welcome")
    public static  String welcome(){
        return "welcome family";
    }


}
通过路径访问就能得到返回的内容
9.结果展示
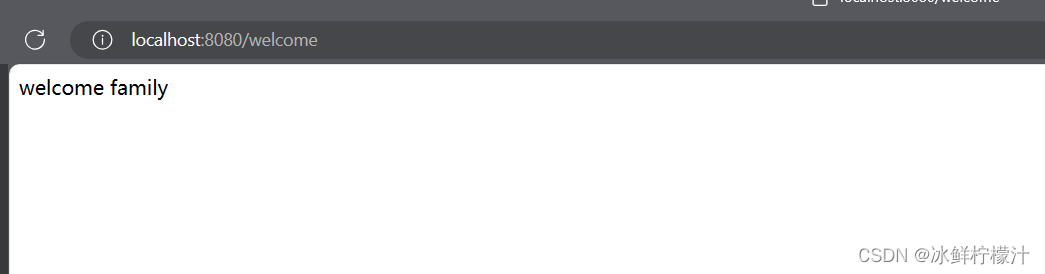 我专门设置了权限,只有welcome能够得返回值,hello就是403拒绝访问
关于遇到的问题,在这里展示一下,希望下一次有所方案
1.首先是依赖的问题
       <dependency>
            <groupId>org.springframework.boot</groupId>
            <artifactId>spring-boot-starter-parent</artifactId>
            <version>2.5.6</version>
</dependency>它爆红,我遇到这两种:无法解析 org.springframework.boot:spring-boot-maven-plugin:2.5.6
Could not find artifact org.springframework.boot:spring-boot-starter-parent:jar:2.5.6 in alimaven
我把网上的解决方法试了一下
1.检查Maven的配置,查看Maven配置是否正确,根据所需查看内容是否存在,在本地仓库里面去找

2.尝试更改阿里云镜像,将用户设置文件路径中的settings.xml用可编辑的软件打开,进行修改,我用的是

3更换依赖的版本号,慢慢去尝试找正确的,可能有用
2.紧接着是mysql数据库的连接问题
一定要是
spring.datasource.driver-class-name=com.mysql.cj.jdbc.Driver
spring.datasource.url=jdbc:mysql://127.0.0.1:3306/securitylist?characterEncoding=utf-8&useSSL=false&allowPublicKeyRetrieval=true
spring.datasource.password=1234
spring.datasource.username=root
我原本写的是spring.datasourse.name,报了很多错误,在这里展示一下
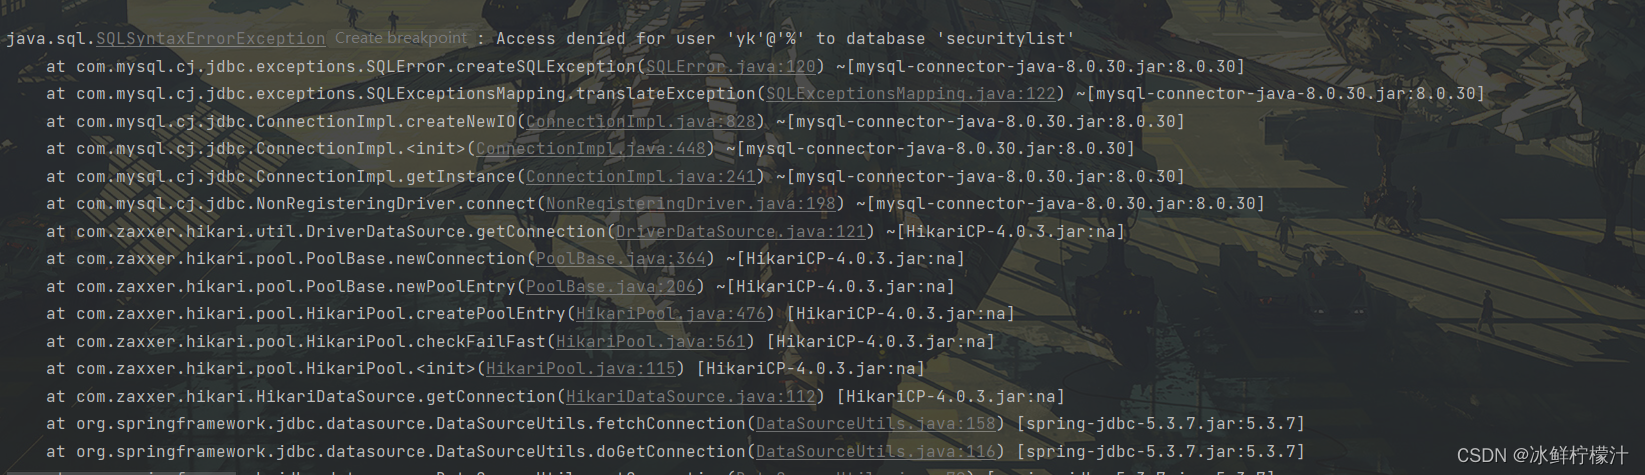
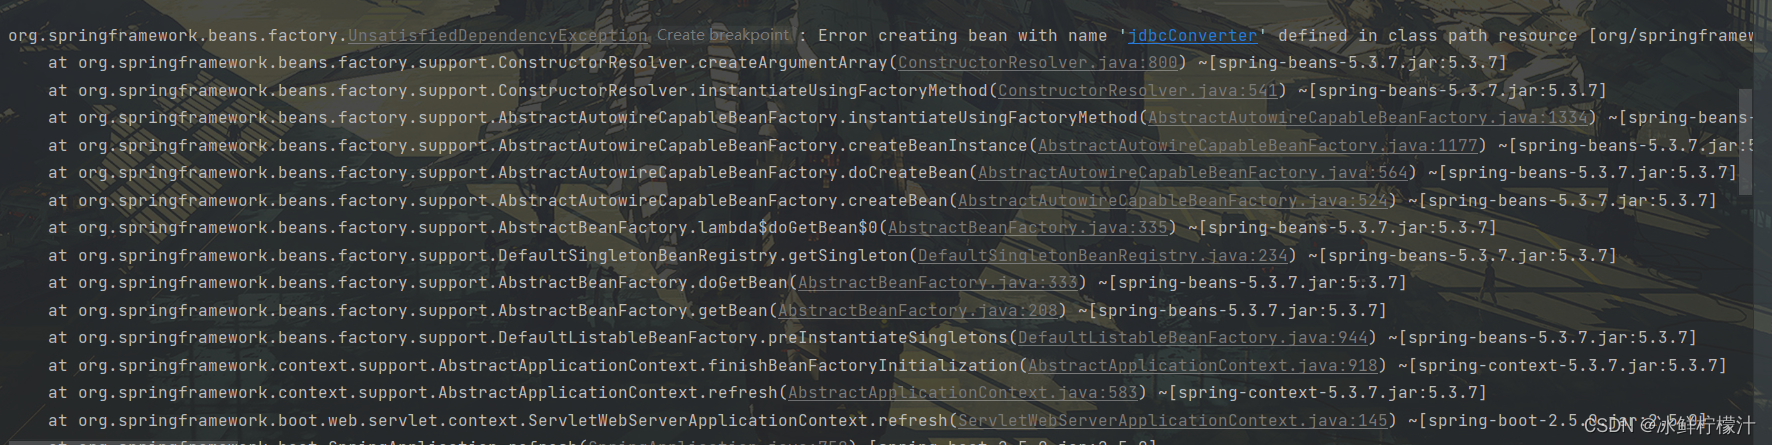
出现这些错误时,
我以为是用户权限的问题,没有远程访问权限时出现这个问题,刚刚安装的myql的root密码账号只有localhost的操作权限,我进行了这种尝试
1、mysql -u root -p 登陆进MYSQL;
2、执行以下命令:
GRANT ALL on securitylist.* to 'root'@'localhost' identified by '1234' with grant option;
其中securitylist是数据库名,root是用户,1234是密码
3.刷新权限
FLUSH PRIVILEGES;
但是都没什么用处,遇到这种问题就先去查看你连接数据库的配置文件四个内容是否书写正确
结语
写代码配置数据库时,一定要仔细啊!