1、Gitlab部署
1.准备环境
gitlab:192.168.111.9 代码仓库
client:192.168.111.4
关闭防火墙与selinux:systemctl stop firewalld && setenforce 0
&*gitlab
[root@git-server ~]# yum install -y git
[root@git-server ~]# git --version
 git version 1.8.3.1
[root@git-server ~]# git config --global user.email "tom@163.com"    #邮箱
[root@git-server ~]# git config --global user.name "tom"    #用户

&*client
[root@client ~]# yum install -y git
[root@client ~]# git config --global user.email "jack@163.com"
[root@client ~]# git config --global user.name "jack"
2.Gitlab安装
[root@gitlab ~]# cd /etc/yum.repos.d/
[root@gitlab yum.repos.d]# vim gitlab-ce.repo
[gitlab-ce]
name=Gitlab CE Repository
baseurl=https://mirrors.tuna.tsinghua.edu.cn/gitlab-ce/yum/el$releasever
gpgcheck=0
enabled=1
安装相关依赖
[root@gitlab yum.repos.d]# yum install -y postfix curl policycoreutils-python openssh-server
[root@gitlab yum.repos.d]# systemctl enable sshd
[root@gitlab yum.repos.d]# systemctl start sshd
安装postfix
[root@gitlab yum.repos.d]# yum install postfix -y #安装邮箱
[root@gitlab yum.repos.d]# systemctl enable postfix
[root@gitlab yum.repos.d]# systemctl start postfix
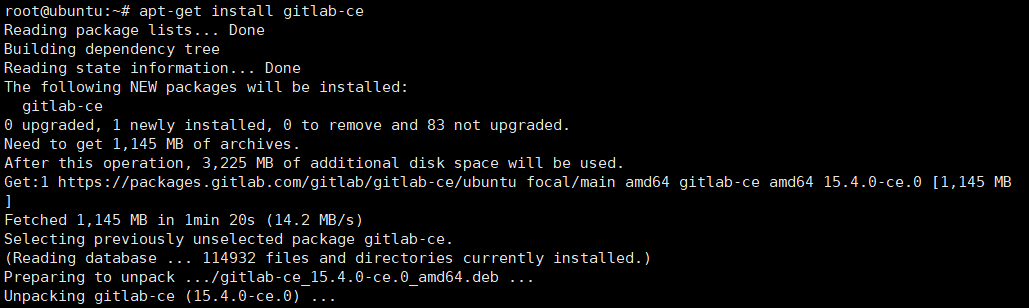
[root@gitlab yum.repos.d]# yum install -y gitlab-ce #将会安装gitlab最新版本这个gitlab有一个多G,请耐心等待.....
3.修改配置文件
[root@gitlab ~]# vim /etc/gitlab/gitlab.rb     #修改及取消注释

#配置gitlab登录链接
external_url 'http://192.168.111.9'            #本机ip
gitlab_rails['time_zone'] = 'Asia/Shanghai'    #设置地区

#数据路径的注释去掉
git_data dirs({
  "default" => {
    "path" => "/mnt/nfs-01/git-data"
   }
})

#开启ssh服务
gitlab_rails['gitlab_shell_ssh_port'] = 22
4.初始化
[root@gitlab ~]# gitlab-ctl reconfigure #需要很长时间,请耐心等待...5.启动
[root@gitlab ~]# gitlab-ctl start #启动6.登录
在gitlab14版本以上,会有默认的root用户,密码在/etc/gitlab/initial_root_password
在浏览器中访问192.168.111.9,输入默认密码登录即可
2、Gitlab的使用
1.先更改默认密码
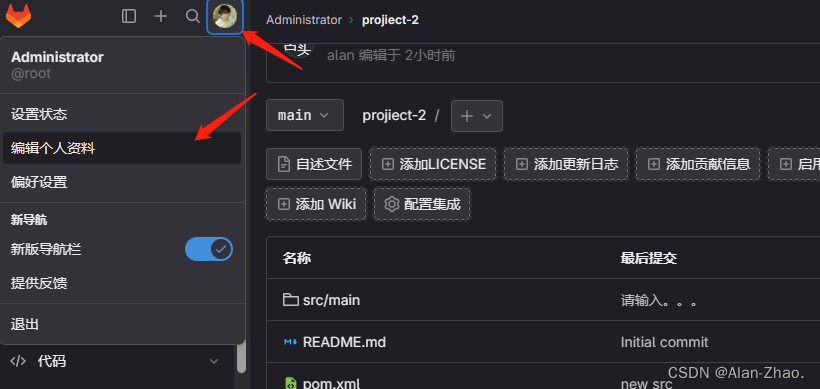

用户:root
密码:12345678
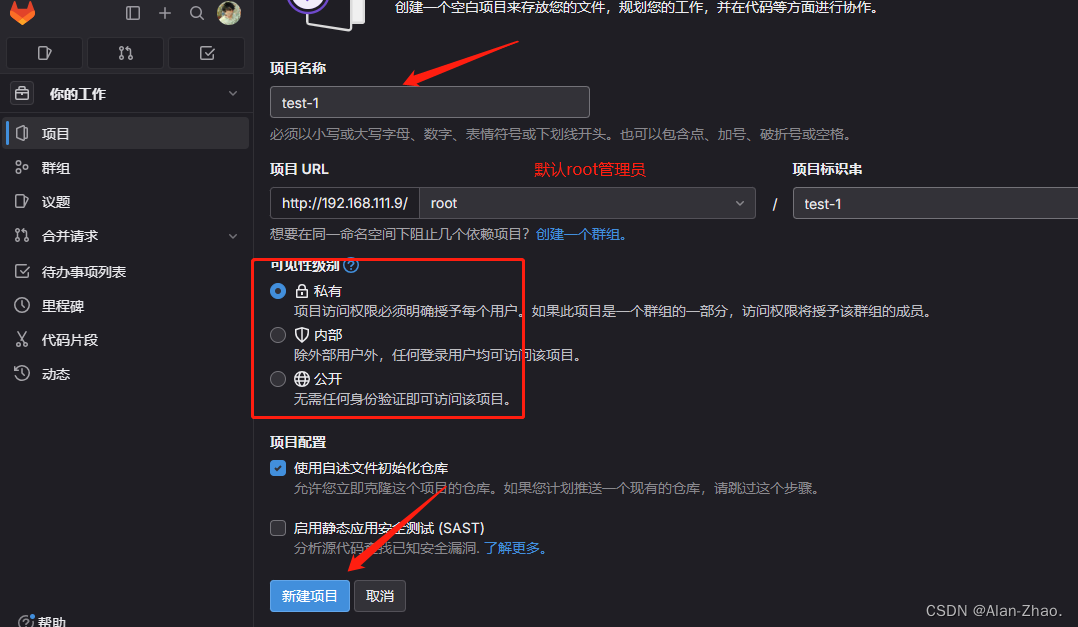
2.创建新项目


3.配置公钥
[root@client ~]# ssh-keygen
[root@client ~]# cat /root/.ssh/id_rsa.pub
ssh-rsa AAAAB3NzaC1yc2EAAAADAQABAAABAQC0HeO8gaua13h9HCJK5RXVc/cjet9DpLYq2dqmQ0LXfP0Vwj6YjKxu7lE1i/4
Y2cmu5lDe8bG22aikyaW38Fnz0bkGfEurdVZii/KCiHBz2lXS1ocuAdloJT4wnc2MUjh/gwc4FuNkWdYvpbMLXSSHIV
jv8vB9YbHlPMTMy5N89kMwMmta5C87/8fBO5VtGijgGOueywM+xAzovlfoJbprV/ZBKkhiskSKz4fHyoGFGwllX3kMk
NR/soGF5XXA+/99iO3UqSaloF0UzfUCgqfMfMVB5zDHGIB6uTrMe6ccfKp9gnVyD7m4Zmk7MwouBwAfMLIiHmvekBGXqb1YCTgJ root@client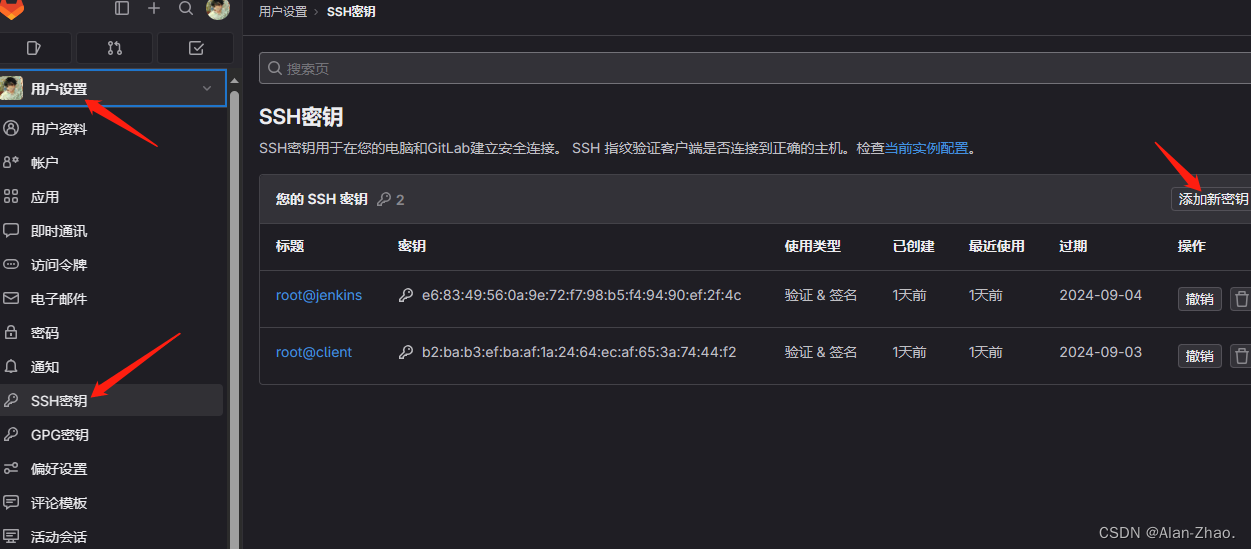

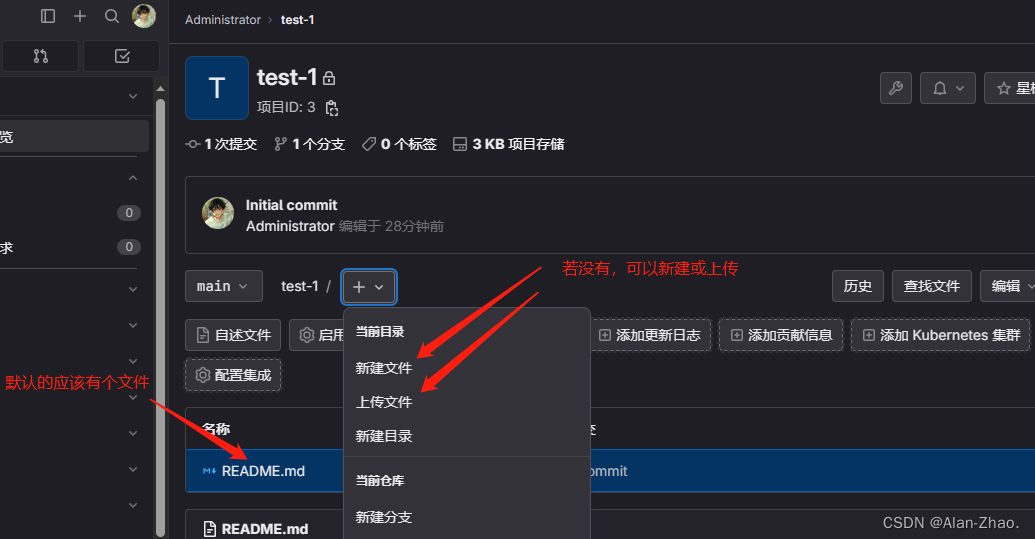
4.生成测试文件
5.在client拉取/推送代码
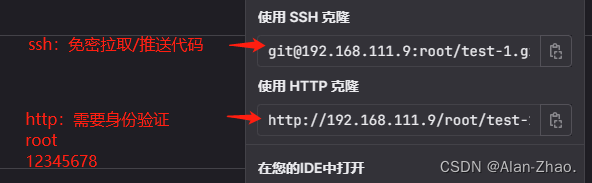
[root@client ~]# git clone git@192.168.111.9:root/test-1.git
Cloning into 'test-1'...
...

[root@client ~]# ls
test-1
root@client ~]# cd test-1/
[root@client test-1]# ls
README.md
[root@client test-1]# vim update.txt
[root@client test-1]# git add .
[root@client test-1]# git commit -m "update_version1"
[master 091798d] update_version1
 1 file changed, 2 insertions(+)
 create mode 100644 update.txt
[root@client test-1]# git push origin main
...
...
最后去gitlab看一下推送成功与否


![[linux] 用命令行wget下载google drive的大文件](https://img-blog.csdnimg.cn/img_convert/080115ab6a2414e7c0faac7958278ff2.png)