1.安装python和pip包
yum install -y epel-releaseyum install -y python python-pip2.pip安装依赖库
pip install pexpect # 此库用相当于linux中的expect命令3.完整脚本
# coding=UTF-8
import sys,os,pexpect,subprocess
host_controller="192.168.174.150" # 控制节点IP地址
host_addresses=["192.168.174.151","192.168.174.152"] # 客户端们的IP地址
host_domains=["client1","client2"] # 客户端们的域名
host_username="root" # ssh连接的用户,控制端的用户为root
host_passwd="110119" # ssh连接的用户密码
# 本地创建ssh公钥
if os.path.exists("/root/.ssh/id_rsa.pub") == True:
print("\033[32m"+"ssh公钥已创建"+"\033[0m") # 输出绿色字体
else:
print("\033[32m"+"ssh公钥未创建,开始创建"+"\033[0m")
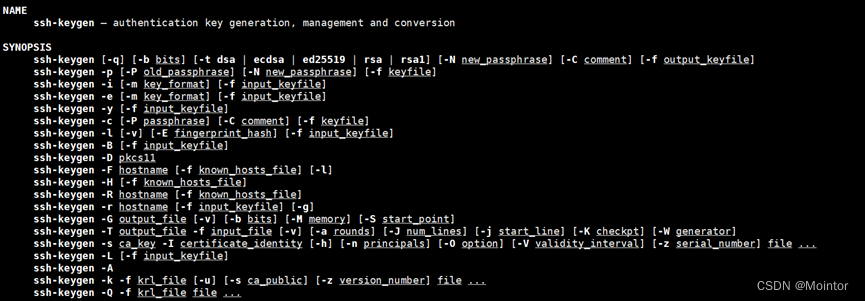
child = pexpect.spawn('ssh-keygen -t rsa -b 1024')
child.expect('Enter file in which to save the key')
child.sendline('')
child.expect('Enter passphrase')
child.sendline('')
child.expect('Enter same passphrase again')
child.sendline('')
child.expect(pexpect.EOF) # 用于等待子进程的结束
print(child.before.decode()) # 等待命令执行完毕并打印输出信息
print("\033[32m" + "ssh公钥已创建" + "\033[0m")
print("\n")
# 向被控主机添加公钥的方法
def add_ssh_public_key_client(address,username,password):
print("\033[32m"+"{}正在被添加公钥".format(address)+"\033[0m")
# BatchMode=yes:表示使SSH在连接过程中不会提示输入密码,而直接尝试免密连接,-o ConnectTimeout=5:表示限制连接超时时间为5秒
public_key_flag=os.system("ssh {}@{} -o BatchMode=yes -o ConnectTimeout=5 'exit'".format(username,address))
if public_key_flag== 0:
print("\033[32m" + "{}已经可以ssh连接".format(address) + "\033[0m")
return
child = pexpect.spawn('ssh-copy-id -i /root/.ssh/id_rsa.pub {}@{}'.format(username,address))
try:
child.expect('Are you sure you want to continue connecting')
except pexpect.TIMEOUT: # 如果try块中的咨询超时5秒没有出现就会出现异常pexpect.TIMEOUT
print("\033[32m"+"{}已经不是首次ssh连接了".format(address)+"\033[0m")
else: # 是否回答咨询yes
child.sendline('yes')
finally:
child.expect('password')
child.sendline(password)
child.expect(pexpect.EOF) # 用于等待子进程的结束
print(child.before.decode()) # 等待命令执行完毕并打印输出信息
# 测试ssh连接的方法
def test_ssh_connection(all_flag,address,username):
print("\033[32m" + "{}测试是否可以ssh连接".format(address) + "\033[0m")
flag=os.system('ssh {}@{} -o ConnectTimeout=5 "exit"'.format(username,address))
if flag==0:
print("\033[32m" + "Success: {}可以ssh免密连接".format(address) + "\033[0m")
else:
print("\033[1;31m" + "Failed: {}ssh免密连接失败".format(address) + "\033[0m") # 输出红色字体
all_flag=1
return all_flag
# 本地的密钥开始加入被控制主机
for i in range(0, len(host_addresses)):
add_ssh_public_key_client(host_addresses[i],host_username,host_passwd)
print("\n")
# 测试ssh连接
for i in range(0, len(host_addresses)):
final_flag=test_ssh_connection(0,host_addresses[i],host_username)
if final_flag ==1:
sys.exit("ssh测试失败,请检查!")
else:
print("\033[32m" + "Success: 全部可以ssh免密连接" + "\033[0m")
print("\n")
4.执行结果
[root@server ~]# python ansible_auto.py
ssh公钥未创建,开始创建
:
Your identification has been saved in /root/.ssh/id_rsa.
Your public key has been saved in /root/.ssh/id_rsa.pub.
The key fingerprint is:
SHA256:RvdYf1KOFDyKBuEB6DbFQdfNP9aBPs1/0vIFnutEj5E root@server
The key's randomart image is:
+---[RSA 1024]----+
|     ++o+o o .o  |
|    . oo... o.oo |
|   . .  o...oo+oo|
|    +  . .o+.==B.|
|   . .  S.. .oE=+|
|       .     .=*=|
|              o=+|
|             .. .|
|             ..  |
+----[SHA256]-----+

ssh公钥已创建


192.168.174.151正在被添加公钥
:

Number of key(s) added: 1

Now try logging into the machine, with:   "ssh 'root@192.168.174.151'"
and check to make sure that only the key(s) you wanted were added.


192.168.174.152正在被添加公钥
:

Number of key(s) added: 1

Now try logging into the machine, with:   "ssh 'root@192.168.174.152'"
and check to make sure that only the key(s) you wanted were added.


Success: 192.168.174.151可以ssh免密连接
Success: 全部可以ssh免密连接


Success: 192.168.174.152可以ssh免密连接
Success: 全部可以ssh免密连接


![[ISCTF 2023]——Web、Misc较全详细Writeup、Re、Crypto部分Writeup](https://img-blog.csdnimg.cn/img_convert/b67e75506d22a9c20b05d7baa3f50886.png)


![web:[GXYCTF2019]BabyUpload(文件上传、一句话木马、文件过滤)](https://img-blog.csdnimg.cn/direct/d3617f4b1acc4e8bb0fb69f0f6ac4cc3.png)