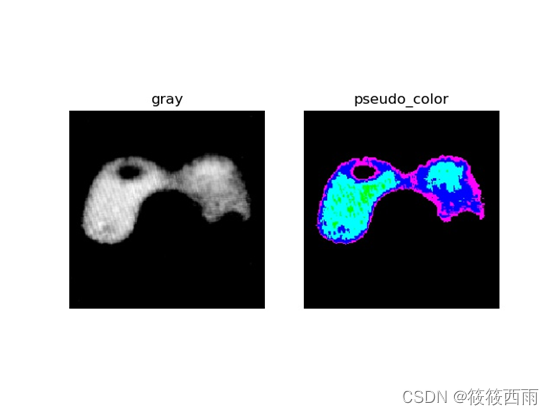
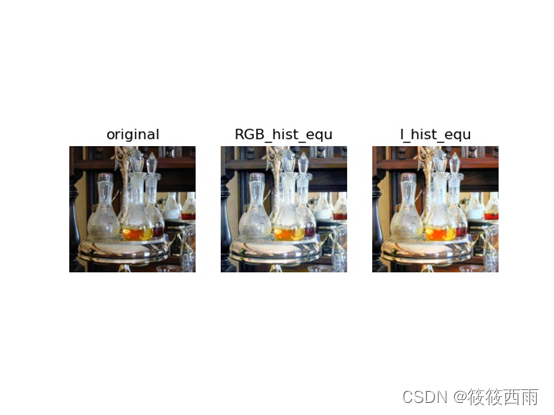
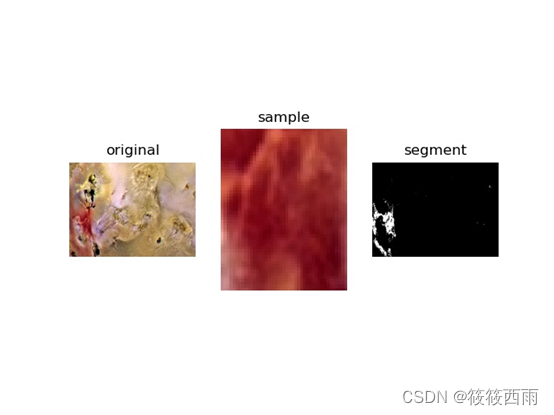
- 待处理图像 ML.jpg

1. 使用 opencv
import cv2
import matplotlib.pyplot as plt
import numpy as np
image = cv2.imread('ML.jpg')
plt.imshow(image)
print(type(image))
print(image.shape)
b,g,r = cv2.split(image)
print(b.shape,g.shape,r.shape)
plt.figure(figsize=(12, 4))
plt.subplot(1,3,1),plt.imshow(b,cmap='gray'),plt.title('Blue Channel')
plt.subplot(1,3,2),plt.imshow(g,cmap='gray'),plt.title('Green Channel')
plt.subplot(1,3,3),plt.imshow(r,cmap='gray'),plt.title('Red Channel')
plt.show()

cv2.imwrite('ML_cv_B.jpg',b)
cv2.imwrite('ML_cv_G.jpg',g)
cv2.imwrite('ML_cv_R.jpg',r)
print(b.shape,g.shape,r.shape)
image_b = cv2.imread('ML_cv_B.jpg',cv2.IMREAD_GRAYSCALE)
image_g = cv2.imread('ML_cv_G.jpg',cv2.IMREAD_GRAYSCALE)
image_r = cv2.imread('ML_cv_R.jpg',cv2.IMREAD_GRAYSCALE)
image_bgr = cv2.merge([image_b,image_g,image_r])
print(image_bgr.shape)
plt.imshow(image_bgr)
2. 使用 numpy
import numpy as np
import matplotlib.pyplot as plt
from PIL import Image
image = Image.open('ML.jpg')
print(image)
arr = np.array(image)
print(arr.shape)
r,g,b = arr[:,:,0],arr[:,:,2],arr[:,:,2]
print(r.shape,g.shape,b.shape)
plt.imshow(arr)
plt.subplot(131),plt.imshow(r,cmap='gray')
plt.subplot(132),plt.imshow(g,cmap='gray')
plt.subplot(133),plt.imshow(b,cmap='gray')

在这里插入代码片
img_r = Image.fromarray(r)
img_g = Image.fromarray(g)
img_b = Image.fromarray(b)
print(img_r)
img_r.save('ML_PIL_R.jpg')
img_g.save('ML_PIL_G.jpg')
img_b.save('ML_PIL_B.jpg')
image_r = Image.open('ML_PIL_R.jpg')
image_g = Image.open('ML_PIL_G.jpg')
image_b = Image.open('ML_PIL_B.jpg')
print(image_r)
R,G,B = np.array(image_r),np.array(image_g),np.array(image_b)
print(R.shape,G.shape,B.shape)
RGB_Image = np.stack([R,G,B],2)
print(RGB_Image.shape)
plt.imshow(RGB_Image)
- 这里有个问题,重新堆叠的图像彩色没有那么鲜艳了


