前言:
没有真正的证书与域名建议使用http+ip的方式在内网使用,不建议使用假的域名地址
一、安装前配置
#更改主机域名
hostnamectl set-hostname gitlab.dome.com
bash
#配置hosts 底部添加下面内容
vim /etc/hosts
############################
ip  gitlab.dome.com
############################

#下载安装所需配置
yum install -y curl policycoreutils openssh-server openssh-clients postfix
#设置postfifix开机自启(postfifix支持gitlab发信功能)。
systemctl enable postfix && systemctl start postfix

#获取gpg秘钥
rpm --import /etc/pki/rpm-gpg/RPM-GPG-KEY-CentOS-7

#运行内存大于4G 硬盘大于20G否则测试环境都搭建不了会报错
二、下载安装gitlab
#三选其一 按照第一种进行的测试
#1、配置gitlab yum源
vim /etc/yum.repos.d/gitlab-ce.repo
############gitlab-ce.repo###########################
[gitlab-ce]
name=Gitlab CE Repository
baseurl=https://mirrors.tuna.tsinghua.edu.cn/gitlab-ce/yum/el$releasever/
gpgcheck=0
enabled=1
###################################################
#更新yum源
yum makecache
#查询是否有gitlab-ce的yum安装包
yum list gitlab-ce
#安装gitlab-ce
yum -y install gitlab-ce

#2、下载gitlab
wget https://mirrors.tuna.tsinghua.edu.cn/gitlab-ce/yum/el7/gitlab-ce-15.2.2-ce.0.el7.x86_64.rpm
rpm -ivh gitlab-ce-15.2.2-ce.0.el7.x86_64.rpm

#3、安装gitlab-ce
curl -sS https://packages.gitlab.com/install/repositories/gitlab/gitlab-ce/script.rpm.sh | sudo bash
yum -y install gitlab-ce
三、手动配置ssl证书
#创建证书存放文件
mkdir -p /etc/gitlab/ssl
#创建私有密钥
openssl genrsa -out "/etc/gitlab/ssl/gitlab.dome.com.key" 2048
#进入存放文件
cd /etc/gitlab/ssl
#查看创建的私有密钥
ll
#创建私有证书
openssl req -new -key "/etc/gitlab/ssl/gitlab.dome.com.key" -out "/etc/gitlab/ssl/gitlab.dome.com.csr"
###################创建密钥信息####################

You are about to be asked to enter information that will be incorporated
into your certificate request.
What you are about to enter is what is called a Distinguished Name or a DN.
There are quite a few fields but you can leave some blank
For some fields there will be a default value,
If you enter '.', the field will be left blank.
-----
Country Name (2 letter code) [XX]:CN          CN  ##国家
State or Province Name (full name) []:SX      BJ   ##省份
Locality Name (eg, city) [Default City]:XA    BJ   ##城市
Organization Name (eg, company) [Default Company Ltd]:    ##空格
Organizational Unit Name (eg, section) []:                ##空格
Common Name (eg, your name or your server's hostname) []:gitlab.example.com
Email Address []:123456@qq.com                 ##邮箱地址记住等会要登录
Please enter the following 'extra' attributes
to be sent with your certificate request
A challenge password []:123456                ## 密码
An optional company name []:                  ##空格
###################################################
创建CRT签署证书
安装完成,创建好了ssl密钥和证书
在ssl目录下ll
可以看到ssl密钥和证书
利用ssl密钥和证书创建签署证书
#创建crt签署证书
openssl x509 -req -days 365 -in "/etc/gitlab/ssl/gitlab.dome.com.csr" -signkey "/etc/gitlab/ssl/gitlab.dome.com.key" -out "/etc/gitlab/ssl/gitlab.dome.com.crt"

ll /etc/gitlab/ssl/
用openssl签署pem证书
openssl dhparam -out /etc/gitlab/ssl/dhparams.pem 2048更改ssl下的所有证书的权限
chmod 600 *四、配置证书到gitlab证书中
vim /etc/gitlab/gitlab.rb
external_url 'https://gitlab.dome.com'      ###改为https开头
nginx['redirect_http_to_https'] = true           ###取消#号更改注释并为true  1397行
nginx['ssl_certificate'] = "/etc/gitlab/ssl/gitlab.dome.com.crt"     ###更改路径
nginx['ssl_certificate_key'] = "/etc/gitlab/ssl/gitlab.dome.com.key"     ###更改路径
nginx['ssl_dhparam'] = "/etc/gitlab/ssl/dhparams.pem"   ##更改路径###   # Path to dhparams.pem, eg.  /etc/gitlab/ssl/dhparams.pem
更改完之后初始化命令执行
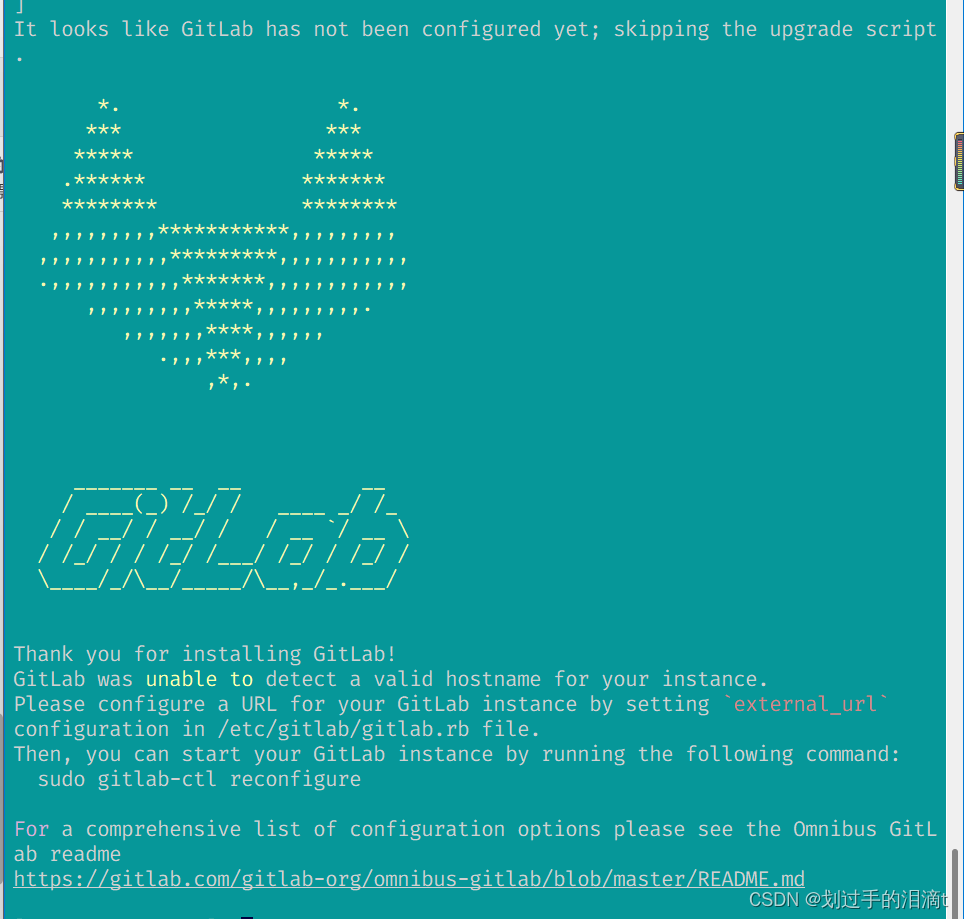
#初始化gitlab-ce    如果初始化报错不成功则重启之后再进行初始化
gitlab-ctl reconfigure
#重启gitlab-ce
gitlab-ctl restart

gitlab-ctl restart sidekiq
对nginx进行操作
cd /var/opt/gitlab/nginx/conf/
#编辑gitlab-http.conf文件
vim gitlab-http.conf
###########gitlab-http.conf#####################
server_name gitlab.example.com;    #在这个下面添加下面语句
rewrite ^(.*)$ https://$host$1 permanent;      ####需要添加的配置 注:(配置在80端口)
################################
五、重启gitlab
#重启gitlab
gitlab-ctl restart
六、在windows系统里面操作
在C:\Windows\System32\drivers\etc\hosts 添加以下
##############hosts###########################
192.168.90.218        gitlab.dome.com
##############################################
#验证
ping 192.168.90.218


浏览器登录 gitlab    机器配置要大于4g内存,否则很容易启动不了,报502
浏览器输入:https://gitlab.dome.com
七、查看初始密码
#初始管理员账号:root
#查看初始密码
cat /etc/gitlab/initial_root_password
中文设置
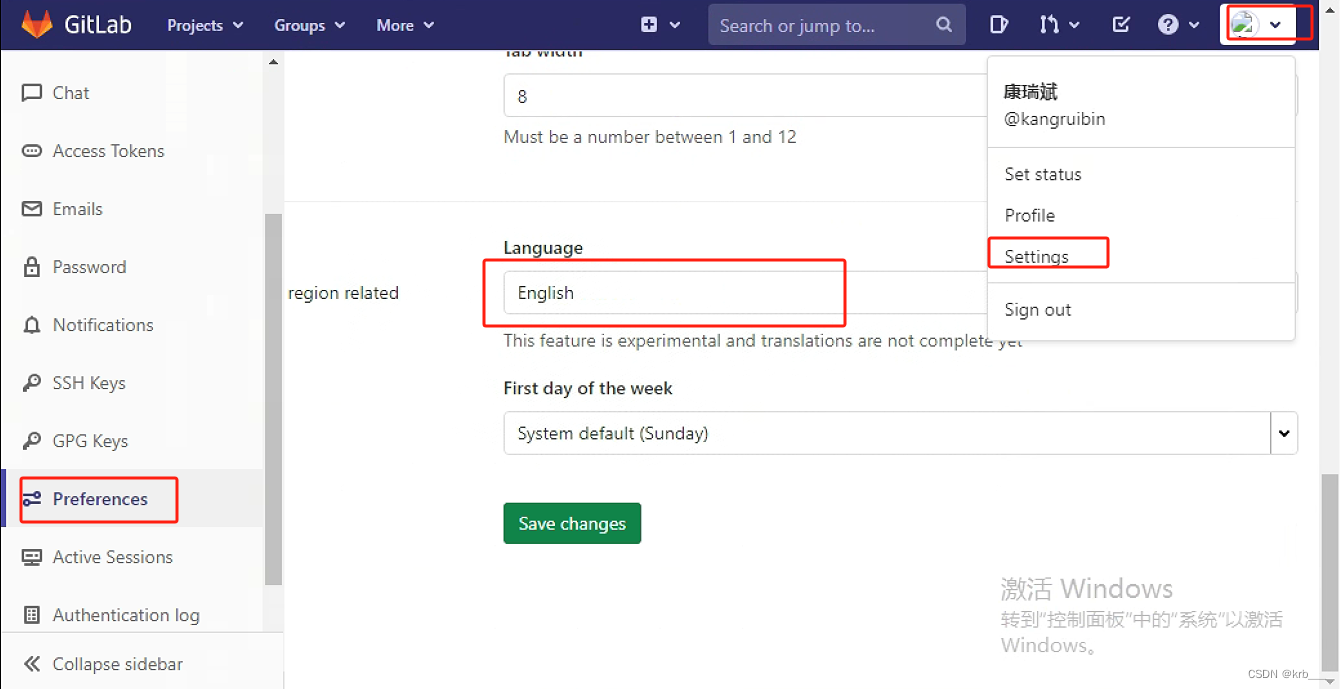
问题处理
若没有真正的证书,建议不要用opssl签署的证书来配置https 协议 gitlab 域名 建议直接用 http协议 否则jenkins引用gitlab会报错一直无法通过用户名密码验证或者密钥验证
gitlab改成http协议
#1、修改配置文件gitlab.rb
vim /etc/gitlab/gitlab.rb
#############gitlab.rb 内容只有下面一条其他的可以自己加不过ssl相关需要注释掉##############
external_url 'http://IP地址'
################################################################################
#2、重新获取配置文件
gitlab-ctl reconfigure
#3、重启gitlab
gitlab-ctl restart

#访问地址
http://IP地址


![[未公开0day]宏景HCM人力资源信息管理系统存在前台RCE](https://img-blog.csdnimg.cn/direct/8a3108d8ea124ea39068fa203ffd4ff9.png)