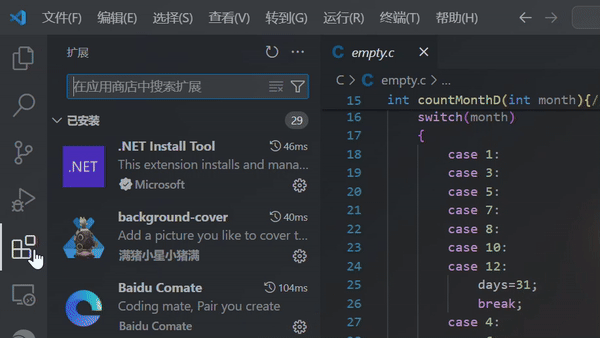
一、创建你以后用来写C/C++的
文件夹:
小编直接在桌面上做了一个做演示:code文件夹下有 .vscode、C、C++ 三个子文件夹。
注意vscode前有个点是 .vscode(这个文件夹必须有,下面的“.json”文件都保存在这个文件夹里)

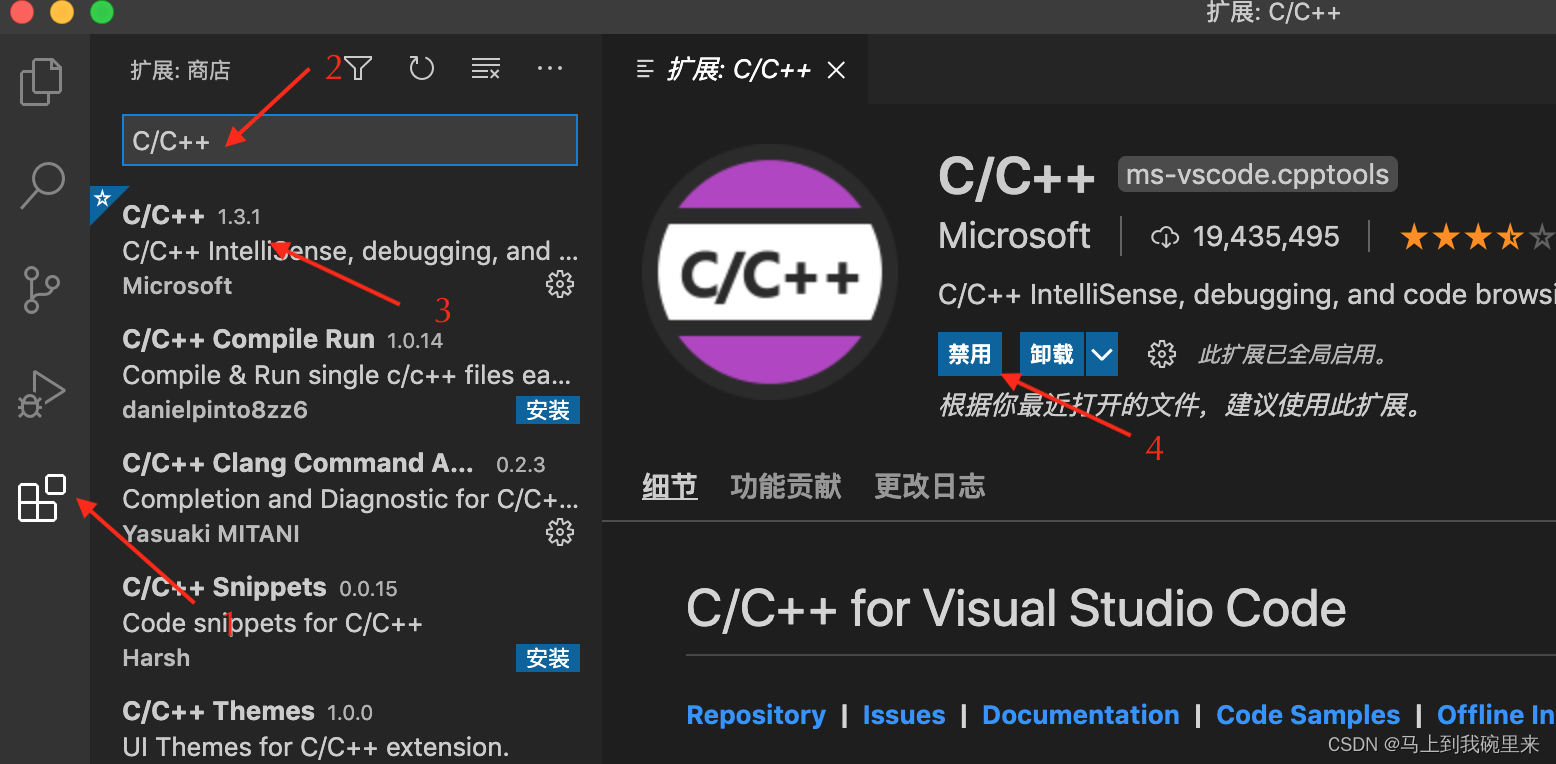
二、下载必备的扩展:
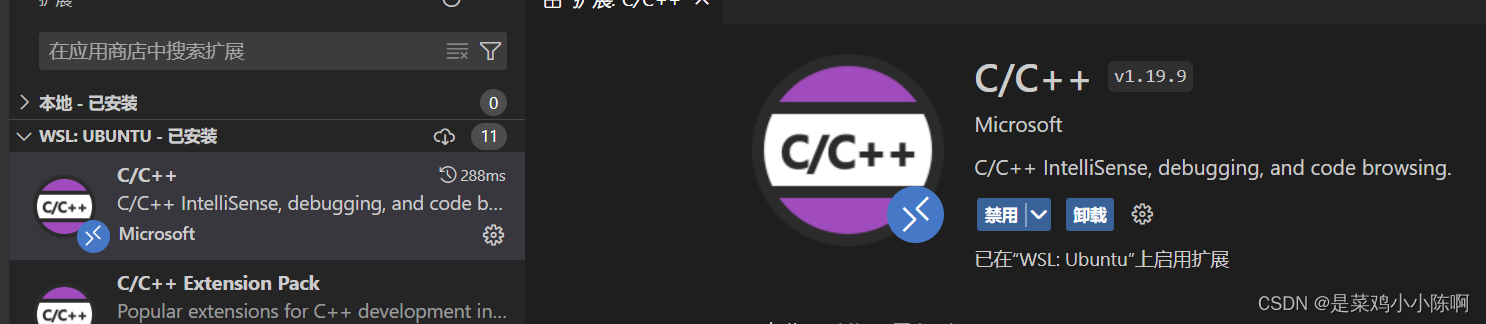
C/C++的插件
1、C/C++ Compile Run
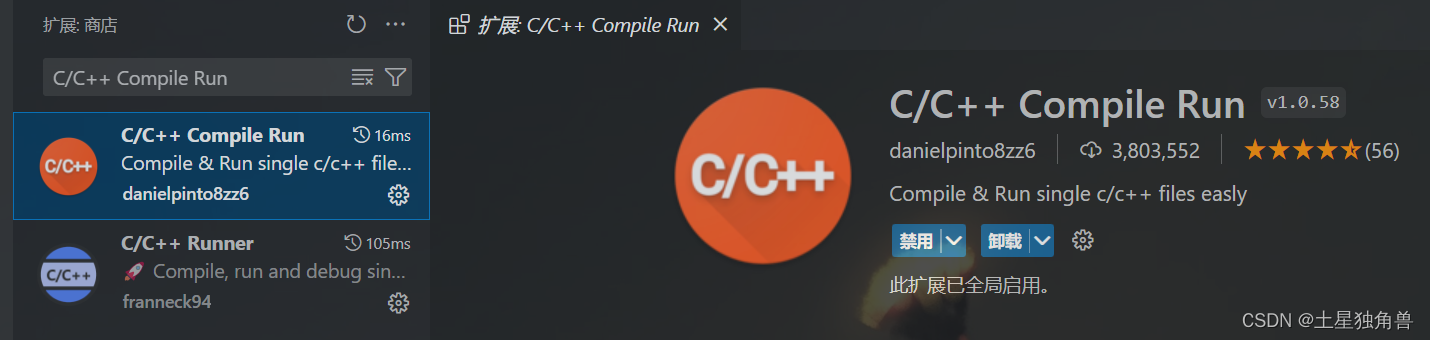
2、C/C++(可以把上面三个都下了,哈哈)
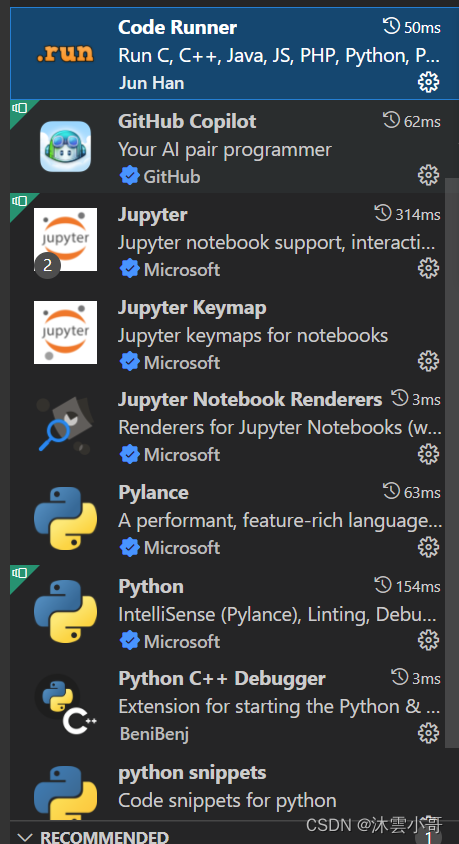
3、Code Runner

4、Language Support for Java(TM) by Red Hat

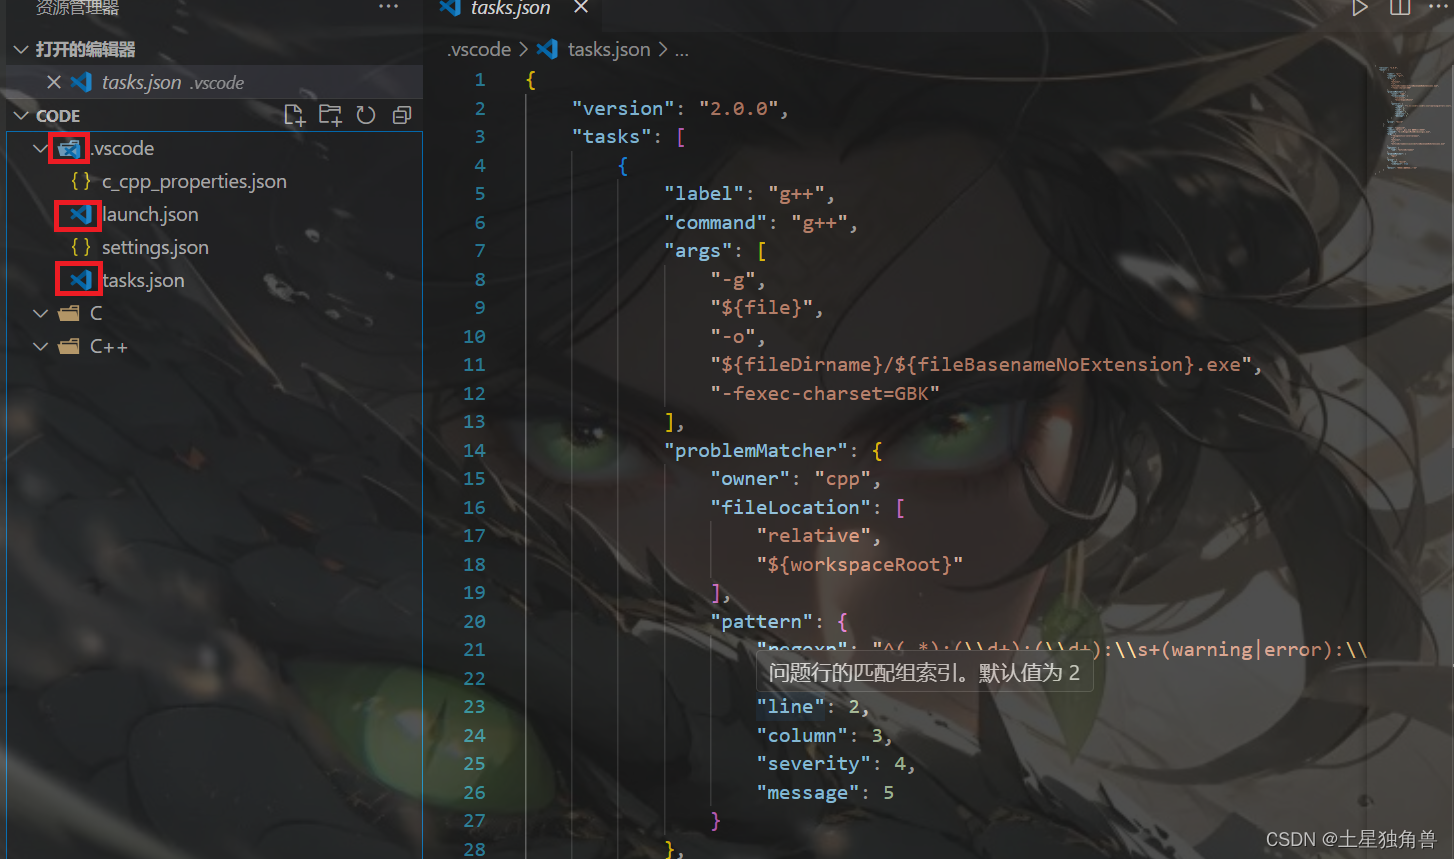
三、.vscode文件夹中的文件:
1、在vscode中打开桌面上刚刚建的文件夹code

2、在 .vscode 下创建以下文件 (源码在下面)
如果在上期MinGW安装路径是和小编一样的代码直接复制,
和小编不一样的就要修改 “c_cpp_properties.json” 、“launch.json” 、“tasks.json”中关于路径的代码
1、c_cpp_properties.json
2、launch.json
3、settings.json
4、tasks.json
(1)、c_cpp_properties.json
{
    "configurations": [
      {
        "name": "Win64",
        "includePath": ["${workspaceFolder}/**"],
        "defines": ["_DEBUG", "UNICODE", "_UNICODE"],
        "windowsSdkVersion": "10.0.18362.0",
        "compilerPath": "C:/Mingw/MinGW/bin/gcc.exe",
        "cStandard": "c17",
        "cppStandard": "c++17",
        "intelliSenseMode": "gcc-x64"
      }
    ],
    "version": 4
  }
(2)、launch.json
{
"version": "0.2.0",
  "configurations": [
      {
          "name": "g++.exe",
          "type": "cppdbg",
          "request": "launch",
          "program": "C:\\Windows\\System32\\cmd.exe",
          "args": ["/c","${fileDirname}\\coin\\${fileBasenameNoExtension}.exe","&","pause"],
          "stopAtEntry": false,
          "cwd": "${fileDirname}",
          "environment": [],
          "externalConsole": true,
          "MIMode": "gdb",
          "miDebuggerPath": "C:\\Mingw\\MinGW\\bin\\gcc.exe",
          "preLaunchTask": "C/C++: g++.exe",
          "setupCommands": [
              {
                  "description": "gdb",
                  "text": "-enable-pretty-printing",
                  "ignoreFailures": true
              },
              {
                  "description": "Intel",
                  "text": "-gdb-set disassembly-flavor intel",
                  "ignoreFailures": true
              }
          ]
      }
  ]
}
(3)、settings.json
{
    "files.associations": {
      "*.py": "python",
      "iostream": "cpp",
      "*.tcc": "cpp",
      "string": "cpp",
      "unordered_map": "cpp",
      "vector": "cpp",
      "ostream": "cpp",
      "new": "cpp",
      "typeinfo": "cpp",
      "deque": "cpp",
      "initializer_list": "cpp",
      "iosfwd": "cpp",
      "fstream": "cpp",
      "sstream": "cpp",
      "map": "c",
      "stdio.h": "c",
      "algorithm": "cpp",
      "atomic": "cpp",
      "bit": "cpp",
      "cctype": "cpp",
      "clocale": "cpp",
      "cmath": "cpp",
      "compare": "cpp",
      "concepts": "cpp",
      "cstddef": "cpp",
      "cstdint": "cpp",
      "cstdio": "cpp",
      "cstdlib": "cpp",
      "cstring": "cpp",
      "ctime": "cpp",
      "cwchar": "cpp",
      "exception": "cpp",
      "ios": "cpp",
      "istream": "cpp",
      "iterator": "cpp",
      "limits": "cpp",
      "memory": "cpp",
      "random": "cpp",
      "set": "cpp",
      "stack": "cpp",
      "stdexcept": "cpp",
      "streambuf": "cpp",
      "system_error": "cpp",
      "tuple": "cpp",
      "type_traits": "cpp",
      "utility": "cpp",
      "xfacet": "cpp",
      "xiosbase": "cpp",
      "xlocale": "cpp",
      "xlocinfo": "cpp",
      "xlocnum": "cpp",
      "xmemory": "cpp",
      "xstddef": "cpp",
      "xstring": "cpp",
      "xtr1common": "cpp",
      "xtree": "cpp",
      "xutility": "cpp",
      "stdlib.h": "c",
      "string.h": "c"
    },
    "editor.suggest.snippetsPreventQuickSuggestions": false,
    "terminal.integrated.profiles.windows": {
      "PowerShell": {
          "source": "PowerShell",
          "icon": "terminal-powershell",
          "args": [
              "-NoLogo",
              "-NoExit",
              "-Command",
              "chcp.com 65001"
          ]
      },
      "Command Prompt": {
          "path": [
              "${env:windir}\\Sysnative\\cmd.exe",
              "${env:windir}\\System32\\cmd.exe"
          ],
          "args": [
              "/K",
              "chcp 65001"
          ],
          "icon": "terminal-cmd"
      }
  },
    "aiXcoder.showTrayIcon": true,
    "files.encoding": "gbk",
    "files.autoGuessEncoding": true
  }
(4)、tasks.json
{
    "version": "2.0.0",
    "tasks": [
        {
            "label": "g++",
            "command": "g++",
            "args": [
                "-g",
                "${file}",
                "-o",
                "${fileDirname}/${fileBasenameNoExtension}.exe",
                "-fexec-charset=GBK"
            ],
            "problemMatcher": {
                "owner": "cpp",
                "fileLocation": [
                    "relative",
                    "${workspaceRoot}"
                ],
                "pattern": {
                    "regexp": "^(.*):(\\d+):(\\d+):\\s+(warning|error):\\s+(.*)$",
                    "file": 1,
                    "line": 2,
                    "column": 3,
                    "severity": 4,
                    "message": 5
                }
            },
            "group": "build"
        },
        {
            "type": "cppbuild",
            "label": "C/C++: gcc.exe 生成活动文件",
            "command": "C:\\Mingw\\MinGW\\bin\\gcc.exe",
            "args": [
                "-fdiagnostics-color=always",
                "-g",
                "${file}",
                "-o",
                "${fileDirname}\\coin\\${fileBasenameNoExtension}.exe"
            ],
            "options": {
                "cwd": "${fileDirname}"
            },
            "problemMatcher": [
                "$gcc"
            ],
            "group": {
                "kind": "build",
                "isDefault": true
            },
            "detail": "调试器生成的任务。"
        }
    ]
}
最后:(文件图标与小编不一样也不会有影响)
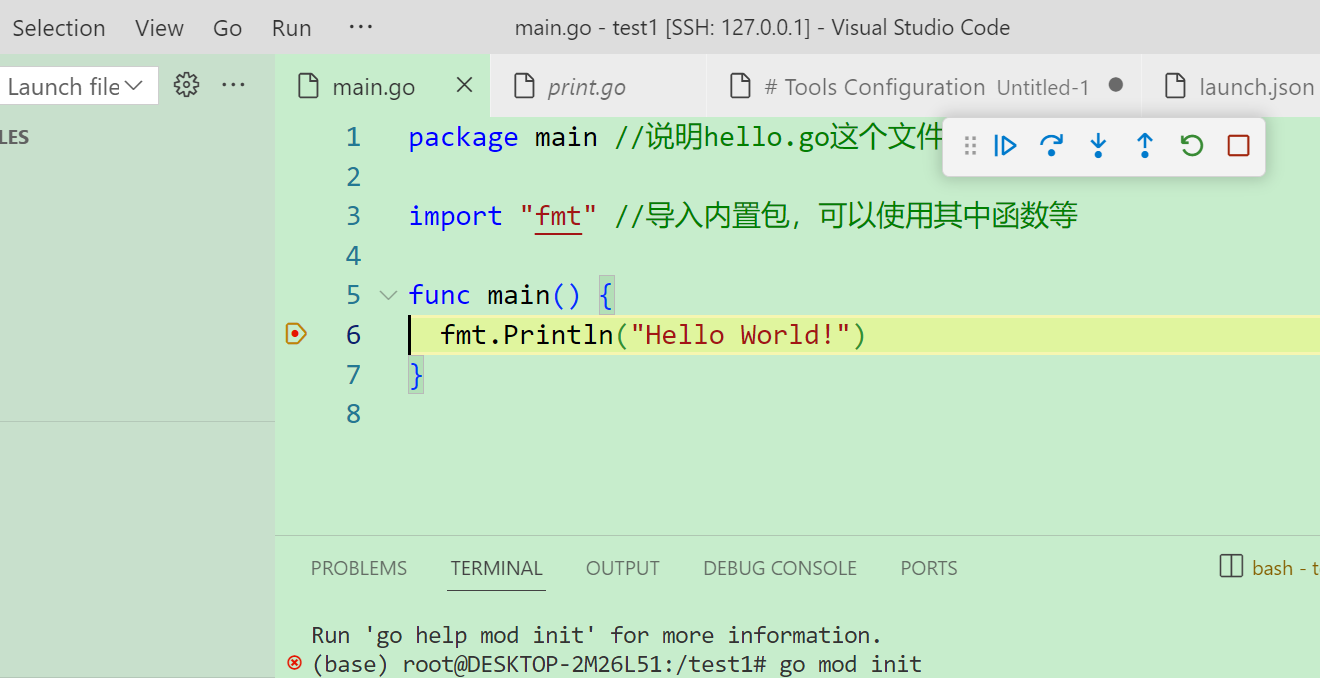
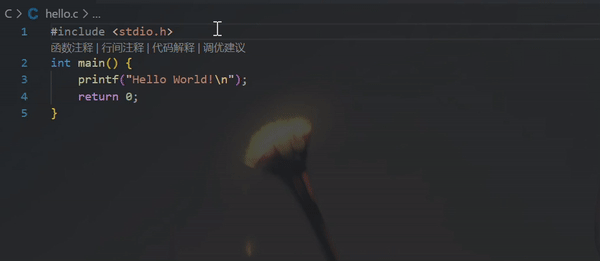
四、创建第一个C语言项目“hello.c”:
如图所示:现在用F6和F8运行程序
#include <stdio.h>
int main() {
    printf("Hello World!\n");
    return 0;
}
用F6或F8打印一下 (用鼠标点击代码任意行,再按F6或F8运行)
或者点击代码任意行,右击鼠标,Run Code
点击小编头像,主页有上。
注:小编好像忘记了,找不到g++的,点击vscode桌面图标>鼠标右键>属性>兼容性>以管理员身份运行。