1,案例描述:
- 公司今天招聘了10个员工(ABCDEFGHI),10名员工进入公司之后,需要指派员工在那个部门工作
- 员工信息有: 姓名 工资组成;部门分为:策划、美术、研发
- 随机给10名员工分配部门和工资
- 通过multimap进行信息的插入 key(部门编号)value(员工)
- 分部门显示员工信息
2 实现步骤
2.1.创建10名员工,放到vector中
1.先创建员工类:
class Worker
{
public:
	string m_Name;
	int m_Salary;
};
2.在main()函数中,创建10名员工的函数体代码:
//1.创建10名员工,放到vector中
vector<Worker>vWorker;
createWorker(vWorker);
2.2.谝历vector容器,取出每个员工,进行随机分组
3.在createWorker(vWorker)封装创建员工的函数谝历vector容器
// 2,进行随机分组
void createWorker(vector<Worker>& v)
{
	string nameSeed = "ABCDEFGHIJ";
	for (int i = 0; i < 10; i++)
	{
		Worker worker;
		worker.m_Name = "员工";
		worker.m_Name += nameSeed[i];

		worker.m_Salary = rand() % 10000 + 10000; //10000~19999
		//将员工放入容器中
		v.push_back(worker);
	}
}
2.3.分组后,将员工部门编号作为key,具体员工作为value,放入到multimap容器中
1,在主函数中创建map容器,将员工部门编号作为key,具体员工作为value,放入到multimap容
器中
//2,员工分组
multimap<int, Worker>mWorker;
setGroup(vWorker, mWorker);
2,将员工分组的函数进行封装
void setGroup(vector<Worker>&v,multimap<int,Worker>&m)
{
	for (vector<Worker>::iterator it = v.begin(); it != v.end(); it++)
	{
		//产生随机部门编号
		int deptId = rand() % 3;//0~2

		//将员工插入到分组中
		//key部门编号,value为具体员工
		m.insert(make_pair(deptId, *it));
	}
}
随机生成部门编号后,我们可以在头文件宏定义:
策划部门编号为0
美术部门的编号为1
研发部门编号为2
#define CEHUA 0
#define MEISHU 1
#define YANFA 2
2.4.分部门显示员工信息
1,在主函数中创建显示分组员工的函数
	//3,显示分组员工
	showWorkerGroup(mWorker);
2,封装该函数
//4,显示分组员工
void showWorkerGroup(multimap<int,Worker>&m)
{
	//0 A B C 1 D E 2 F G ...
	cout << "策划部门: " << endl;

	multimap<int, Worker>::iterator pos = m.find(CEHUA);
	int count = m.count(CEHUA);//统计策划的人数
	int index = 0;
	for (; pos != m.end() && index < count; pos++, index++)
	{
		cout << "姓名;" << pos->second.m_Name << "\t" << "工资:"<< pos->second.m_Salary << endl;
	}

	//用同样的方法给其他部门统计
	cout << "--------------------------------------" << endl;
	cout << "策划部门: " << endl;
	pos = m.find(MEISHU);
	count = m.count(MEISHU);//统计策划的人数
	index = 0;
	for (; pos != m.end() && index < count; pos++, index++)
	{
		cout << "姓名;" << pos->second.m_Name << "\t" << "工资:" << pos->second.m_Salary << endl;
	}

	cout << "--------------------------------------" << endl;
	cout << "研发部门: " << endl;
	pos = m.find(YANFA);
	count = m.count(YANFA);//统计策划的人数
	index = 0;
	for (; pos != m.end() && index < count; pos++, index++)
	{
		cout << "姓名;" << pos->second.m_Name << "\t" << "工资:"  << pos->second.m_Salary << endl;
	}
}
代码解释:
先寻找策划部门的代码(0),然后利用count统计策划部门的人数,然后遍历策划部门的员工姓名和工资
2.5 在主函数插入随机数种子,让每次生成的效果的员工分组的情况和员工的工资都有变化
srand((unsigned)time(NULL));3,代码的整体实现
#include<iostream>
using namespace std;
#include<vector>
#include<string>
#include<map>
#define CEHUA 0
#define MEISHU 1
#define YANFA 2
#include<ctime>
/*公司今天招聘了10个员工(ABCDEFGHI),10名员工进入公司之后,需要指派员工在那个部门工作
员工信息有: 姓名 工资组成;部门分为:策划、美术、研发
随机给10名员工分配部门和工资
通过multimap进行信息的插入 key(部门编号)value(员工)
分部门显示员工信息*/
class Worker
{
public:
string m_Name;
int m_Salary;
};
// 2,进行随机分组
void createWorker(vector<Worker>& v)
{
string nameSeed = "ABCDEFGHIJ";
for (int i = 0; i < 10; i++)
{
Worker worker;
worker.m_Name = "员工";
worker.m_Name += nameSeed[i];
worker.m_Salary = rand() % 10000 + 10000; //10000~19999
//将员工放入容器中
v.push_back(worker);
}
}
//员工分组
//3.分组后,将员工部门编号作为key,具体员工作为value,放入到multimap容器中
void setGroup(vector<Worker>&v,multimap<int,Worker>&m)
{
for (vector<Worker>::iterator it = v.begin(); it != v.end(); it++)
{
//产生随机部门编号
int deptId = rand() % 3;//0~2
//将员工插入到分组中
//key部门编号,value为具体员工
m.insert(make_pair(deptId, *it));
}
}
//4,显示分组员工
void showWorkerGroup(multimap<int,Worker>&m)
{
//0 A B C 1 D E 2 F G ...
cout << "策划部门: " << endl;
multimap<int, Worker>::iterator pos = m.find(CEHUA);
int count = m.count(CEHUA);//统计策划的人数
int index = 0;
for (; pos != m.end() && index < count; pos++, index++)
{
cout << "姓名;" << pos->second.m_Name << "\t" << "工资:"<< pos->second.m_Salary << endl;
}
//用同样的方法给其他部门统计
cout << "--------------------------------------" << endl;
cout << "策划部门: " << endl;
pos = m.find(MEISHU);
count = m.count(MEISHU);//统计策划的人数
index = 0;
for (; pos != m.end() && index < count; pos++, index++)
{
cout << "姓名;" << pos->second.m_Name << "\t" << "工资:" << pos->second.m_Salary << endl;
}
cout << "--------------------------------------" << endl;
cout << "研发部门: " << endl;
pos = m.find(YANFA);
count = m.count(YANFA);//统计策划的人数
index = 0;
for (; pos != m.end() && index < count; pos++, index++)
{
cout << "姓名;" << pos->second.m_Name << "\t" << "工资:" << pos->second.m_Salary << endl;
}
}
int main()
{
srand((unsigned)time(NULL));
//1.创建10名员工,放到vector中
vector<Worker>vWorker;
createWorker(vWorker);
//2,员工分组
multimap<int, Worker>mWorker;
setGroup(vWorker, mWorker);
//3,显示分组员工
showWorkerGroup(mWorker);
system("pause");
return 0;
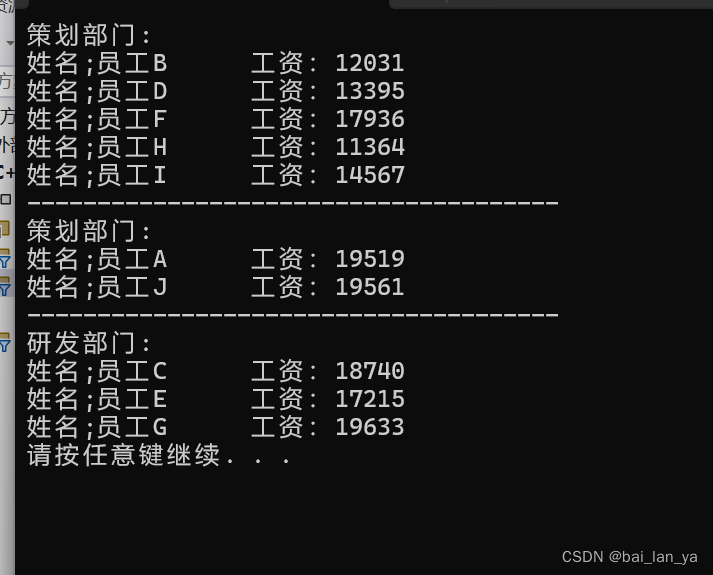
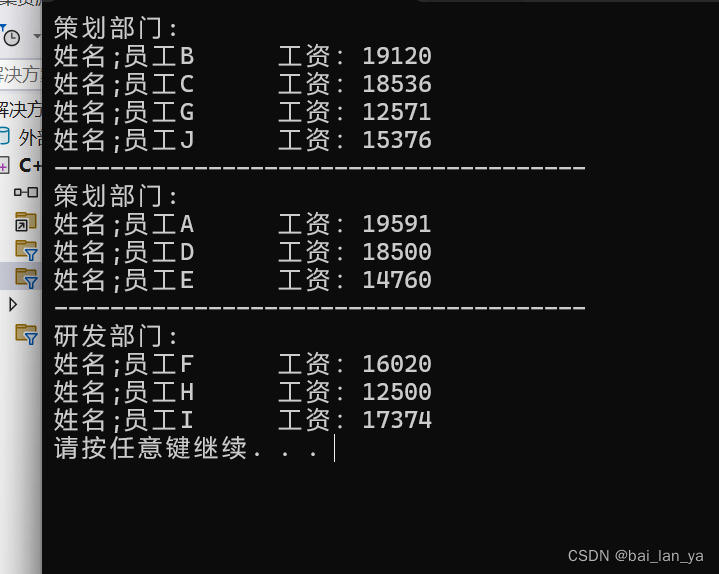
}4,代码效果展示