1、UI效果图:
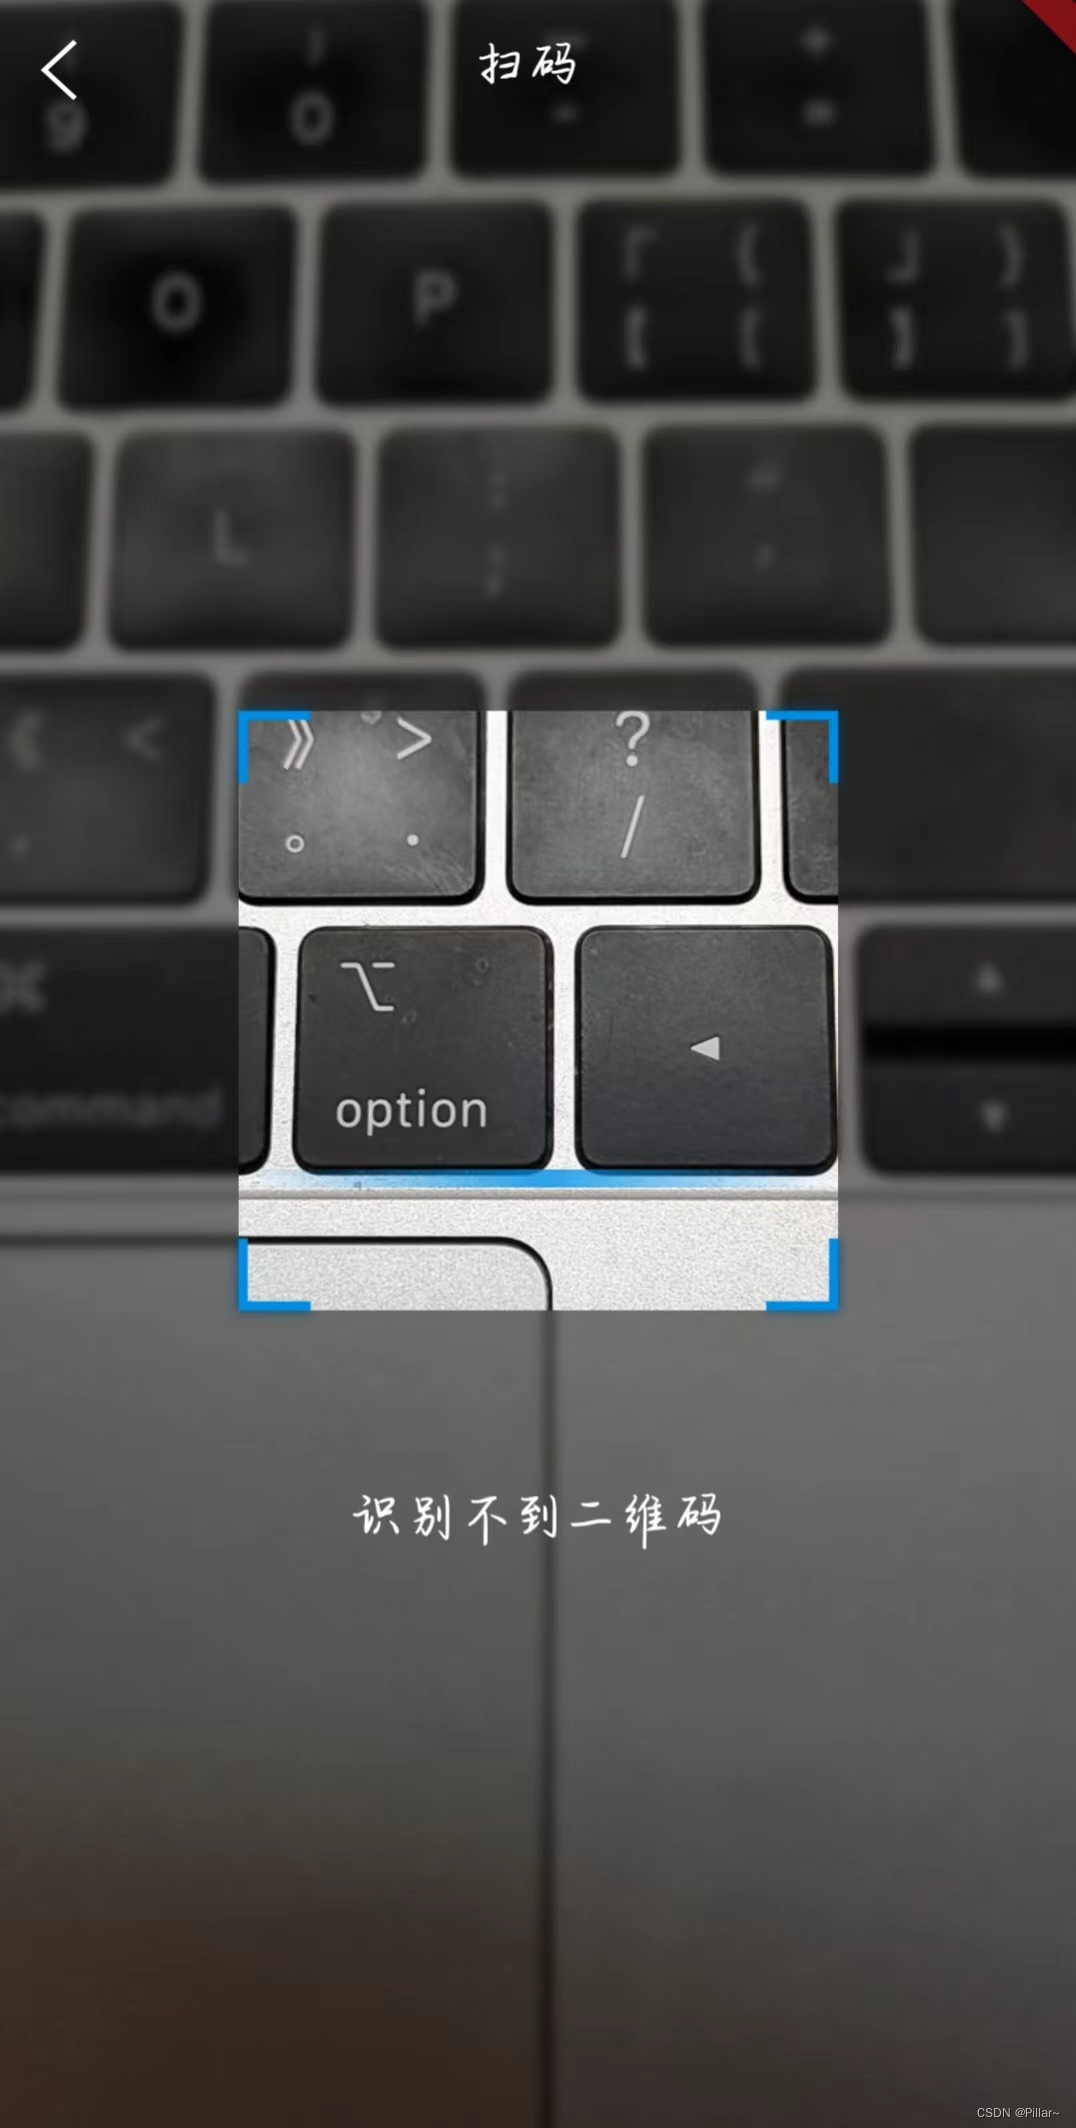
2、中间镂空UI:
class CenterTransparentMask extends CustomClipper<Path> {
  final double? width;

  CenterTransparentMask({this.width});

  @override
  Path getClip(Size size) {
    final path = Path()
      ..addRect(Rect.fromLTWH(0, 0, size.width,
          size.height + MediaQuery.of(Get.context!).padding.bottom))
      ..addRect(Rect.fromLTWH(
          (size.width - (width ?? 200)) / 2,
          (size.height +
                  MediaQuery.of(Get.context!).padding.bottom -
                  (width ?? 200)) /
              2,
          width ?? 200,
          width ?? 200));

    return path..fillType = PathFillType.evenOdd;
  }

  @override
  bool shouldReclip(CustomClipper<Path> oldClipper) {
    return false;
  }
}
3、扫码UI:
class ScanWidget extends StatefulWidget {
  const ScanWidget({super.key});

  @override
  State<ScanWidget> createState() => _ScanWidgetState();
}

class _ScanWidgetState extends State<ScanWidget> with TickerProviderStateMixin {
  late Animation<double> animation;
  late AnimationController _controller;

  @override
  void initState() {
    super.initState();
    initAnima();
  }

  void initAnima() {
    _controller = AnimationController(
      duration: const Duration(seconds: 4),
      vsync: this,
    );

    animation = Tween(begin: -100.0, end: 100.0).animate(_controller)
      ..addListener(() {
        if (mounted) setState(() => {});
      });
    _controller.repeat();
  }

  @override
  void dispose() {
    _controller.dispose();
    super.dispose();
  }

  @override
  Widget build(BuildContext context) {
    return Stack(
      alignment: Alignment.center,
      children: [
        _scanBorder(),
        _scanCenter(context),
        Transform.translate(
          offset: Offset(0, animation.value),
          child: _scanLine(),
        ),
      ],
    );
  }

  Widget _scanCenter(BuildContext context) {
    return ClipPath(
      clipper: CenterTransparentMask(),
      child: BackdropFilter(
        filter: ImageFilter.blur(sigmaX: 2, sigmaY: 2),
        child: Container(
          color: Colors.black.withOpacity(0.5),
          width: SystemUtil().getScreenWidth(context),
          height: SystemUtil().getScreenHeight(context),
        ),
      ),
    );
  }

  Widget _scanBorder() {
    return Image.asset(
      ImageUtils.getImgPath("img_border", "scan"),
      width: 200,
      height: 200,
    );
  }

  Widget _scanLine() {
    return Image.asset(
      ImageUtils.getImgPath("image_line", "scan"),
      width: 200,
      height: 6,
    );
  }
}
3、图片加载工具类:
class ImageUtils {
  static String getImgPath(String name, String moduleName,
      {String format = "png"}) {
    return "assets/images/$moduleName/$name.$format";
  }
}