本笔记主要记录metrics相关的内容,详细内容请参考代码注释,代码本身只使用了Accuracy和Mean。本节的代码基于上篇笔记FashionMnist的代码经过简单修改而来,上篇笔记链接如下:
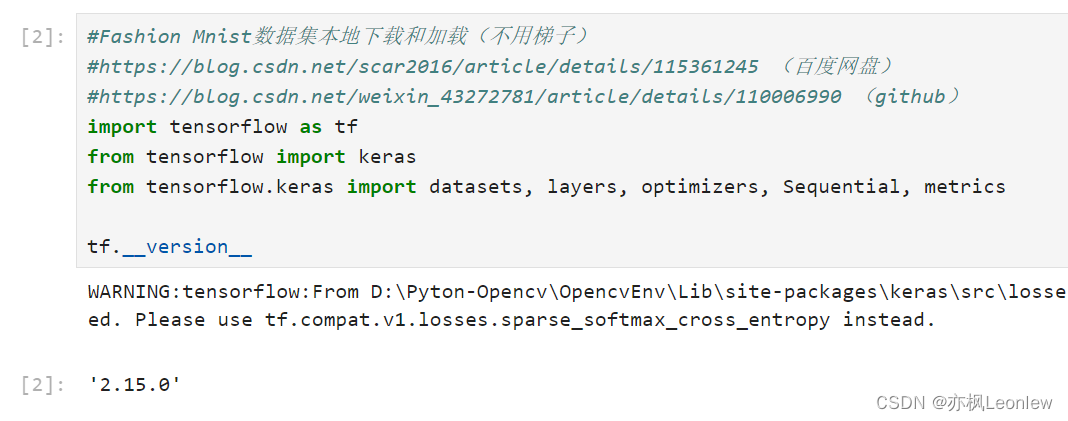
#Fashion Mnist数据集本地下载和加载(不用梯子)
#https://blog.csdn.net/scar2016/article/details/115361245 (百度网盘)
#https://blog.csdn.net/weixin_43272781/article/details/110006990 (github)
import tensorflow as tf
from tensorflow import keras
from tensorflow.keras import datasets, layers, optimizers, Sequential, metrics
tf.__version__
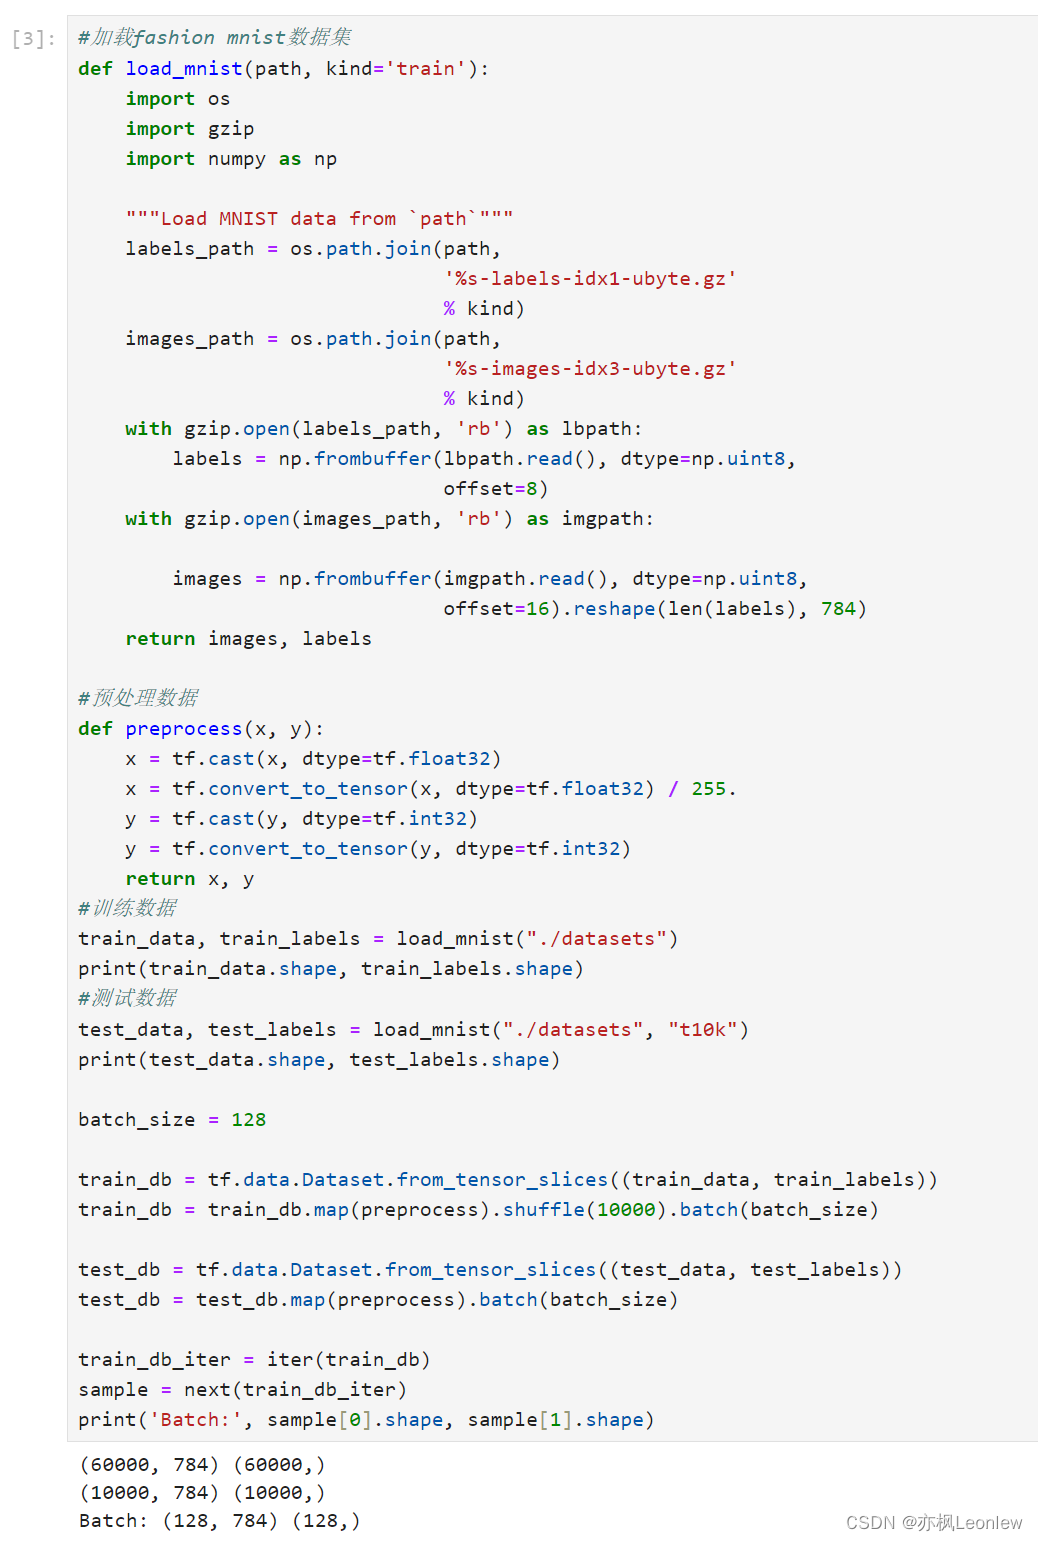
#加载fashion mnist数据集
def load_mnist(path, kind='train'):
import os
import gzip
import numpy as np
"""Load MNIST data from `path`"""
labels_path = os.path.join(path,
'%s-labels-idx1-ubyte.gz'
% kind)
images_path = os.path.join(path,
'%s-images-idx3-ubyte.gz'
% kind)
with gzip.open(labels_path, 'rb') as lbpath:
labels = np.frombuffer(lbpath.read(), dtype=np.uint8,
offset=8)
with gzip.open(images_path, 'rb') as imgpath:
images = np.frombuffer(imgpath.read(), dtype=np.uint8,
offset=16).reshape(len(labels), 784)
return images, labels
#预处理数据
def preprocess(x, y):
x = tf.cast(x, dtype=tf.float32)
x = tf.convert_to_tensor(x, dtype=tf.float32) / 255.
y = tf.cast(y, dtype=tf.int32)
y = tf.convert_to_tensor(y, dtype=tf.int32)
return x, y
#训练数据
train_data, train_labels = load_mnist("./datasets")
print(train_data.shape, train_labels.shape)
#测试数据
test_data, test_labels = load_mnist("./datasets", "t10k")
print(test_data.shape, test_labels.shape)
batch_size = 128
train_db = tf.data.Dataset.from_tensor_slices((train_data, train_labels))
train_db = train_db.map(preprocess).shuffle(10000).batch(batch_size)
test_db = tf.data.Dataset.from_tensor_slices((test_data, test_labels))
test_db = test_db.map(preprocess).batch(batch_size)
train_db_iter = iter(train_db)
sample = next(train_db_iter)
print('Batch:', sample[0].shape, sample[1].shape)
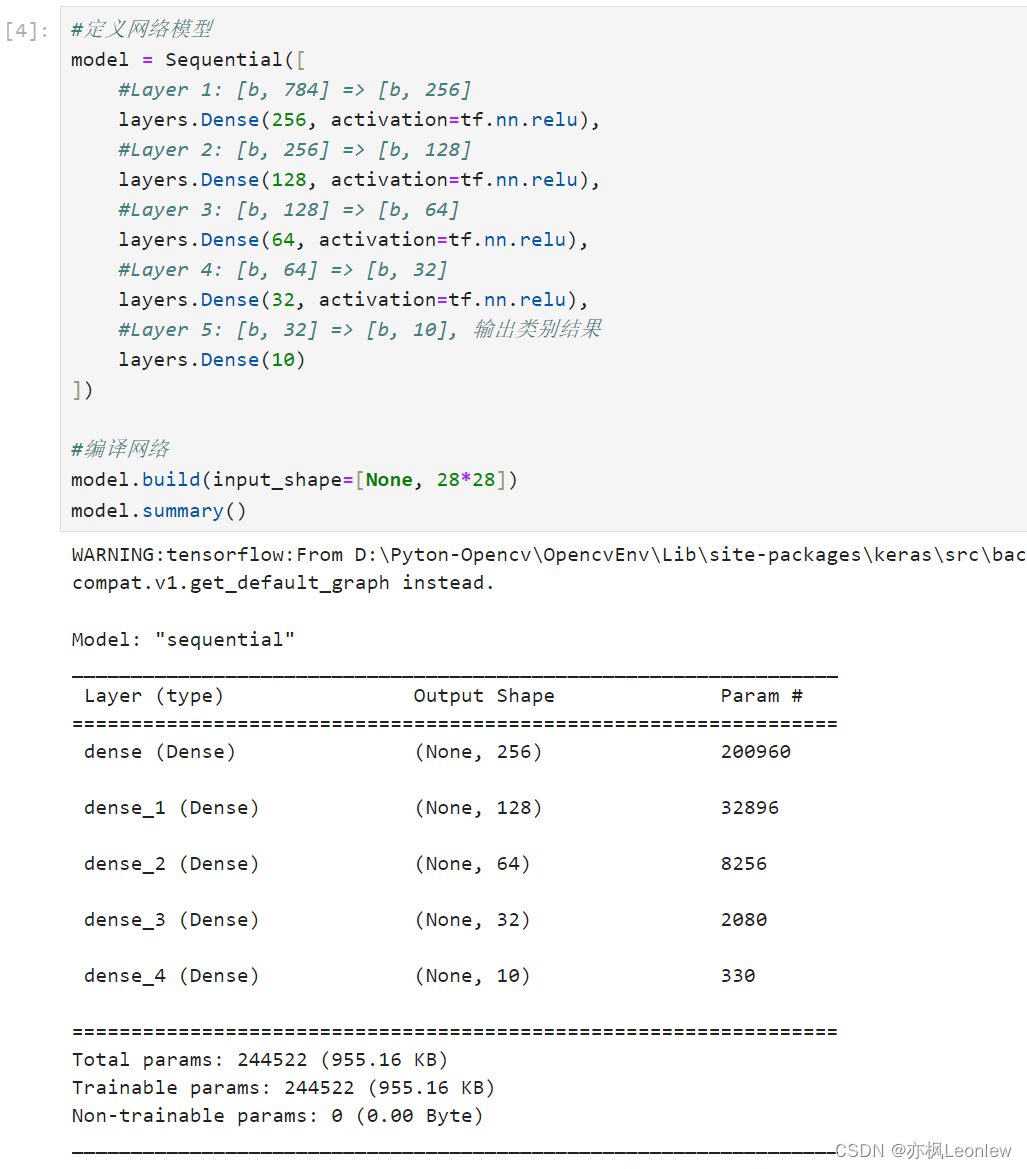
#定义网络模型
model = Sequential([
#Layer 1: [b, 784] => [b, 256]
layers.Dense(256, activation=tf.nn.relu),
#Layer 2: [b, 256] => [b, 128]
layers.Dense(128, activation=tf.nn.relu),
#Layer 3: [b, 128] => [b, 64]
layers.Dense(64, activation=tf.nn.relu),
#Layer 4: [b, 64] => [b, 32]
layers.Dense(32, activation=tf.nn.relu),
#Layer 5: [b, 32] => [b, 10], 输出类别结果
layers.Dense(10)
])
#编译网络
model.build(input_shape=[None, 28*28])
model.summary()
#进行训练
total_epoches = 5
learn_rate = 0.01
#Metrics统计
#参考资料:https://zhuanlan.zhihu.com/p/42438077
#1. 新建meter
#acc_meter = metrics.Accuracy()
#loss_meter = metrics.Mean()
#2. 更新状态, update_state()
#loss_meter.update_state(loss)
#acc_meter.update_state(y, pred)
#3.获取结果, result()
#print(step, 'loss:', loss_meter.result().numpy())
#print(step, 'Evaluate Acc:', total_correct/total, acc_meter.result().numpy())
#4.清除度量信息,reset_states()
#loss_meter.reset_states()
#acc_meter.reset_states()
#新建准确度和loss度量对象
acc_meter = metrics.Accuracy()
loss_meter = metrics.Mean()
optimizer = optimizers.Adam(learning_rate = learn_rate)
for epoch in range(total_epoches):
for step, (x,y) in enumerate(train_db):
with tf.GradientTape() as tape:
logits = model(x)
y_onehot = tf.one_hot(y, depth=10)
#使用交叉熵作为loss
loss_ce = tf.reduce_mean(tf.losses.categorical_crossentropy(y_onehot, logits, from_logits=True))
#调用update_state更新loss度量信息
loss_meter.update_state(loss_ce)
#计算梯度
grads = tape.gradient(loss_ce, model.trainable_variables)
#更新梯度
optimizer.apply_gradients(zip(grads, model.trainable_variables))
if step % 100 == 0:
print("Epoch[", epoch, "]: step-", step, "\tloss: ", loss_meter.result().numpy())
loss_meter.reset_states()
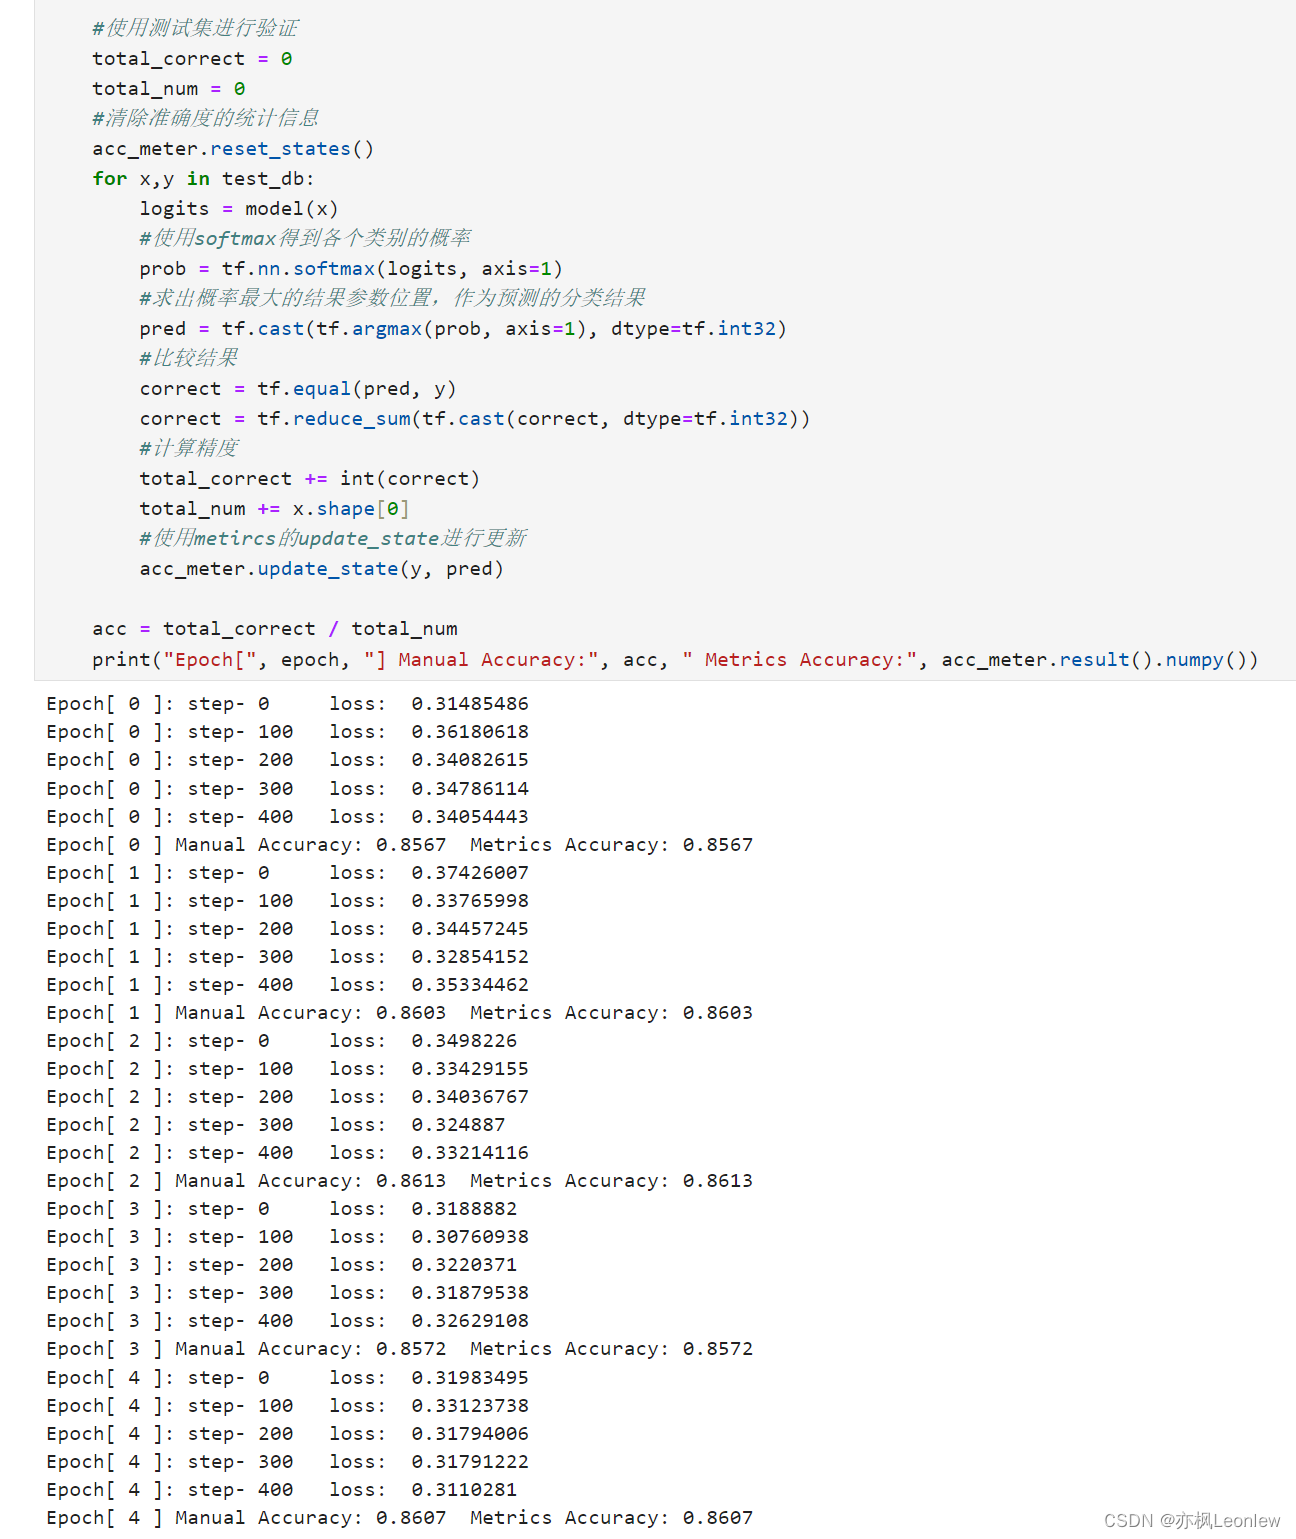
#使用测试集进行验证
total_correct = 0
total_num = 0
#清除准确度的统计信息
acc_meter.reset_states()
for x,y in test_db:
logits = model(x)
#使用softmax得到各个类别的概率
prob = tf.nn.softmax(logits, axis=1)
#求出概率最大的结果参数位置,作为预测的分类结果
pred = tf.cast(tf.argmax(prob, axis=1), dtype=tf.int32)
#比较结果
correct = tf.equal(pred, y)
correct = tf.reduce_sum(tf.cast(correct, dtype=tf.int32))
#计算精度
total_correct += int(correct)
total_num += x.shape[0]
#使用metircs的update_state进行更新
acc_meter.update_state(y, pred)
acc = total_correct / total_num
print("Epoch[", epoch, "] Manual Accuracy:", acc, " Metrics Accuracy:", acc_meter.result().numpy())
运行结果: