文章目录
Python在数据可视化方面有着丰富的库和函数,其中一些常用的库包括
Matplotlib、Seaborn、Plotly、Bokeh等。
Plotly是一个交互式绘图库,支持创建多种类型的图表,并允许图表在Web浏览器中呈现
Plotly
在Python中,Plotly的主要接口是plotly.graph_objects(通常简写为go),它提供了一系列函数来创建各种类型的图表。
常用函数
go.Line():绘制折线图
go.Scatter(): 绘制散点图
go.Bar(): 绘制条形图
go.Histogram(): 绘制直方图
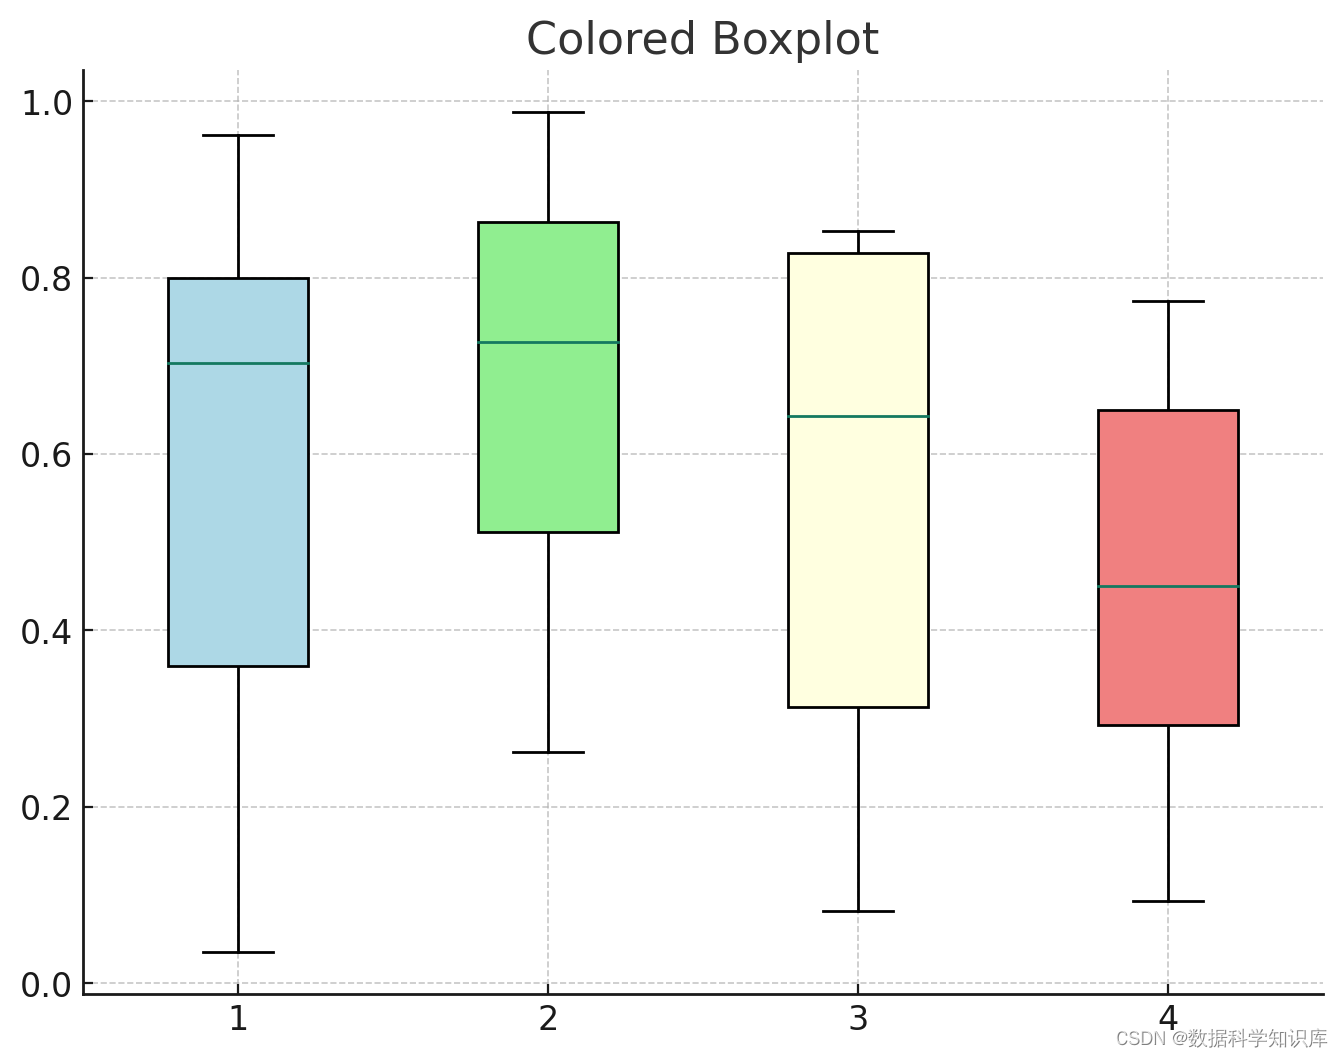
go.Box(): 绘制箱线图
go.Subplot(): 创建子图
fig.update_layout():设置图表的标题和坐标轴标签
fig.show():显示图表
PolarPlotly
PolarPlotly 通常指的是使用 Plotly 库在极坐标系统中绘制图形。Plotly 是一个强大的交互式绘图库,支持多种类型的图表,包括极坐标图。
import plotly.graph_objects as go

def PolarPlotly(r, theta, mode='lines', line_color='blue', fill_color='none', title='Polar Plot', filename='polar_plot.html'):
    """
    使用 Plotly 在极坐标中绘制图形。

    参数:
    r (list/array): 半径值列表。
    theta (list/array): 极角值列表(以弧度为单位)。
    mode (str, 可选): 绘图模式,可以是 'lines', 'markers', 'lines+markers'。默认为 'lines'。
    line_color (str, 可选): 线条颜色。默认为 'blue'。
    fill_color (str, 可选): 填充颜色。默认为 'none'。
    title (str, 可选): 图表标题。默认为 'Polar Plot'。
    filename (str, 可选): 保存的 HTML 文件名。默认为 'polar_plot.html'。
    """

    # 创建极坐标图形对象
    fig = go.Figure(data=[go.Scatterpolar(
        r=r,
        theta=theta,
        mode=mode,
        line=dict(color=line_color),
        fill='toself' if fill_color != 'none' else 'none',
        fillcolor=fill_color
    )])

    # 设置图表标题和极坐标轴标签
    fig.update_layout(
        polar=dict(
            radialaxis=dict(
                visible=True,
                range=[min(r) if min(r) > 0 else 0, max(r)]
            ),
            angularaxis=dict(
                thetaunit='radians',
                rotation=90
            )
        ),
        title=title
    )

    # 显示或保存图表
    fig.show()
    fig.write_html(filename)

# 示例用法
r = [1, 2, 3, 2, 1]
theta = [0, 0.5*np.pi, np.pi, 1.5*np.pi, 2*np.pi]
PolarPlotly(r, theta, mode='lines+markers', fill_color='lightblue', title='Sample Polar Plot')
1.这个函数依赖于 plotly.graph_objects 模块。
2.r 和 theta 应该是等长的列表或数组。
3.theta 的值应该是以弧度为单位的极角。
4.函数将生成一个交互式图表,并保存为 HTML 文件。
make_subplots
make_subplots 是一个用于创建多子图布局的函数,包括极坐标子图、直角坐标子图等。它允许你在一个图表中组合多个极坐标图或其他类型的子图。
import plotly.subplots as make_subplots

# 创建一个包含两个极坐标子图的图表布局
fig = make_subplots(rows=1, cols=2, subplot_titles=('Polar Subplot 1', 'Polar Subplot 2'), polar=True)
add_trace
add_trace 是一个用于向已存在的图表布局中添加迹(trace)的函数。迹是图表中绘制的数据系列。
fig.add_trace(go.Scatterpolar(r=[1, 2, 3], theta=[0, 1.5, 3] * np.pi), row=1, col=1)
go.Scatterpolargl
go.Scatterpolargl 是 Plotly Graph Objects 中用于创建极坐标散点图或线图的一个类。gl 表示它是使用 WebGL 渲染的,通常用于支持大量的数据点。
import plotly.graph_objects as go

fig.add_trace(go.Scatterpolargl(r=[1, 2, 3], theta=[0, 1.5, 3] * np.pi, mode='lines+markers'))
mode='lines'|'markers'|'lines+markers', # 绘图模式
update_traces
update_traces 是一个用于更新图表中所有迹的属性的函数。你可以用它来更改多个迹的公共属性,例如颜色、线型等。
fig.update_traces(line_color='red', marker_size=10)
update_layout
update_layout 是一个用于更新图表布局的函数。你可以用它来设置标题、坐标轴标签、图例等。
fig.update_layout(
    title='My Polar Plot',
    polar=dict(
        radialaxis=dict(visible=True, range=[0, 4]),
        angularaxis=dict(thetaunit='radians', rotation=90)
    )
)
综合示例
下面是一个综合使用这些函数的示例,创建一个包含单个极坐标子图的图表:
import plotly.graph_objects as go
import numpy as np

# 创建极坐标子图布局
fig = make_subplots(rows=1, cols=1, polar=True)

# 添加迹
fig.add_trace(go.Scatterpolargl(
    r=[1, 2, 3, 2, 1],
    theta=[0, 0.5*np.pi, np.pi, 1.5*np.pi, 2*np.pi],
    mode='lines+markers',
    line=dict(color='blue'),
    fill='toself',
    fillcolor='lightblue'
))

# 更新迹和布局
fig.update_traces(line_color='red', marker_size=10)
fig.update_layout(
    title='Polar Plot Example',
    polar=dict(
        radialaxis=dict(visible=True, range=[0, 4]),
        angularaxis=dict(thetaunit='radians', rotation=90)
    )
)

# 显示图表
fig.show()
首先使用 make_subplots 创建了一个极坐标子图布局。然后,我们使用 add_trace 添加了一个 go.Scatterpolargl 迹。接着,我们使用 update_traces 更改了迹的线条颜色和标记大小,并使用 update_layout 设置了图表的标题和极坐标轴的属性。最后,我们使用 show 方法显示了图表。
完整版
import os
import sys
sys.path.append(os.path.abspath(os.path.dirname(os.getcwd())))

import re
import gc
import numpy as np
import pandas as pd
import random
import math
import glob
import time
import sys
from itertools import groupby as iter_groupby

import matplotlib.pyplot as plt
import plotly.graph_objects as go
import plotly.express as px
from plotly.subplots import make_subplots

# 支持中文
plt.rcParams['font.sans-serif'] = ['SimHei']  # 用来正常显示中文标签
plt.rcParams['axes.unicode_minus'] = False  # 用来正常显示负号

plt.rcParams['savefig.dpi'] = 100 #图片像素
plt.rcParams['figure.dpi'] = 100 #分辨率

import warnings
warnings.filterwarnings("ignore")

#dataframe输出时列名对齐
pd.set_option('display.unicode.ambiguous_as_wide', True)
pd.set_option('display.unicode.east_asian_width', True)

pd.set_option('display.width',2000)
'''
原始数据可视化:极坐标动态图
'''
def PolarPlotly(data,rname,anglename,titlesname,groupnames,legendgroupnumber,text,legendtxt='',title='',zname=False):# err:固定误差
    """
    极坐标动态图
    --------
    data:dataframe
    rname:str,需要画图的列名
    anglename:str,角度列名
    titlesname:str,所画的 名称
    groupnames:list,需要分组的列名
    legendgroupnumber:int,lengendgroup在groupnames的位置
    text:list,[文字,col],text的列名
    legendtxt:legendtext的标注,默认为 ''
    title='':标题前面要增加的字符
    """
    fig=make_subplots(rows=1,cols=1,specs=[[{'type': 'polar'}]])

    textcol=[text[1]] if type(text[1])==str else text[1]
    znamecol=[] if zname==False else zname
    plot_columns=[rname,anglename]+groupnames+textcol+znamecol
    plot_columns=list(set(plot_columns))
    GroupData=data[plot_columns].groupby(groupnames)
    legendgroupnames=[]
    for key,MidData in GroupData:
        if isinstance(key, tuple):
            legendgroup=str(key[legendgroupnumber])
        else:
            legendgroup=str(key)
        #legendgroup=str(key) if type(key)==str else str(key[legendgroupnumber])
        showlegend=True if legendgroup not in legendgroupnames else False
        r=MidData[rname]
        theta=MidData[anglename]
        texts=[text[0]+':'+str(i) for i in MidData[text[1]]]
        fig.add_trace(go.Scatterpolargl(#'_'.join([str(i) for i in key])
                r=r,theta=theta,mode='markers',name=legendtxt+legendgroup,showlegend=showlegend,
                legendgroup=legendgroup,text=texts#go.scattergl:大容量数据,showlegend=False
            ),row=1,col=1)
        if zname !=False:
            for zn in zname:
                z=MidData[zn]
                fig.add_trace(go.Scatterpolargl(#'_'.join([str(i) for i in key])
                    r=z,theta=theta,mode='markers',name=legendtxt+legendgroup+'_'+zn,showlegend=showlegend,
                    legendgroup=legendgroup,text=texts#go.scattergl:大容量数据,showlegend=False
                ),row=1,col=1)
        legendgroupnames.append(legendgroup)
    fig.update_traces(mode='markers',marker_size=3)#, marker_line_width=2
    fig.update_layout(title='{}{}极坐标图'.format(title,titlesname),

                      #yaxis_zeroline=False,
                      #xaxis_zeroline=False,
                        polar = dict(
                            radialaxis_tickfont_size = 8,
                            angularaxis = dict(
                            tickfont_size = 8,
                            rotation = -90,
                              )
                        ),
                      polar2 = dict(
                            radialaxis_tickfont_size = 8,
                            angularaxis = dict(
                            tickfont_size = 8,
                            rotation = -90,
                              )
                        ),
                      width=1000,
                      height=800,
                      #xaxis_title='角度',
                      #yaxis_title='随机误差(mm)',
                      template='plotly_white')#template换主题
    return fig

def ScatterPlotly(data,xname,yname,xtitle,ytitle,groupnames,legendgroupnumber,text,legendtxt='',title='',zname=False):# err:固定误差
    """
    散点图动态图
    --------
    data:dataframe
    xname:str,需要画图的x轴列名
    yname:str,需要画图的y轴列名
    xtitle:str
    ytitle:str
    groupnames:list,需要分组的列名
    legendgroupnumber:int,lengendgroup在groupnames的位置
    text:list,[文字,col]
    legendtxt:legendtext的标注,默认为 ''
    title='':标题前面要增加的字符
    zname:列表
    xyname:列表,另外的xname,yname
    """
    fig=go.Figure()

    textcol=[text[1]] if type(text[1])==str else text[1]
    znamecol=[] if zname==False else zname
    plot_columns=[xname,yname]+groupnames+textcol+znamecol
    plot_columns=list(set(plot_columns))
    GroupData=data.groupby(groupnames)

    legendgroupnames=[]
    for key,MidData in GroupData:
        if isinstance(key, tuple):
            legendgroup=str(key[legendgroupnumber])
        else:
            legendgroup=str(key)
        showlegend=True if legendgroup not in legendgroupnames else False
        x=MidData[xname]
        y=MidData[yname]
        texts=[str(text[0])+':'+str(i) for i in MidData[text[1]].values.tolist()]
        #texts=[text[0]+str(i) for i in MidData[text[1]]]
        fig.add_trace(go.Scattergl(
                x=x,y=y,mode='markers',name=legendtxt+legendgroup,showlegend=showlegend,
                legendgroup=legendgroup,text=texts#go.scattergl:大容量数据,showlegend=False
            ),)
        if zname !=False:
            for zn in zname:
                z=MidData[zn]
                fig.add_trace(go.Scattergl(
                    x=x,y=z,mode='markers',name=legendtxt+legendgroup+'_'+zn,showlegend=showlegend,
                    legendgroup=legendgroup,text=texts#go.scattergl:大容量数据,showlegend=False
                ),)
        legendgroupnames.append(legendgroup)
    fig.update_traces(mode='markers',marker_size=3)#, marker_line_width=2
    fig.update_layout(title='{}{}和{}的散点图'.format(title,xtitle,ytitle),
                      yaxis_zeroline=False,
                      xaxis_zeroline=False,
                      width=1000,
                      height=600,
                      xaxis_title=xtitle,
                      yaxis_title=ytitle,
                      template='plotly_white')#template换主题
    return fig
代码块解析:
for key,MidData in GroupData:
        if isinstance(key, tuple):
            legendgroup=str(key[legendgroupnumber])
        else:
            legendgroup=str(key)
'''
这段代码是Python中的一部分,它遍历一个名为GroupData的可迭代对象(可能是一个列表、元组或其他可迭代对象),该对象包含键值对。对于GroupData中的每一对键值对,它都会执行一些操作,具体取决于键的类型。

for key, MidData in GroupData:

这一行是一个for循环,用于遍历GroupData中的每一项。它假设GroupData是一个由键值对组成的可迭代对象,如列表的列表、元组的元组等。每次迭代中,key会被赋值为当前的键,MidData会被赋值为对应的值。
if isinstance(key, tuple):

这一行检查key是否是一个元组。isinstance()函数用于检查对象的类型是否是指定类型(在这种情况下是元组)。
legendgroup=str(key[legendgroupnumber])

如果key是一个元组,这一行会执行。它取key中的第legendgroupnumber个元素(这里假设legendgroupnumber是一个已定义的变量),并将其转换为字符串。然后,它将这个字符串赋值给legendgroup变量。
else:

如果key不是一个元组,那么会执行这个else块。
legendgroup=str(key)

在else块中,key被转换为字符串,并赋值给legendgroup变量。
这段代码的主要目的是根据key的类型(是否是元组)来设置legendgroup变量的值。如果key是元组,它会取元组中的特定元素;否则,它会直接使用key的值。这通常用于数据可视化中,特别是在设置图例组(legend group)时,根据数据的不同属性(如类别、分组等)来区分不同的数据系列。
'''