发送邮件
邮箱设置
springEmail
properties
spring.mail.host=smtp.qq.com
spring.mail.port=465
spring.mail.username=
spring.mail.password=
spring.mail.protocol=smtps
spring.mail.properties.mail.smtp.ssl.enable=true
MailClient
@Component
public class MailClient {
    private static final Logger logger = LoggerFactory.getLogger(MailClient.class);

    @Autowired
    private JavaMailSender mailSender;

    @Value("${spring.mail.username}")
    private String from;

    public void sendMail(String to, String subject, String content){

        try {
            MimeMessage message = mailSender.createMimeMessage();
            MimeMessageHelper helper = new MimeMessageHelper(message);
            helper.setFrom(from);
            helper.setTo(to);
            helper.setSubject(subject);
            helper.setText(content, true);
            mailSender.send(helper.getMimeMessage());
        } catch (MessagingException e) {
            logger.error("发件邮件失败" + e.getMessage());
        }
    }
}
先初始化message,然后把message交给helper
helper可以设置发送方from,接收方to,标题subject,内容content,true是表示能不能接收html文件
然后用mailSender.send来发送邮件
MailTest
@RunWith(SpringRunner.class)
@SpringBootTest
@ContextConfiguration(classes = CommunityApplication.class)
public class MailTests {

    @Autowired
    private MailClient mailClient;

    @Test
    public void testTextMail(){
        mailClient.sendMail("", "TEST", "Welcome");
    }
}
模版引擎:发送html
MailTest
    @Autowired
    private MailClient mailClient;

    @Autowired
    private TemplateEngine templateEngine;

    @Test
    public void textHtmlMail(){
        Context context = new Context();
        context.setVariable("username", "sunday");

        String content = templateEngine.process("/mail/demo", context);
        System.out.println(content);

        mailClient.sendMail("", "HTML", content);

    }
先把username值传到html文件中,然后拼接出来,最后传content这个html文件,helper那里设置成了true
开发注册功能
访问注册页面
点击顶部区域内的链接,打开注册页面
直接由controller调用模板,响应html页面就可以
LoginController.java
    @RequestMapping(path = "/register", method = RequestMethod.GET)
    public String getRegisterPage() {
        return "/site/register";
register.html
改一下
<html lang="en" xmlns:th="http://www.thymeleaf.org">
改一下css和js的数据格式
<link rel="stylesheet" th:href="@{/css/global.css}" />
<link rel="stylesheet" th:href="@{/css/login.css}" />
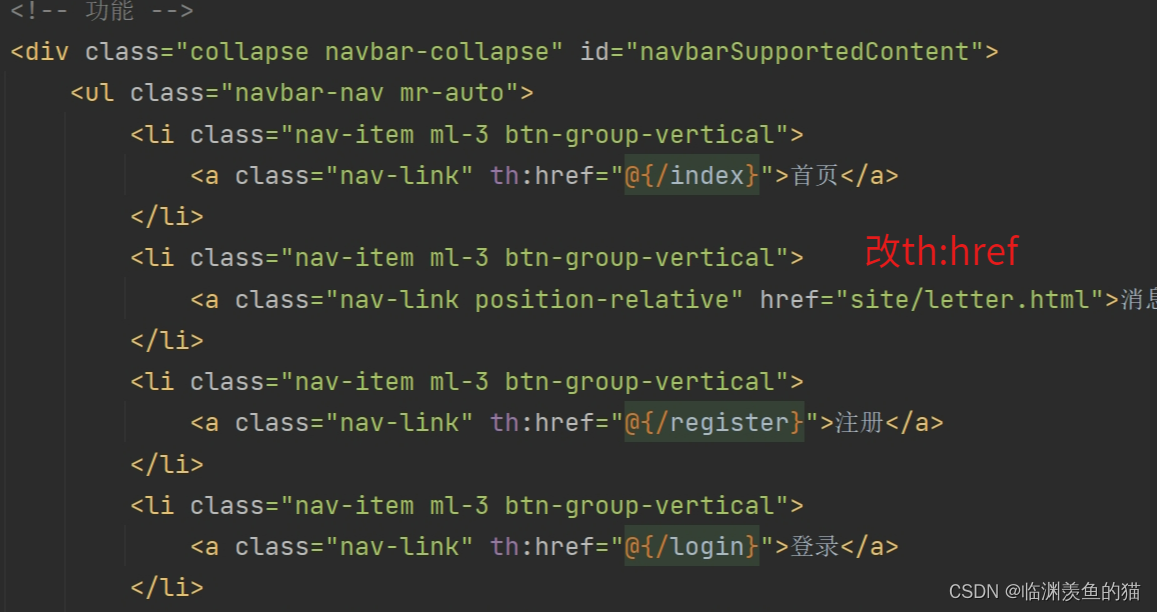
index.html

可以通过header复用
在register.html复用

提交注册数据
前期准备
引入判断空值什么的包
		<dependency>
			<groupId>org.apache.commons</groupId>
			<artifactId>commons-lang3</artifactId>
			<version>3.9</version>
		</dependency>
把链接做成可配置的,在properties里面
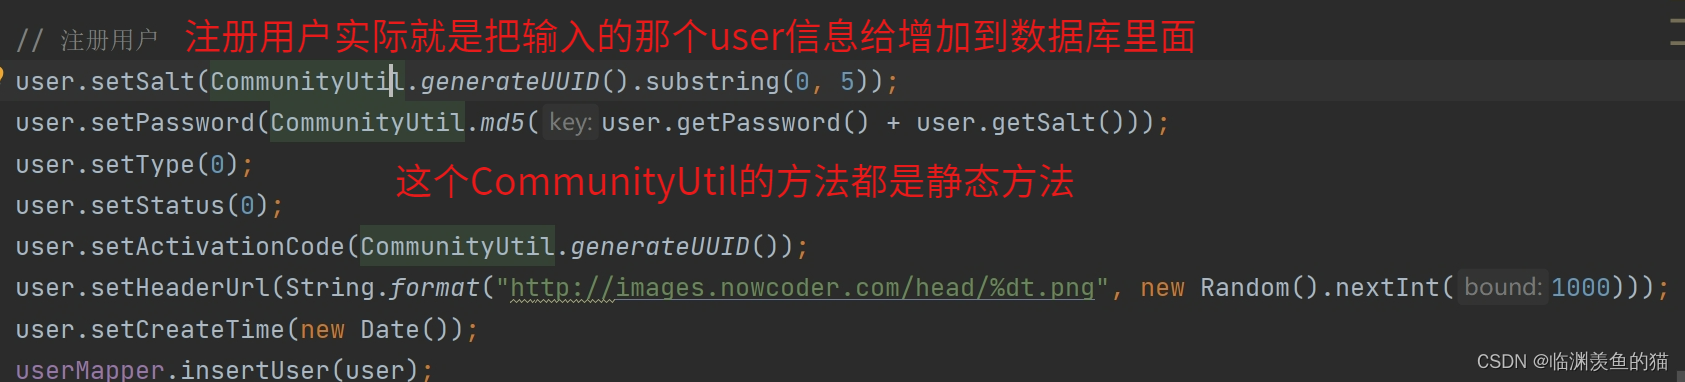
community.path.domain=http://localhost:8080写一个工具类,用于生成随机字符串和md5加密

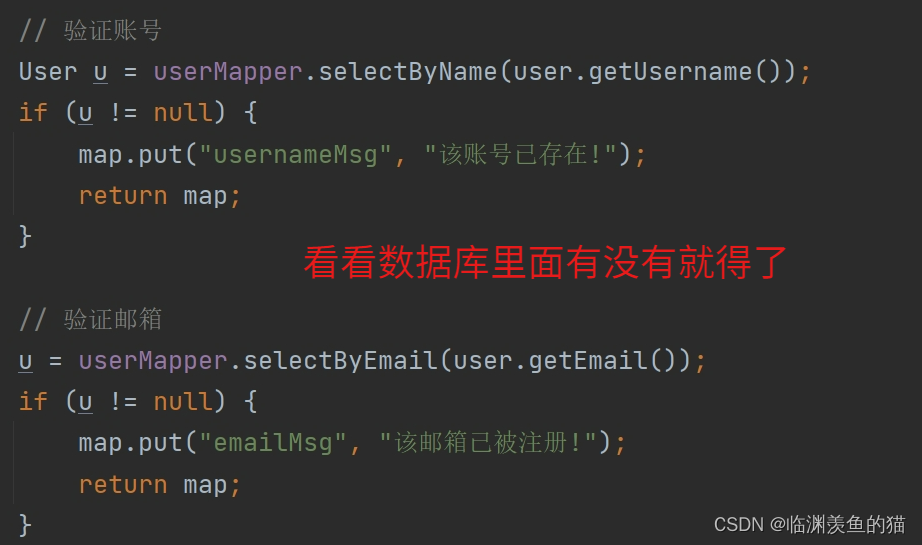
服务端验证账号是否已存在、邮箱是否已注册
注册是对用户表进行操作->操作UserService层
通过表单提交数据
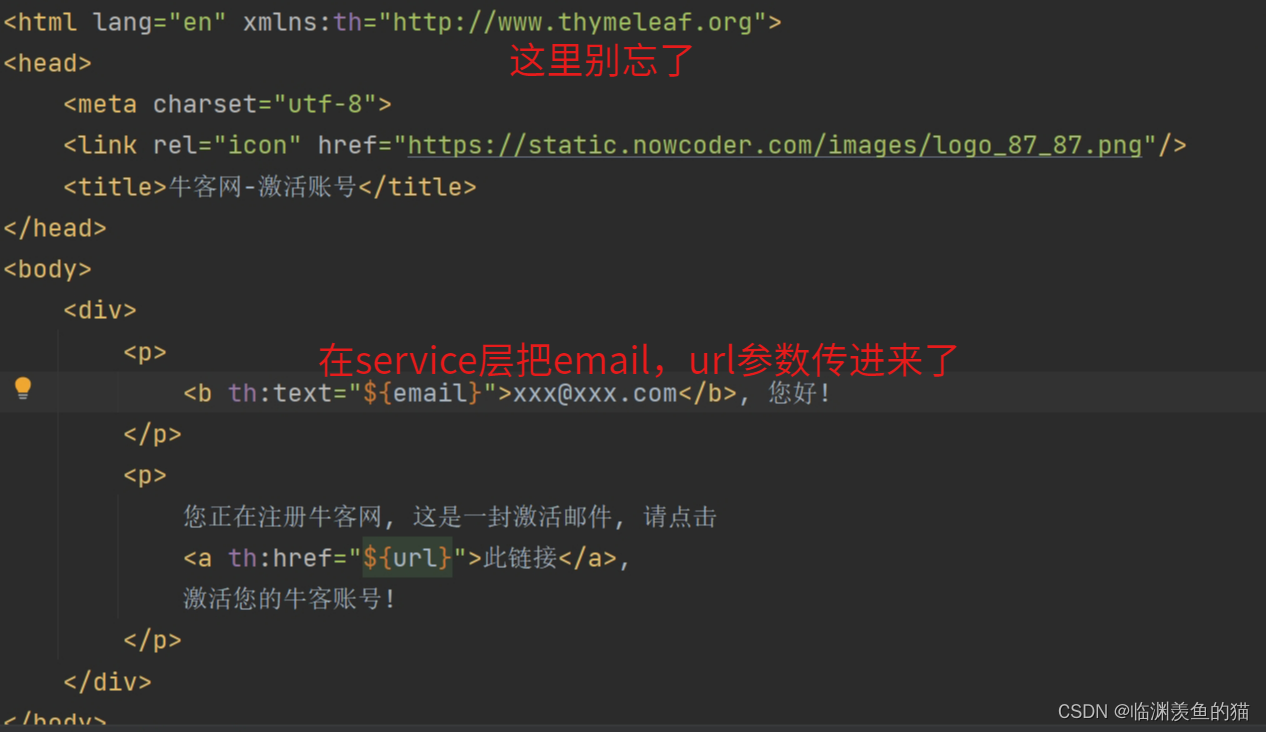
服务端发送激活邮件
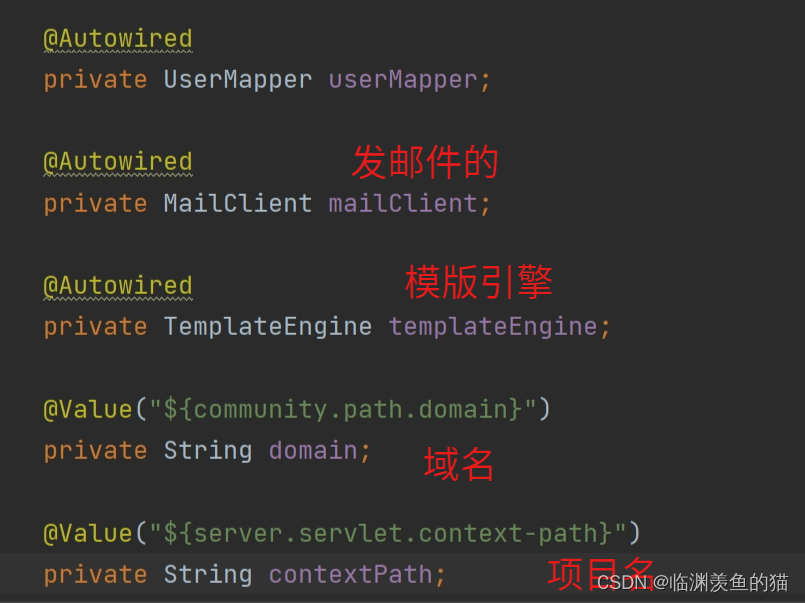
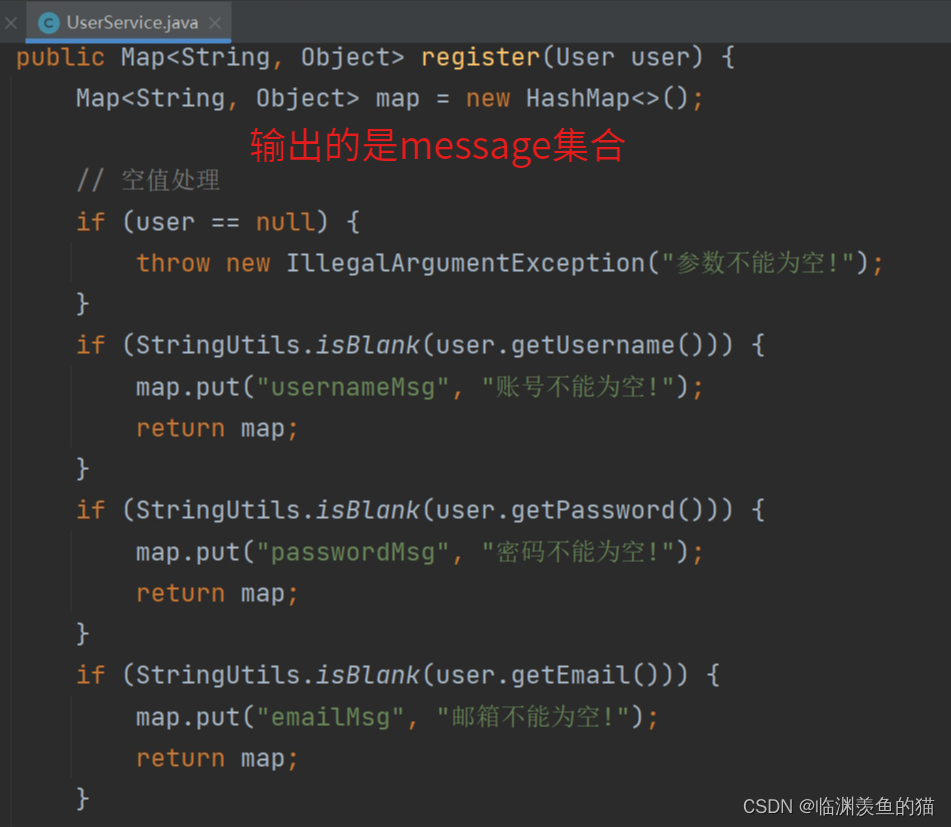
UserService.java

LoginController.java
    @RequestMapping(path = "/register", method = RequestMethod.POST)
    public String register(Model model, User user) {
        Map<String, Object> map = userService.register(user);
        if (map == null || map.isEmpty()) {
            model.addAttribute("msg", "注册成功,我们已经向您的邮箱发送了一封激活邮件,请尽快激活!");
            model.addAttribute("target", "/index");
            return "/site/operate-result"; // 成功之后return到一个第三方页面
        } else {
            model.addAttribute("usernameMsg", map.get("usernameMsg"));
            model.addAttribute("passwordMsg", map.get("passwordMsg"));
            model.addAttribute("emailMsg", map.get("emailMsg"));
            return "/site/register";
        }
    }
operate-result.html
		<!-- 内容 -->
		<div class="main">
			<div class="container mt-5">
				<div class="jumbotron">
					<p class="lead" th:text="${msg}">您的账号已经激活成功,可以正常使用了!</p>
					<hr class="my-4">
					<p>
						系统会在 <span id="seconds" class="text-danger">8</span> 秒后自动跳转,
						您也可以点此 <a id="target" th:href="@{${target}}" class="text-primary">链接</a>, 手动跳转!
					</p>
				</div>
			</div>
		</div>
register.html
<!-- 内容 -->
<div class="main">
<div class="container pl-5 pr-5 pt-3 pb-3 mt-3 mb-3">
<h3 class="text-center text-info border-bottom pb-3">注 册</h3>
<form class="mt-5" method="post" th:action="@{/register}">
<div class="form-group row">
<label for="username" class="col-sm-2 col-form-label text-right">账号:</label>
<div class="col-sm-10">
<input type="text"
th:class="|form-control ${usernameMsg!=null?'is-invalid':''}|"
th:value="${user!=null?user.username:''}"
id="username" name="username" placeholder="请输入您的账号!" required>
<div class="invalid-feedback" th:text="${usernameMsg}">
该账号已存在!
</div>
</div>
</div>
<div class="form-group row mt-4">
<label for="password" class="col-sm-2 col-form-label text-right">密码:</label>
<div class="col-sm-10">
<input type="password"
th:class="|form-control ${passwordMsg!=null?'is-invalid':''}|"
th:value="${user!=null?user.password:''}"
id="password" name="password" placeholder="请输入您的密码!" required>
<div class="invalid-feedback" th:text="${passwordMsg}">
密码长度不能小于8位!
</div>
</div>
</div>
<div class="form-group row mt-4">
<label for="confirm-password" class="col-sm-2 col-form-label text-right">确认密码:</label>
<div class="col-sm-10">
<input type="password" class="form-control"
th:value="${user!=null?user.password:''}"
id="confirm-password" placeholder="请再次输入密码!" required>
<div class="invalid-feedback">
两次输入的密码不一致!
</div>
</div>
</div>
<div class="form-group row">
<label for="email" class="col-sm-2 col-form-label text-right">邮箱:</label>
<div class="col-sm-10">
<input type="email"
th:class="|form-control ${emailMsg!=null?'is-invalid':''}|"
th:value="${user!=null?user.email:''}"
id="email" name="email" placeholder="请输入您的邮箱!" required>
<div class="invalid-feedback" th:text="${emailMsg}">
该邮箱已注册!
</div>
</div>
</div>
<div class="form-group row mt-4">
<div class="col-sm-2"></div>
<div class="col-sm-10 text-center">
<button type="submit" class="btn btn-info text-white form-control">立即注册</button>
</div>
</div>
</form>
</div>
</div>确定表单的提交方式
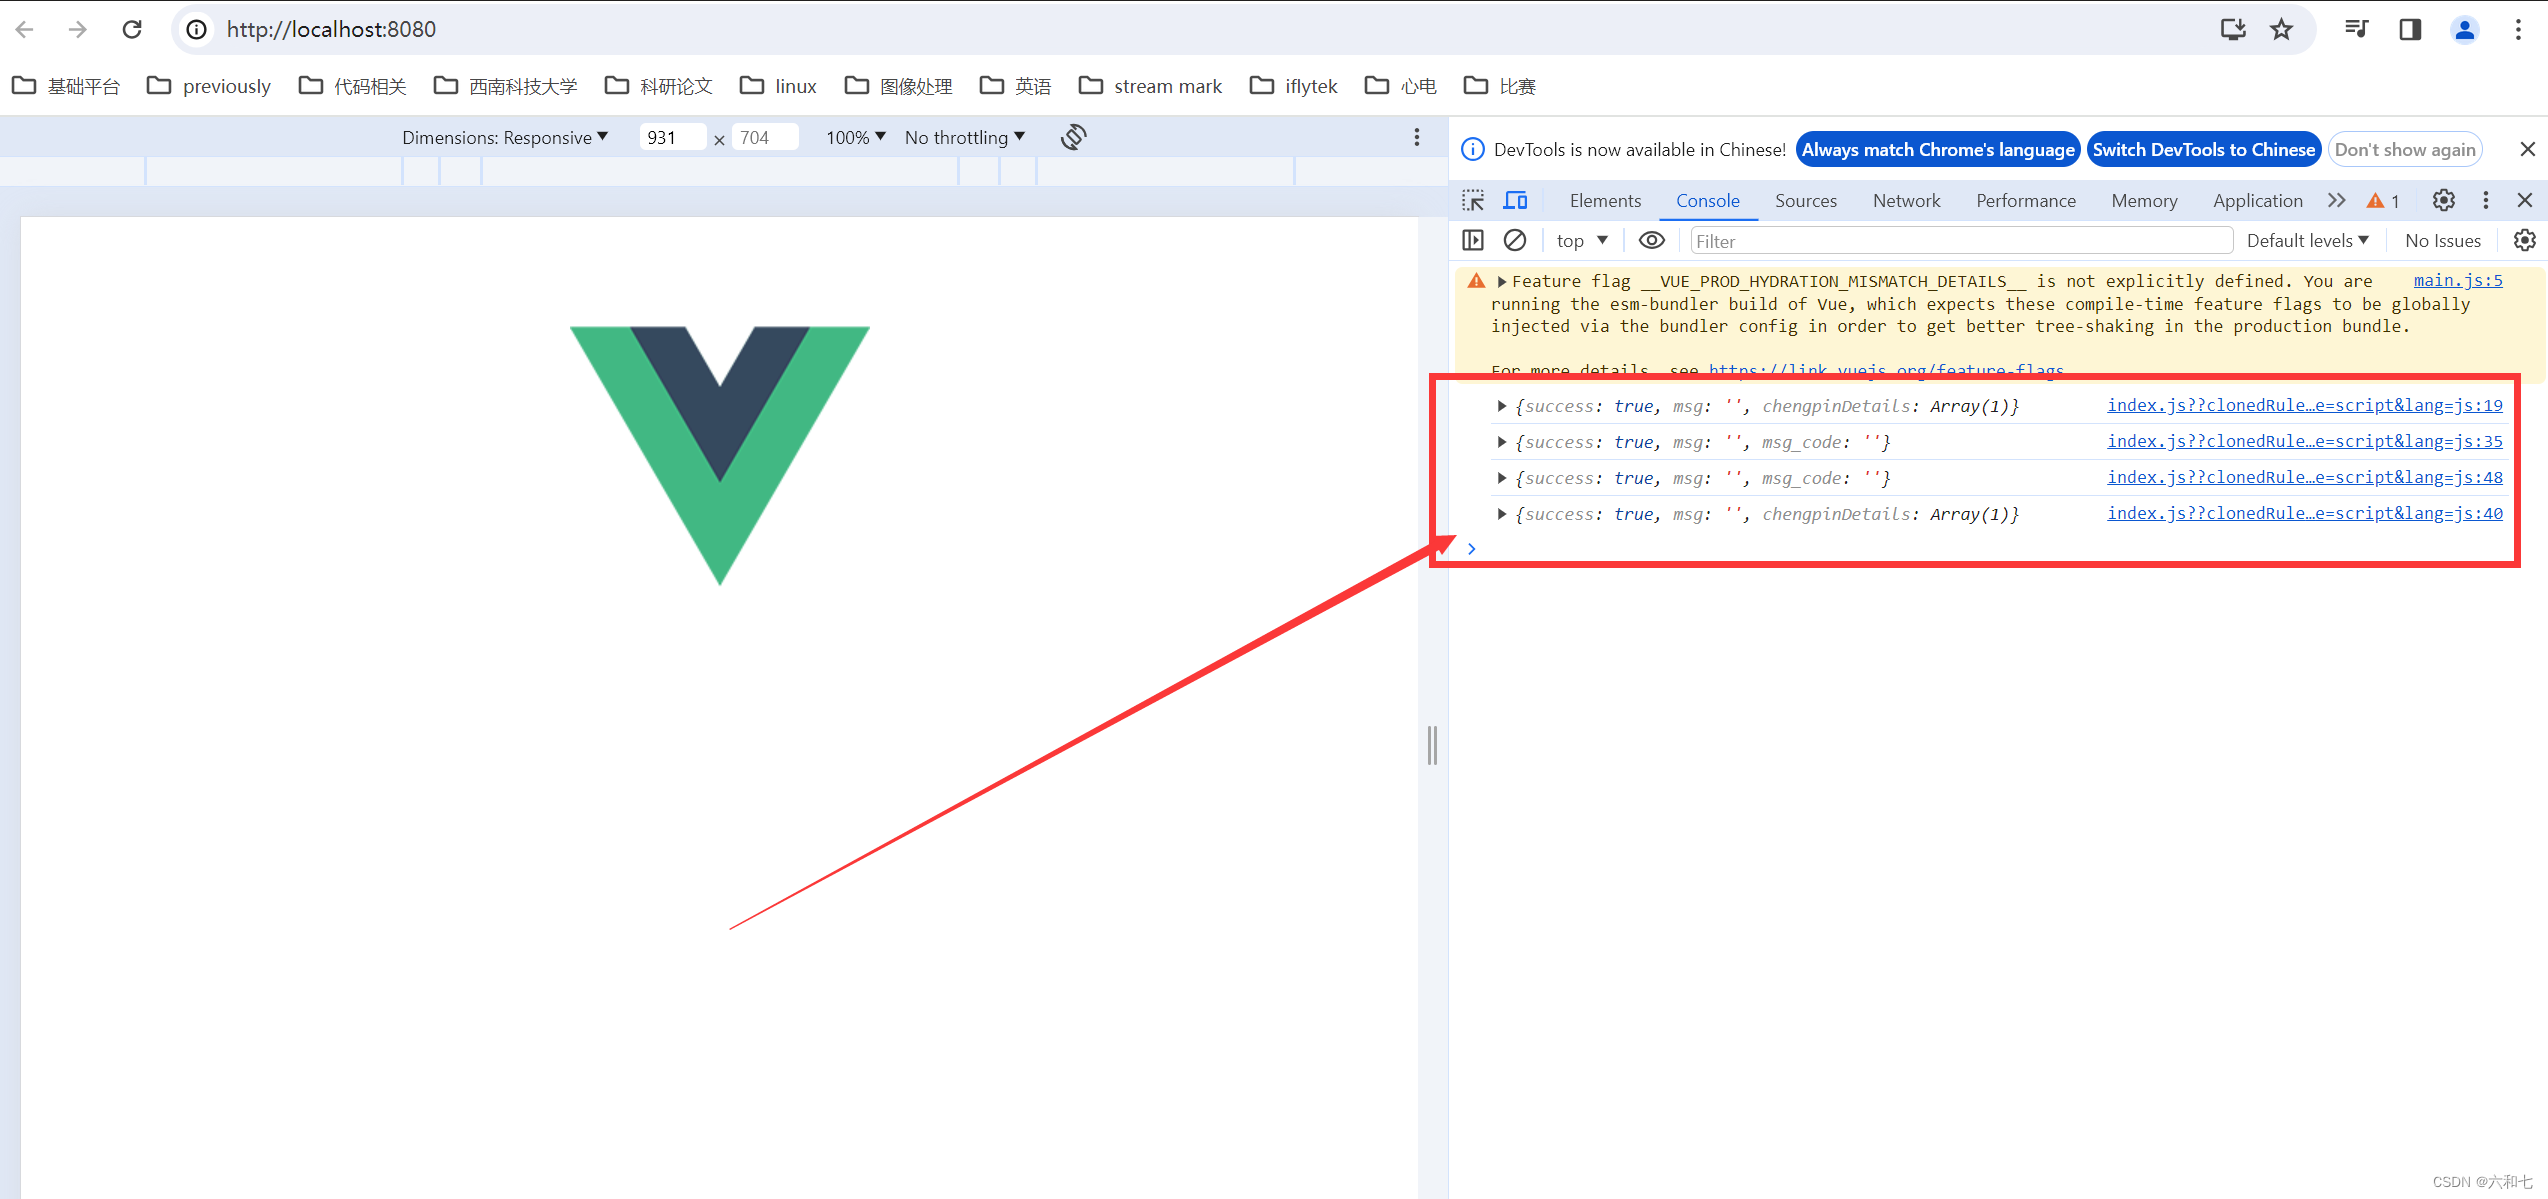
每一个框都要有相应的name,这些name要和controller中user对象的属性名对应

![]()

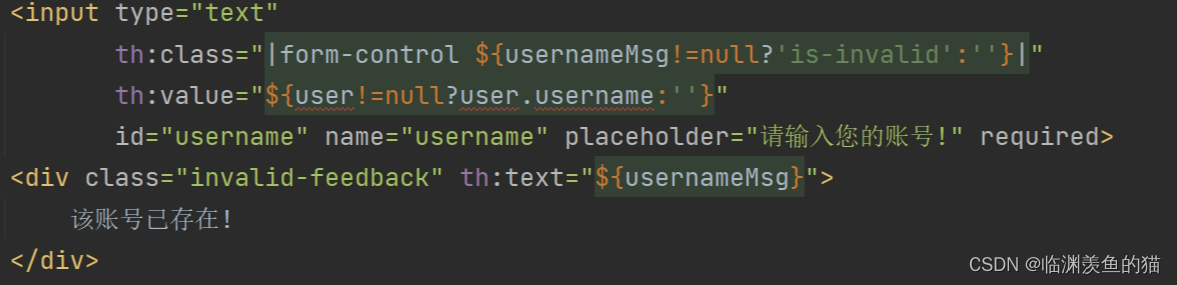
如果usernameMsg是非空的就加上is-invalid
因为如果usernameMsg是空的话,说明没错误,下面的div就显示不出来,有一个连带关系
激活注册账号
点击邮件中的链接,访问服务端的激活服务
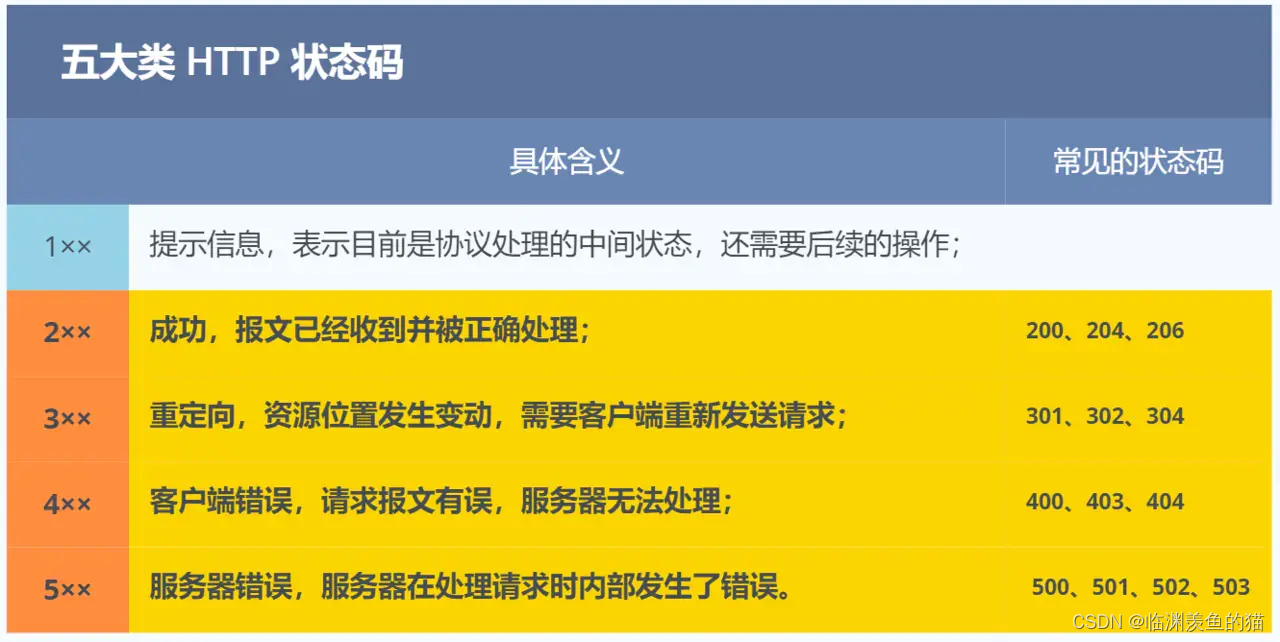
已经发送链接之后,说明前面注册的功能已经完成了,现在要对一个url进行验证,有三种情况:
- 激活成功
- 这个链接已经被验证过
- 无效链接
现在util包里面写出激活的三个常量
public interface CommunityConstant {

    /**
     * 激活成功
     */
    int ACTIVATION_SUCCESS = 0;

    /**
     * 重复激活
     */
    int ACTIVATION_REPEAT = 1;

    /**
     * 激活失败
     */
    int ACTIVATION_FAILURE = 2;

}
这三个变量有什么卵用呢?为什么三个常量还要给一个高大上的名字呢?
userservice
    public int activation(int userId, String code) {
        User user = userMapper.selectById(userId);
        if (user.getStatus() == 1) {
            return ACTIVATION_REPEAT;
        } else if (user.getActivationCode().equals(code)) {
            userMapper.updateStatus(userId, 1);
            return ACTIVATION_SUCCESS;
        } else {
            return ACTIVATION_FAILURE;
        }
}这个函数是通过controller层的userid和那个user对应的生成的code,从数据库中看那个user的status属性,如果是1的话,就说明重复添加了,返回repeat;如果user的status初始值是0,而且它传入的code和数据库里面user的code是一样的话,就说明还没有被激活,此时就要把这个status设成1,返回success;如果code不一样,就说明是一个假冒伪劣网址,就要返回failure
loginController
    // http://localhost:8080/community/activation/101/code
    @RequestMapping(path = "/activation/{userId}/{code}", method = RequestMethod.GET)
    public String activation(Model model, @PathVariable("userId") int userId, @PathVariable("code") String code) {
        int result = userService.activation(userId, code);
        if (result == ACTIVATION_SUCCESS) {
            model.addAttribute("msg", "激活成功,您的账号已经可以正常使用了!");
            model.addAttribute("target", "/login");
        } else if (result == ACTIVATION_REPEAT) {
            model.addAttribute("msg", "无效操作,该账号已经激活过了!");
            model.addAttribute("target", "/index");
        } else {
            model.addAttribute("msg", "激活失败,您提供的激活码不正确!");
            model.addAttribute("target", "/index");
        }
        return "/site/operate-result";
    }
这个controller就要从service层获取activation方法值了,传递的是ul里面的userid和code,这个url是由上面userservice层拼出来的