上一篇
Puppeteer 使用实战:如何将自己的 CSDN 专栏文章导出并用于 Hexo 博客(一)
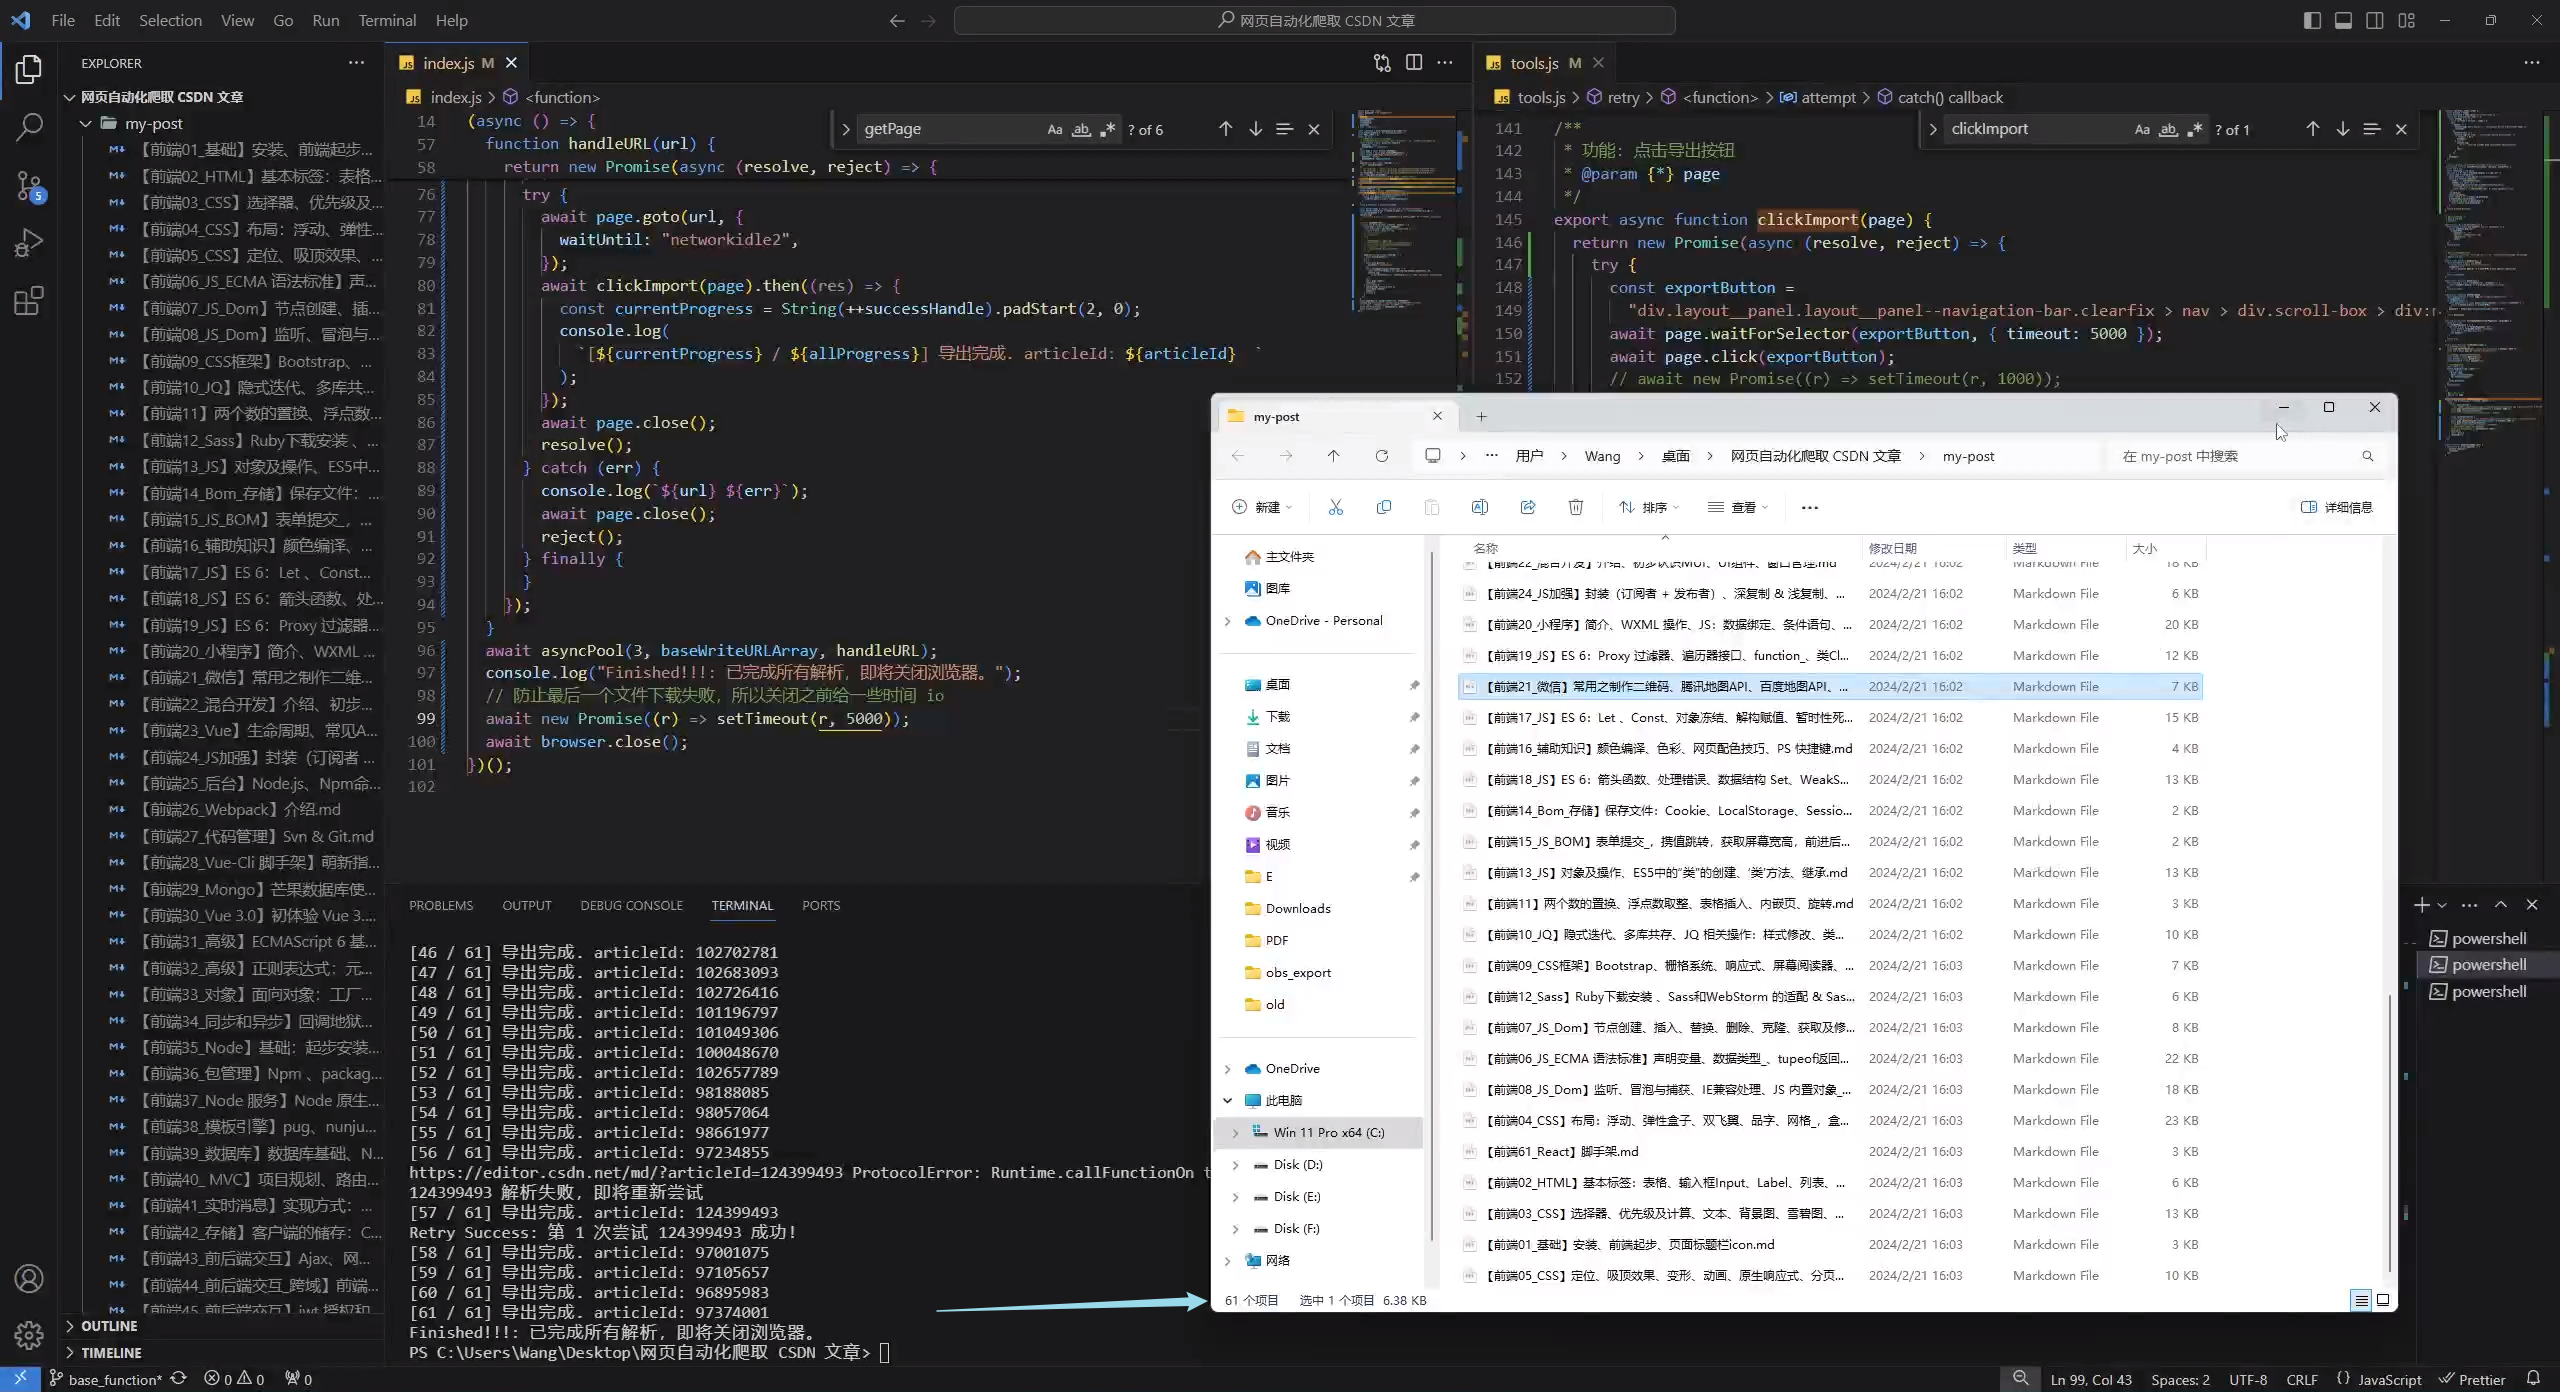
效果演示
上一篇实现了一些基本功能,但是还有些问题
- 有些时候页面会卡死,或者说找不到导出的元素,导致这篇文章下载不了
- 不能控制标签页的打开数量,不够灵活(只能一个标签页、一个标签页的工作,效率低下)
- 下载文件的默认位置没有修改
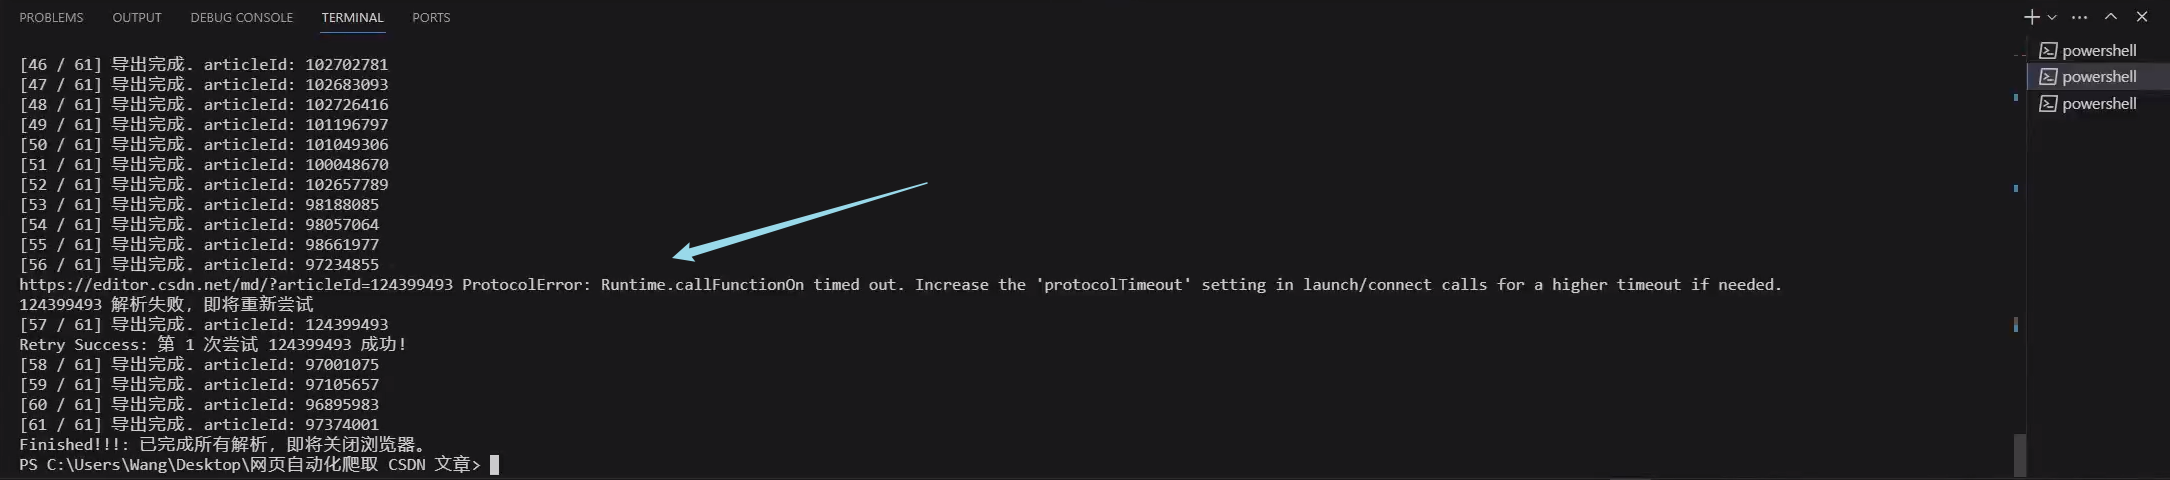
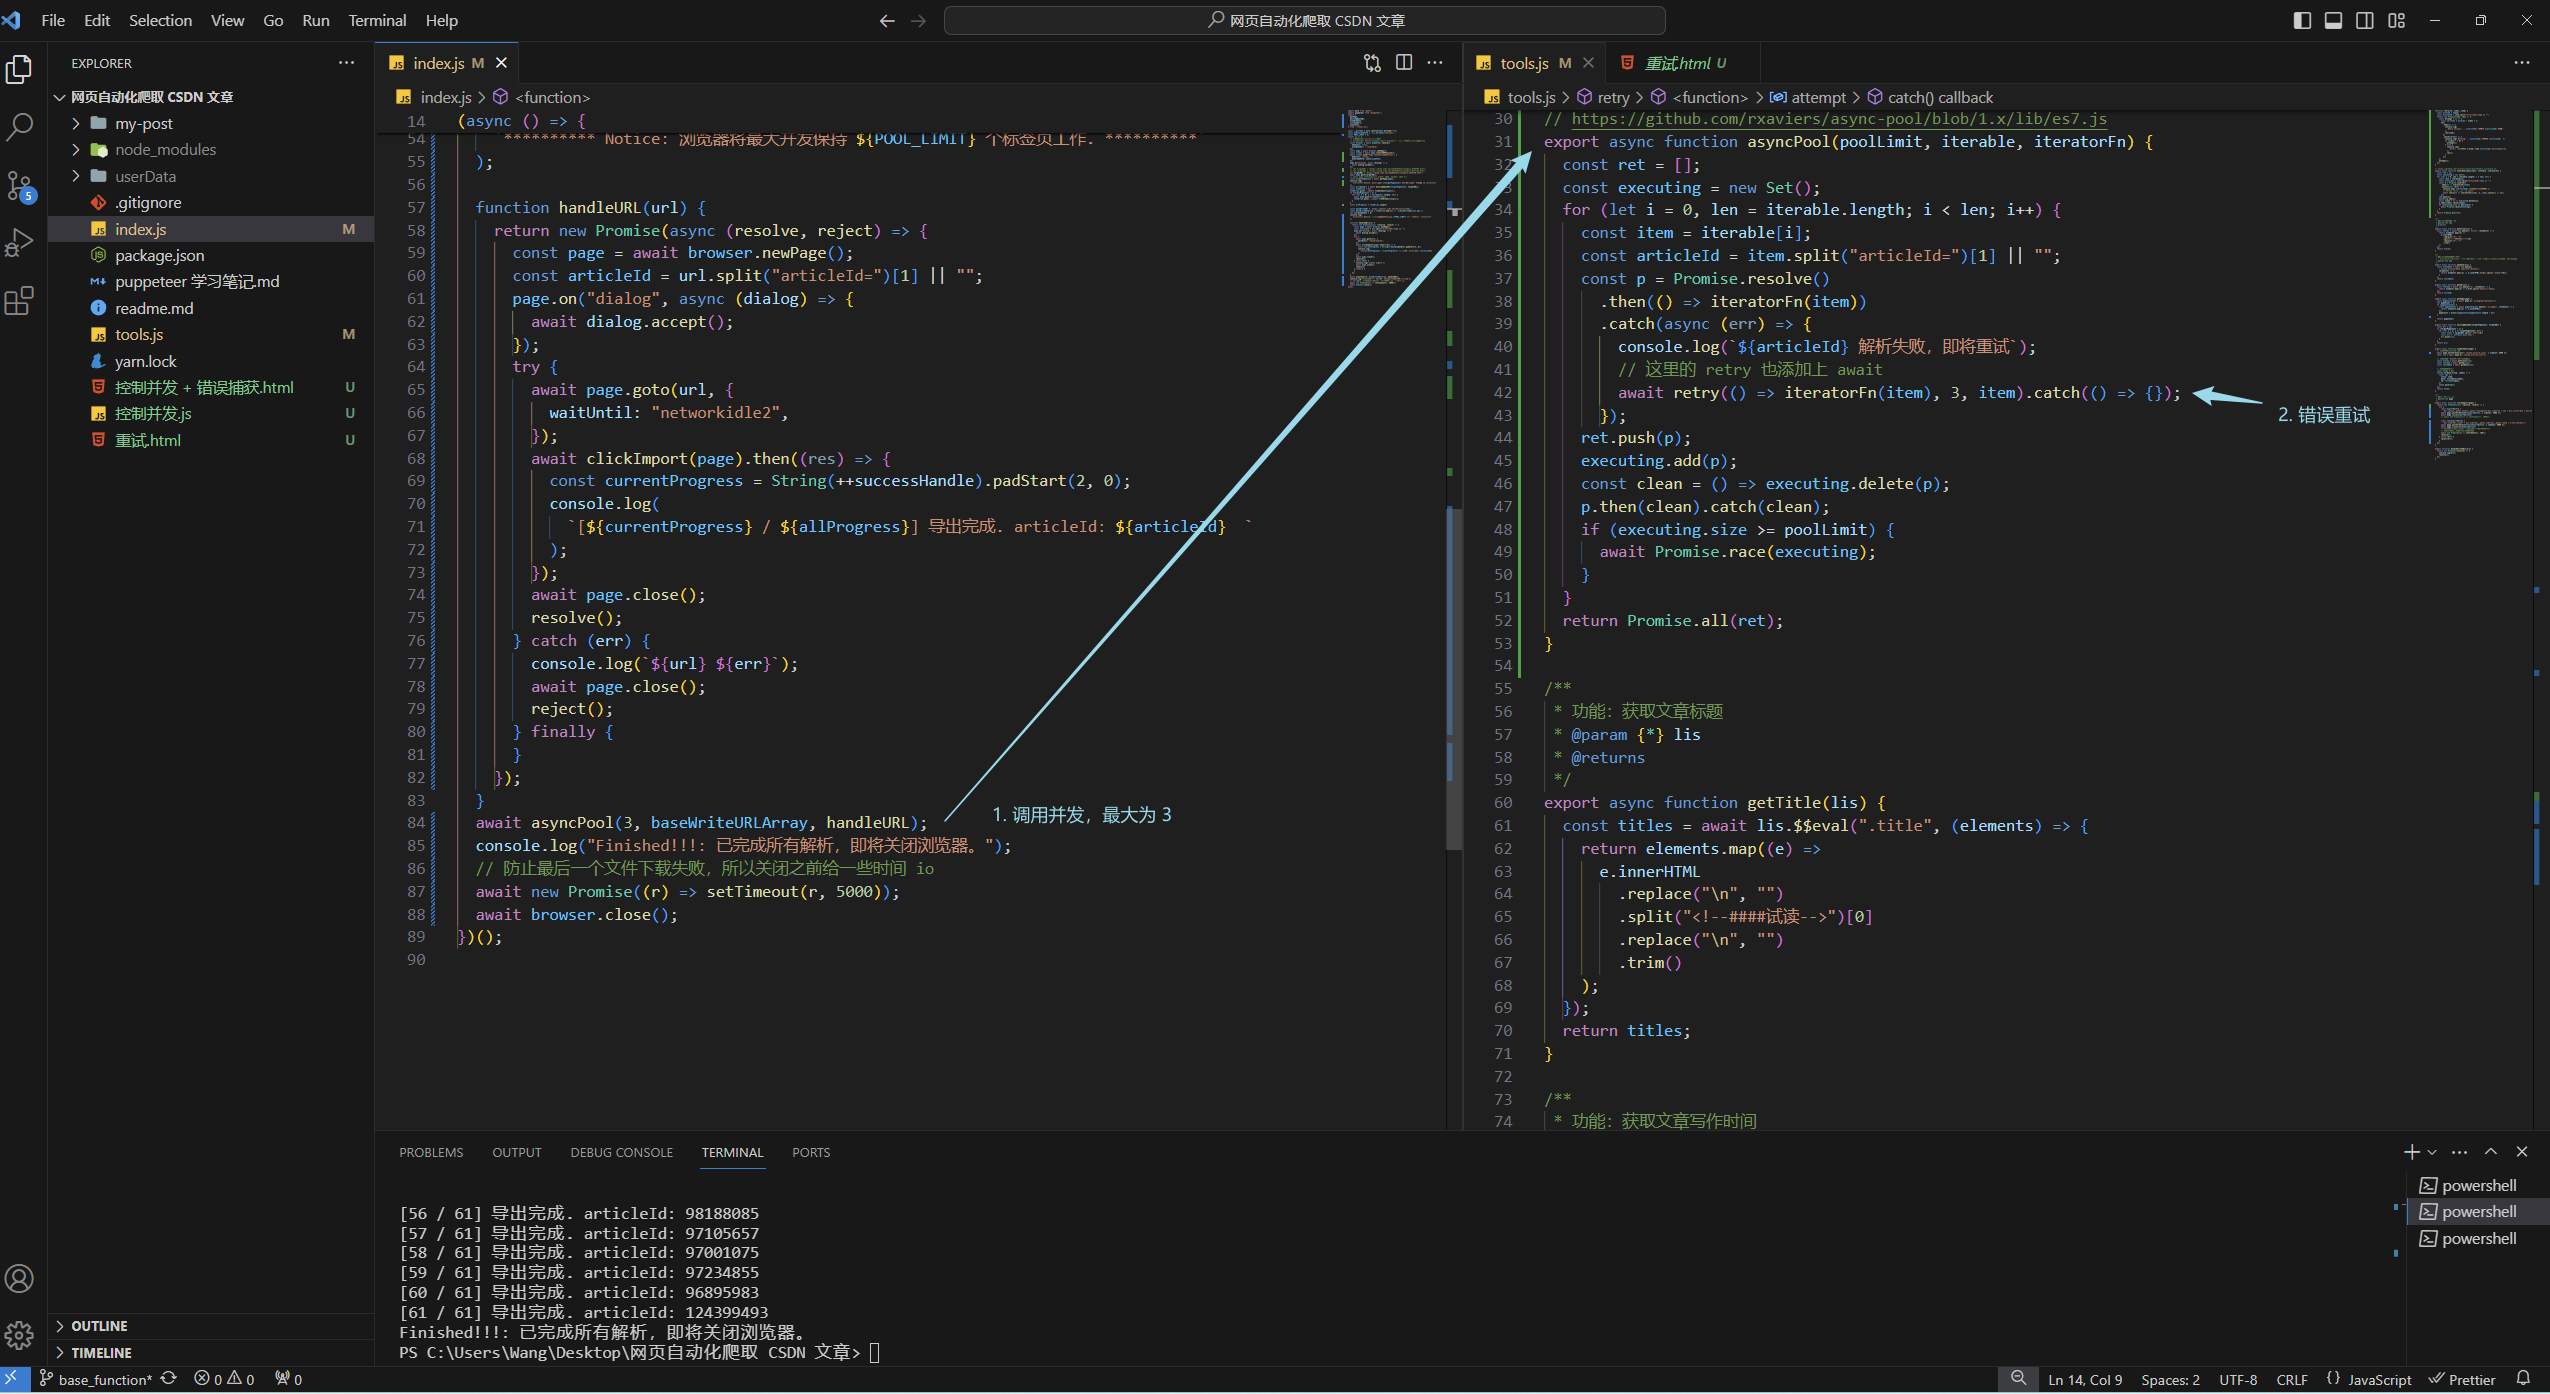
根据上面的问题,这次添加了并发控制,以及错误重试,效果如下图:

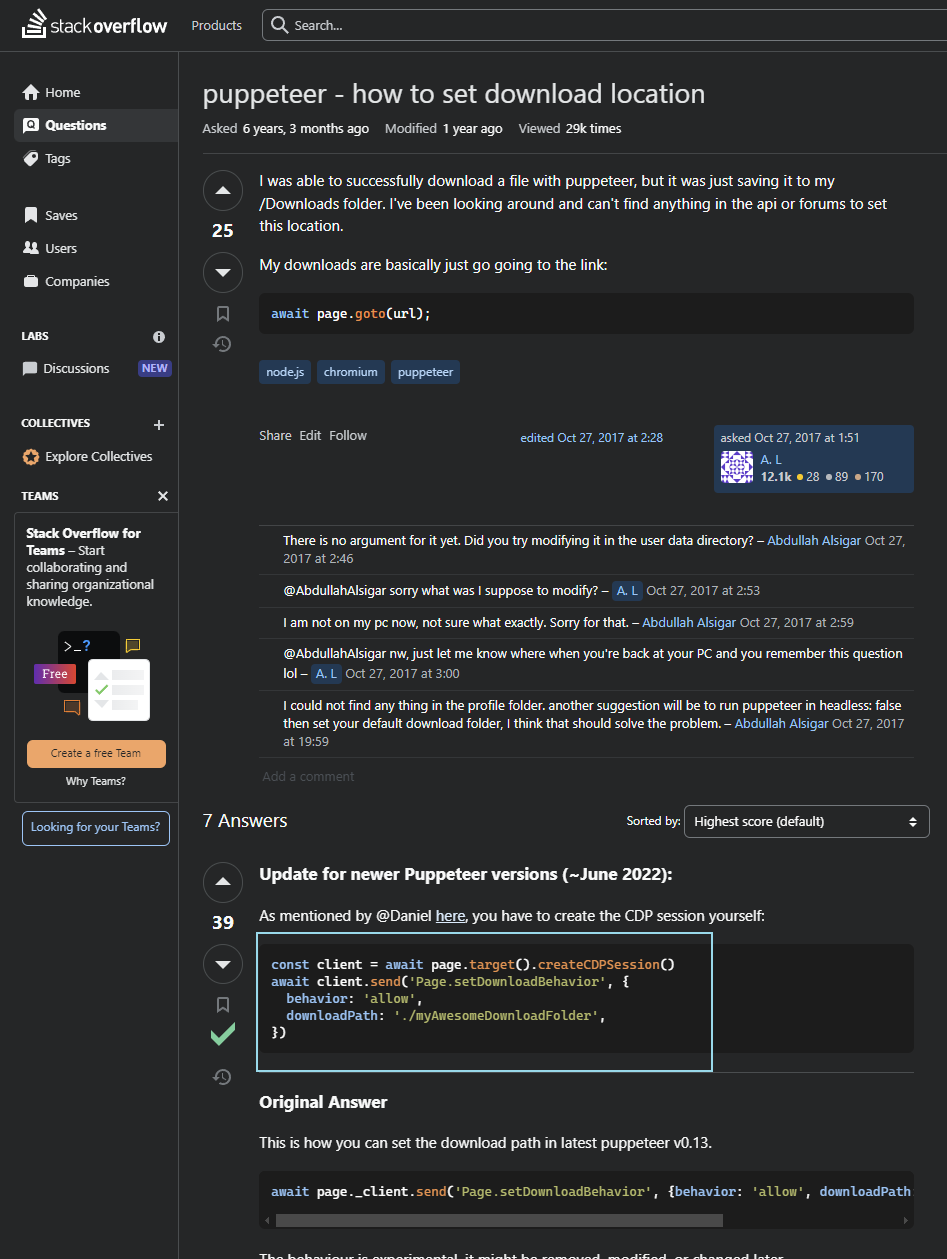
Puppeteer 修改浏览器的默认下载位置
查了官网好久的相关配置,没找到,然后谷歌,终于在这个网站上找到了答案
我的代码修改在这里了,注意声明的位置,一定要提前
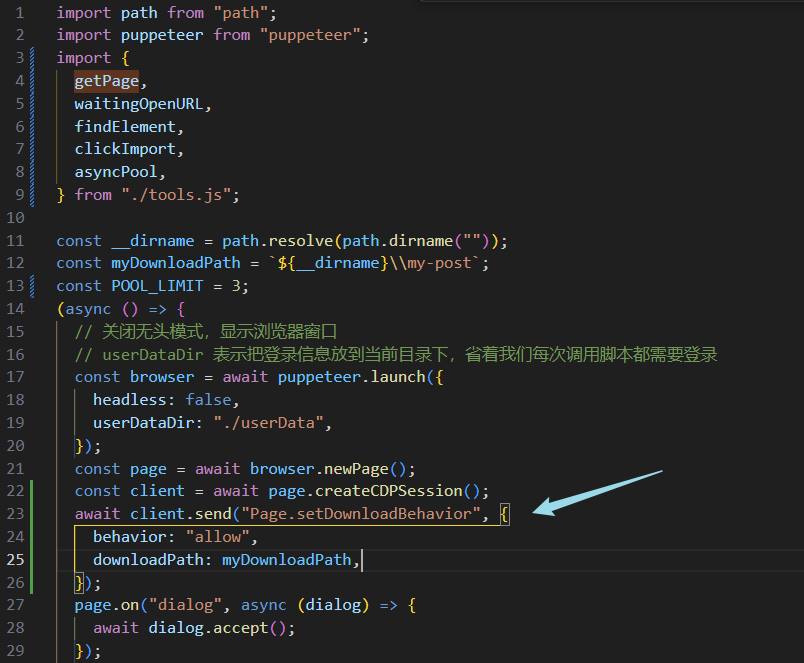
import path from "path";
const __dirname = path.resolve(path.dirname(""));
const myDownloadPath = `${
     __dirname}\\my-post`;
  const page = await browser.newPage();
  const client = await page.createCDPSession();
  await client.send("Page.setDownloadBehavior", {

    behavior: "allow",
    downloadPath: myDownloadPath,
  });
这里提一嘴,我原先是把代码放到下图这个位置,(每次新建页面下重新设置),发现总是有些小 bug
- 有的时候会下载到浏览器的默认目录(也就是代码根本没生效)
- 多线程的时候会部分放到指定目录,部分放到默认目录,比方说双并发的时候,具体问题看我下面的图
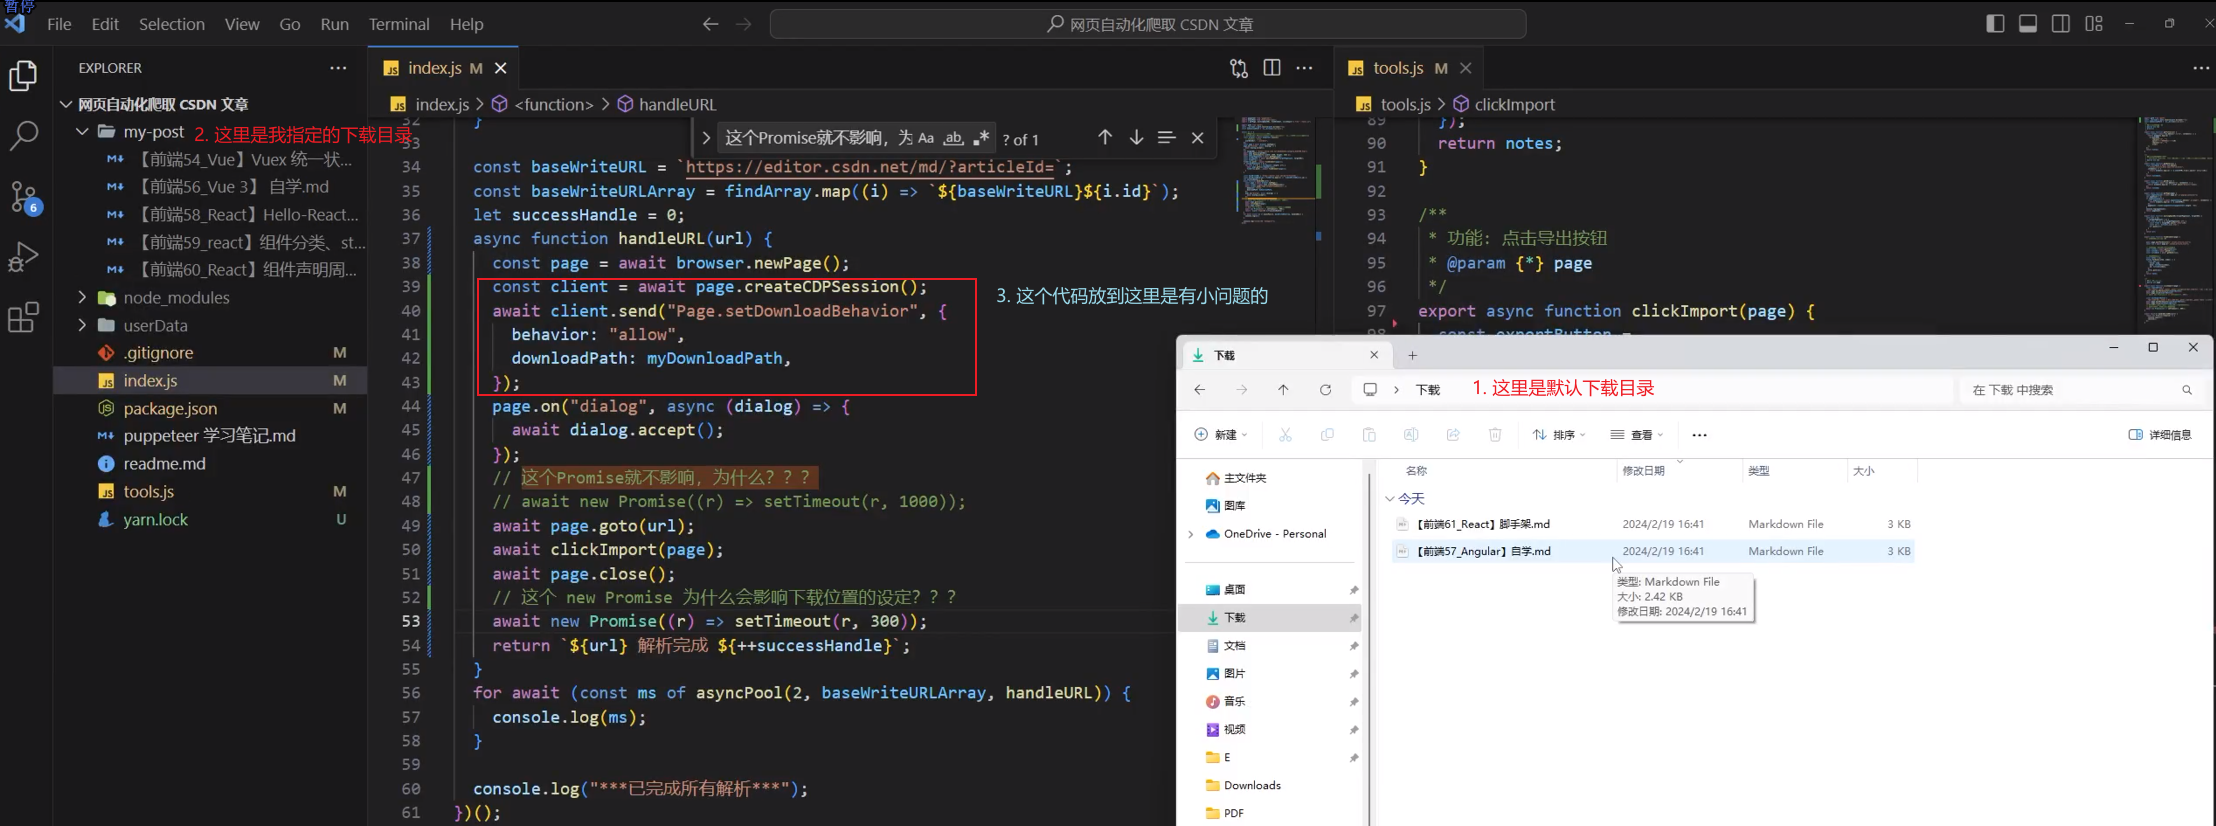
给我的感觉,它算是一个全局的修改,所以只需要提前声明一次即可,不用每一次新建newPage就设置一次
控制并发数
这个可以参考一下这个叫 async-pool 的库的源码
我在这儿写了一个小案例,可以试试
// https://github.com/rxaviers/async-pool/blob/1.x/lib/es7.js
async function asyncPool(poolLimit, iterable, iteratorFn) {

  const ret = [];
  const executing = new Set();
  for (const item of iterable) {

    const p = Promise.resolve().then(() => iteratorFn(item));
    ret.push(p);
    executing.add(p);
    const clean = () => executing.delete(p);
    p.then(clean).catch(clean);
    if (executing.size >= poolLimit) {

      await Promise.race(executing);
    }
  }
  return Promise.all(ret);
}

const timeout = (i) => {

  console.log("开始" + i);
  return new Promise((resolve) =>
    setTimeout(() => {

      resolve(i);
      console.log("结束" + i);
    }, 1000 + Math.random() * 1000)
  );
};

let urls = Array(10)
  .fill(0)
  .map((v, i) => i);
console.log(urls);

(async () => {

  const res = await asyncPool(2, urls, timeout);
  console.log(res);
})();
错误重试
也是用了一个 demo 逻辑
const retry = (fn, times) => {

      return new Promise((res, rej) => {

        const attempt = () => {

          fn()
            .then(res)
            .catch((error) => {

              times-- > 0 ? attempt() : rej("机会用光了");
            });
        };
        attempt();
      });
    };

    let getNum = function () {

      console.log("函数执行一次");
      return new Promise((res, rej) => {

        let num = Math.random() * 10;
        num < 2 ? res("数字小于2") : rej("数字大于2");
      });
    };
    retry(getNum, 3)
      .then((mes) => {

        console.log(mes);
      })
      .catch((err) => {

        console.log(err);
      });
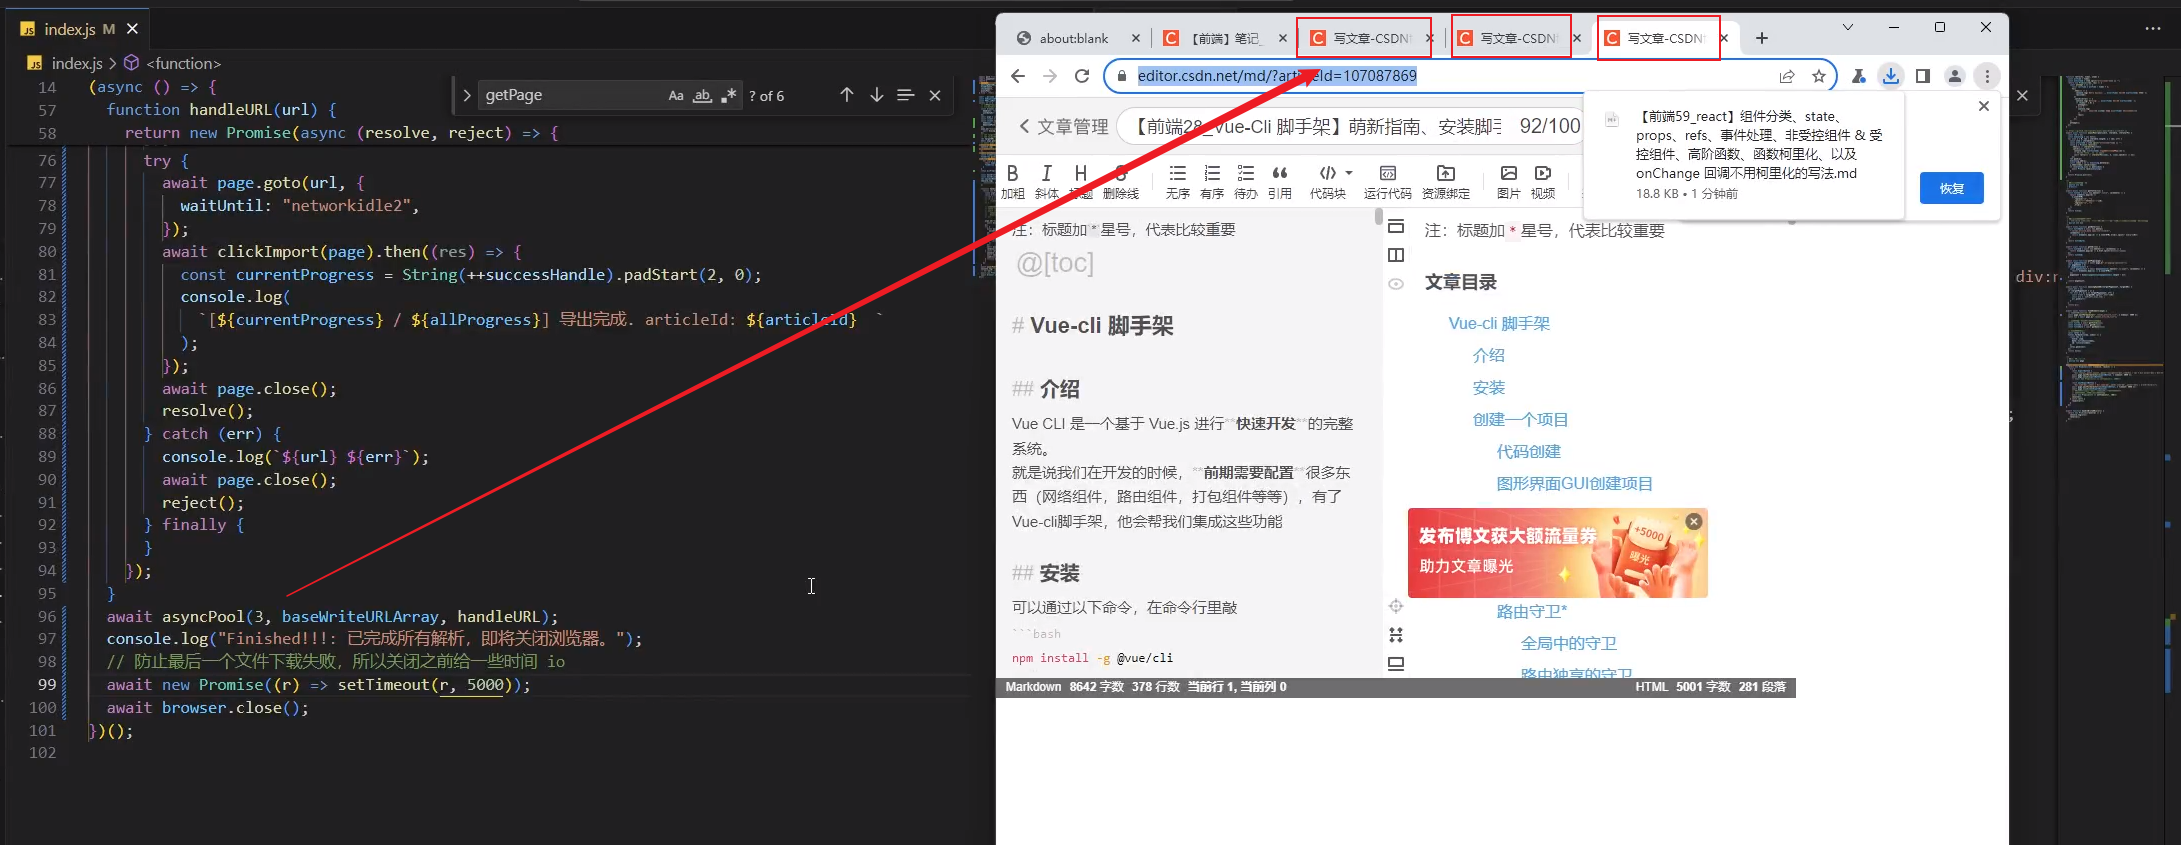
并发控制 + 错误重试
结合之前的两个 demo,我们修改一下自己的逻辑
// tools.js
function retry(fn, times, item) {

  const allTime = times;
  const articleId = item.split("articleId=")[1] || "";
  return new Promise((res, rej) => {

    const attempt = () => {

      const currTime = allTime - times + 1;
      fn()
        .then(() => {

          console.log(
            `Retry Success: 第 ${
     currTime} 次重试 ${
     articleId} 成功!`
          );
          res(item);
        })
        .catch((error) => {

          console.log(`Warning: 第 ${
     currTime} 次重试 ${
     articleId} `);
          if (times-- > 0) {

            attempt();
          } else {

            console.log(
              `Error:  已经重试 ${
     item} 文章 ${
     currTime} 次,机会已用光`
            );
            rej();
          }
        });
    };
    attempt();
  });
}

// https://github.com/rxaviers/async-pool/blob/1.x/lib/es7.js
export async function asyncPool(poolLimit, iterable, iteratorFn) {

  const ret = [];
  const executing = new Set();
  for (let i = 0, len = iterable.length; i < len; i++) {

    const item = iterable[i];
    const articleId = item.split("articleId=")[1] || "";
    const p = Promise.resolve()
      .then(() => iteratorFn(item))
      .catch(async (err) => {

        console.log(`${
     articleId} 解析失败,即将重试`);
        // 这里的 retry 也添加上 await
        await retry(() => iteratorFn(item), 3, item).catch(() => {
   });
      });
    ret.push(p);
    executing.add(p);
    const clean = () => executing.delete(p);
    p.then(clean).catch(clean);
    if (executing.size >= poolLimit) {

      await Promise.race(executing);
    }
  }
  return Promise.all(ret);
}
然后调用一下
await asyncPool(3, baseWriteURLArray, handleURL);
源码
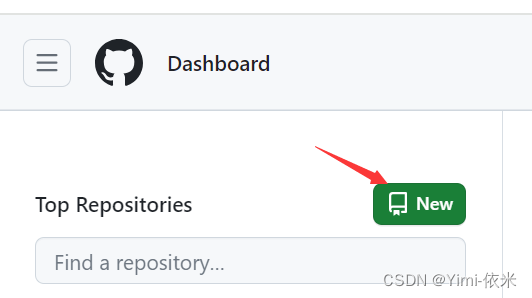
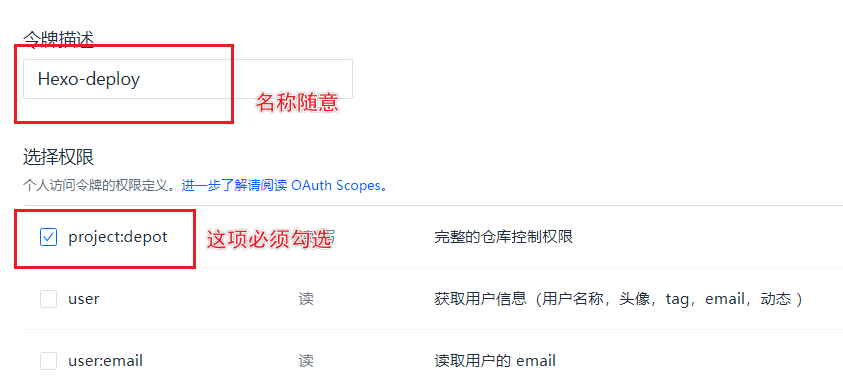
想要源码可以查看此仓库,如果有用记得 star 一下哦 https://github.com/Lovely-Ruby/CSDNBlogsExport


![NDK的log.h使用__android_log_print报错app:buildCMakeDebug[x86_64]](https://img-blog.csdnimg.cn/direct/8a09cb7fd33c4e26adbae634917d7ed8.png)