一.函数的封装
便于模块化的程序设计吧(我认为的),通过封装不同模块的函数,使得在main.c文件中内容简介。
1.学习了如何进行函数的封装
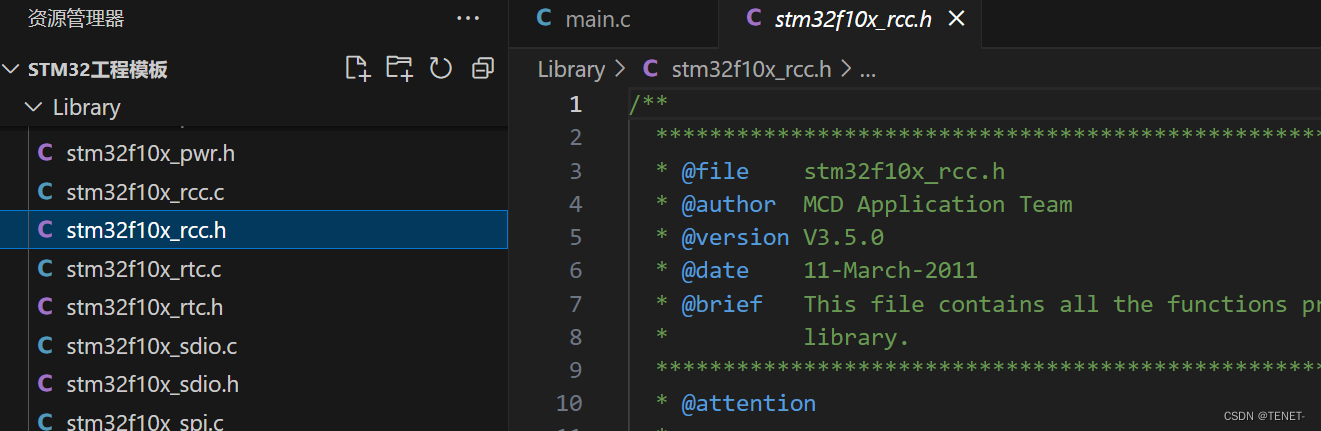
1.1XX.c文件
首先要引入头文件(废话qwq)
#include "stm32f10x.h" 然后模块对应功能的函数
1.2XX.h文件
重要的是格式
#ifndef _XX_H
#define _XX_H


#endif
在中间写上函数名就欧克了
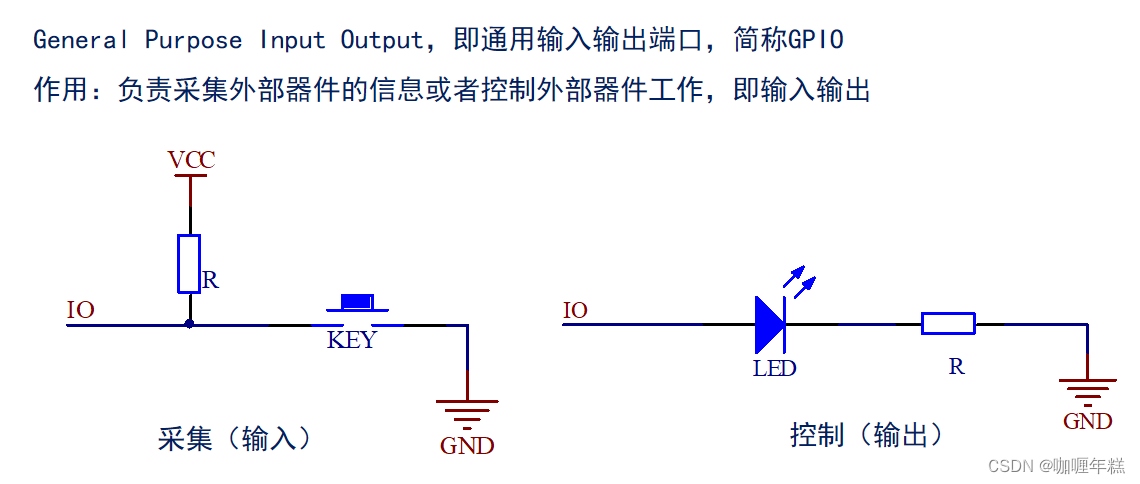
二、GPIO的输入
STM32标准库提供了4种函数
uint8_t GPIO_ReadInputDataBit(GPIO_TypeDef* GPIOx, uint16_t GPIO_Pin);
//读取输入寄存器某一个端口的输入值
uint16_t GPIO_ReadInputData(GPIO_TypeDef* GPIOx);
//读取整个寄存器的输入值返回值是16位,每一位代表一个端口值
uint8_t GPIO_ReadOutputDataBit(GPIO_TypeDef* GPIOx, uint16_t GPIO_Pin);
//读取输出寄存器某一个端口的值
uint16_t GPIO_ReadOutputData(GPIO_TypeDef* GPIOx);
//读取整个输出寄存器的值
三、实例
我封装了两个,一个LED的初始化、点亮、熄灭,一个按键的读取值(可能说的不是很清楚请看代码)
1.LED
1.1LED.c
#include "stm32f10x.h"                  // Device header

/*
操作stm32的GPIO一共4个操作
1.使用RCC开启GPIO的时钟
2.使用GPIO_Init函数初始化GPIO
3.使用输出或者输入的函数控制GPIO口
*/

void LED_Init(GPIO_TypeDef* Port/*端口*/,uint16_t Pin/*引脚*/)//初始化端口
{
	if(Port == GPIOA ){RCC_APB2PeriphClockCmd(RCC_APB2Periph_GPIOA,ENABLE);}//开启时钟
	else if(Port == GPIOB ){RCC_APB2PeriphClockCmd(RCC_APB2Periph_GPIOB,ENABLE);}
	else if(Port == GPIOC ){RCC_APB2PeriphClockCmd(RCC_APB2Periph_GPIOC,ENABLE);}
	else if(Port == GPIOD ){RCC_APB2PeriphClockCmd(RCC_APB2Periph_GPIOD,ENABLE);}

	//配置端口模式
	GPIO_InitTypeDef GPIO_InitStructure;
	GPIO_InitStructure.GPIO_Mode	=	GPIO_Mode_Out_PP;    //PP推挽输出
	GPIO_InitStructure.GPIO_Pin	=Pin;
	GPIO_InitStructure.GPIO_Speed	=	3;                   //3->50MHz
	GPIO_Init(Port,&GPIO_InitStructure);
}
void LED(GPIO_TypeDef* Port/*端口*/,uint16_t Pin/*引脚*/,BitAction BitVal/*高低电平*/)
{
	GPIO_WriteBit(Port, Pin, BitVal);
}


//		GPIO_SetBits(GPIO_TypeDef* GPIOx, uint16_t GPIO_Pin);//设置为高电频
//		GPIO_ResetBits(GPIO_TypeDef* GPIOx, uint16_t GPIO_Pin);//设置为低电频
//		GPIO_WriteBit(GPIO_TypeDef* GPIOx, uint16_t GPIO_Pin, BitAction BitVal);
//		设置为对应模式Bitval=Bit_RESET(低电频)or =Bit_SET(高电频)
//		GPIO_Write(GPIO_TypeDef* GPIOx, uint16_t PortVal);
在写函数时我用了两个参数,方便自由渐变 的操控每个GIPO口及引脚(可能会导看起来有点繁琐但是我觉得这样很精准,要调用哪一个就调用哪一个,省内存,快qwq)ps:自己找的理由安慰自己
1.2LED.H
#ifndef _LED_H
#define _LED_H

void LED_Init(GPIO_TypeDef* Port/*端口*/,uint16_t Pin/*引脚*/)//初始化端口

void LED(GPIO_TypeDef* Port/*端口*/,uint16_t Pin/*引脚*/,BitAction Mode/*高低电平*/)操作端口
//Bitval=Bit_RESET(低电频)or =Bit_SET(高电频)

#endif
就是这么的简单,函数写好直接复制粘贴函数到这里面就可以了
2.按键
想法是通过按键操作LED的熄灭或者点亮,思路就很简单了,因为按键按下去会输出1,所以但读取到1时就点亮LED
2.1KEY.c
#include "stm32f10x.h"                  // Device header

void Button_Init(GPIO_TypeDef* Port/*端口*/,uint16_t Pin/*引脚*/)
{
	if     (Port == GPIOA ){RCC_APB2PeriphClockCmd(RCC_APB2Periph_GPIOA,ENABLE);}//开启时钟
	else if(Port == GPIOB ){RCC_APB2PeriphClockCmd(RCC_APB2Periph_GPIOB,ENABLE);}
	else if(Port == GPIOC ){RCC_APB2PeriphClockCmd(RCC_APB2Periph_GPIOC,ENABLE);}
	else if(Port == GPIOD ){RCC_APB2PeriphClockCmd(RCC_APB2Periph_GPIOD,ENABLE);}

	GPIO_InitTypeDef GPIO_InitStructure;
	GPIO_InitStructure.GPIO_Mode = GPIO_Mode_IPU;
	GPIO_InitStructure.GPIO_Pin = Pin;
	GPIO_InitStructure.GPIO_Speed =3;
	GPIO_Init(Port , &GPIO_InitStructure);
}

uint8_t Button_ReturnNum(GPIO_TypeDef* Port/*端口*/,uint16_t Pin/*引脚*/)
{
	uint8_t Button_ReturnNum=0;
	if(GPIO_ReadInputDataBit(Port,Pin)==0)
	{
		//delay_ms(20);
		while(GPIO_ReadInputDataBit(Port,Pin)==0){};//一直按下不松手
		//delay_ms(20);
		Button_ReturnNum=1;
	}
	return Button_ReturnNum;
}
是的,跟LED的差不多.......
2.2KEY.h
#ifndef _KEY_H
#define _KEY_H

void Button_Init(GPIO_TypeDef* Port/*端口*/,uint16_t Pin/*引脚*/)//初始化端口

uint8_t Button_ReturnNum(GPIO_TypeDef* Port/*端口*/,uint16_t Pin/*引脚*/)//按下按键对于引脚返回1


#endif