一、服务器配置
服务器基于flask,需要额外安装flask_jwt_extended包
from flask import Flask        #导入Flask包
from flask import request
from flask import jsonify      #用来返回json消息
from flask_jwt_extended import create_access_token, jwt_required, JWTManager, get_jwt_identity  #权鉴相关
app.config['JWT_SECRET_KEY'] = 'super-secret' #初始化密钥
jwt = JWTManager(app)
users = {
'admin': '123',
}定义一个POST接口供小程序端获取token
@app.route('/login', methods=['POST'])
def login():
    account = request.json.get('account', None)
    psw = request.json.get('psw', None)
    if not account or not psw:
        return jsonify({"msg": "缺少用户名或密码"}), 400

    if account not in users:
        return jsonify({"msg": "未找到用户"}), 404

    if users[account] != psw:
        return jsonify({"msg": "用户名或密码错误"}), 401

    token = create_access_token(identity=account)
    return jsonify(token=token), 200
定义一个需要token的GET请求来验证效果
@app.route('/protected', methods=['GET'])
@jwt_required()
def protected():
    current_user = get_jwt_identity()
    return jsonify(msg=current_user), 200
二、效果程序实现
1.获取并存储token
login(e){
    var that = this
    wx.request({
            url:'请求链接',
            method:'POST',
            data:{            //POST账号密码
              account:that.data.account,
              psw:that.data.psw,
            },
            header: {'Content-Type': 'application/json'},
            success(res) {
              wx.setStorage({key:'token',data:res.data.token})    //存储token
            },
            fail(res){console.log(res)}
          });
  },
大体思路是:使用POST指令向服务器提交账号和密码,并从服务器收到token字符串,然后将token字符串存在本地。
2.发送带token的GET
privatePost(e){
    var that = this
    wx.request({
            url:'链接',
            method:'GET',
            header: {'Content-Type': 'application/json',
            'Authorization':'Bearer '+wx.getStorageSync('token')},    //构建token头
            success(res) {
              that.setData({msg:res.data.msg})    //显示返回信息
            },
            fail(res){console.log(res)}
          });
},这段代码和普通GET指令唯一的区别在于其在header中设置了一个Authorization属性。如果使用Flask服务器请务必按照这个格式构建header。
3.登出
这个更简单了,直接把本地存储的token删了就好了
logout(e){
    wx.clearStorage('token')
  },
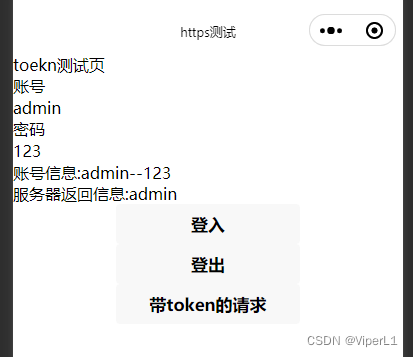
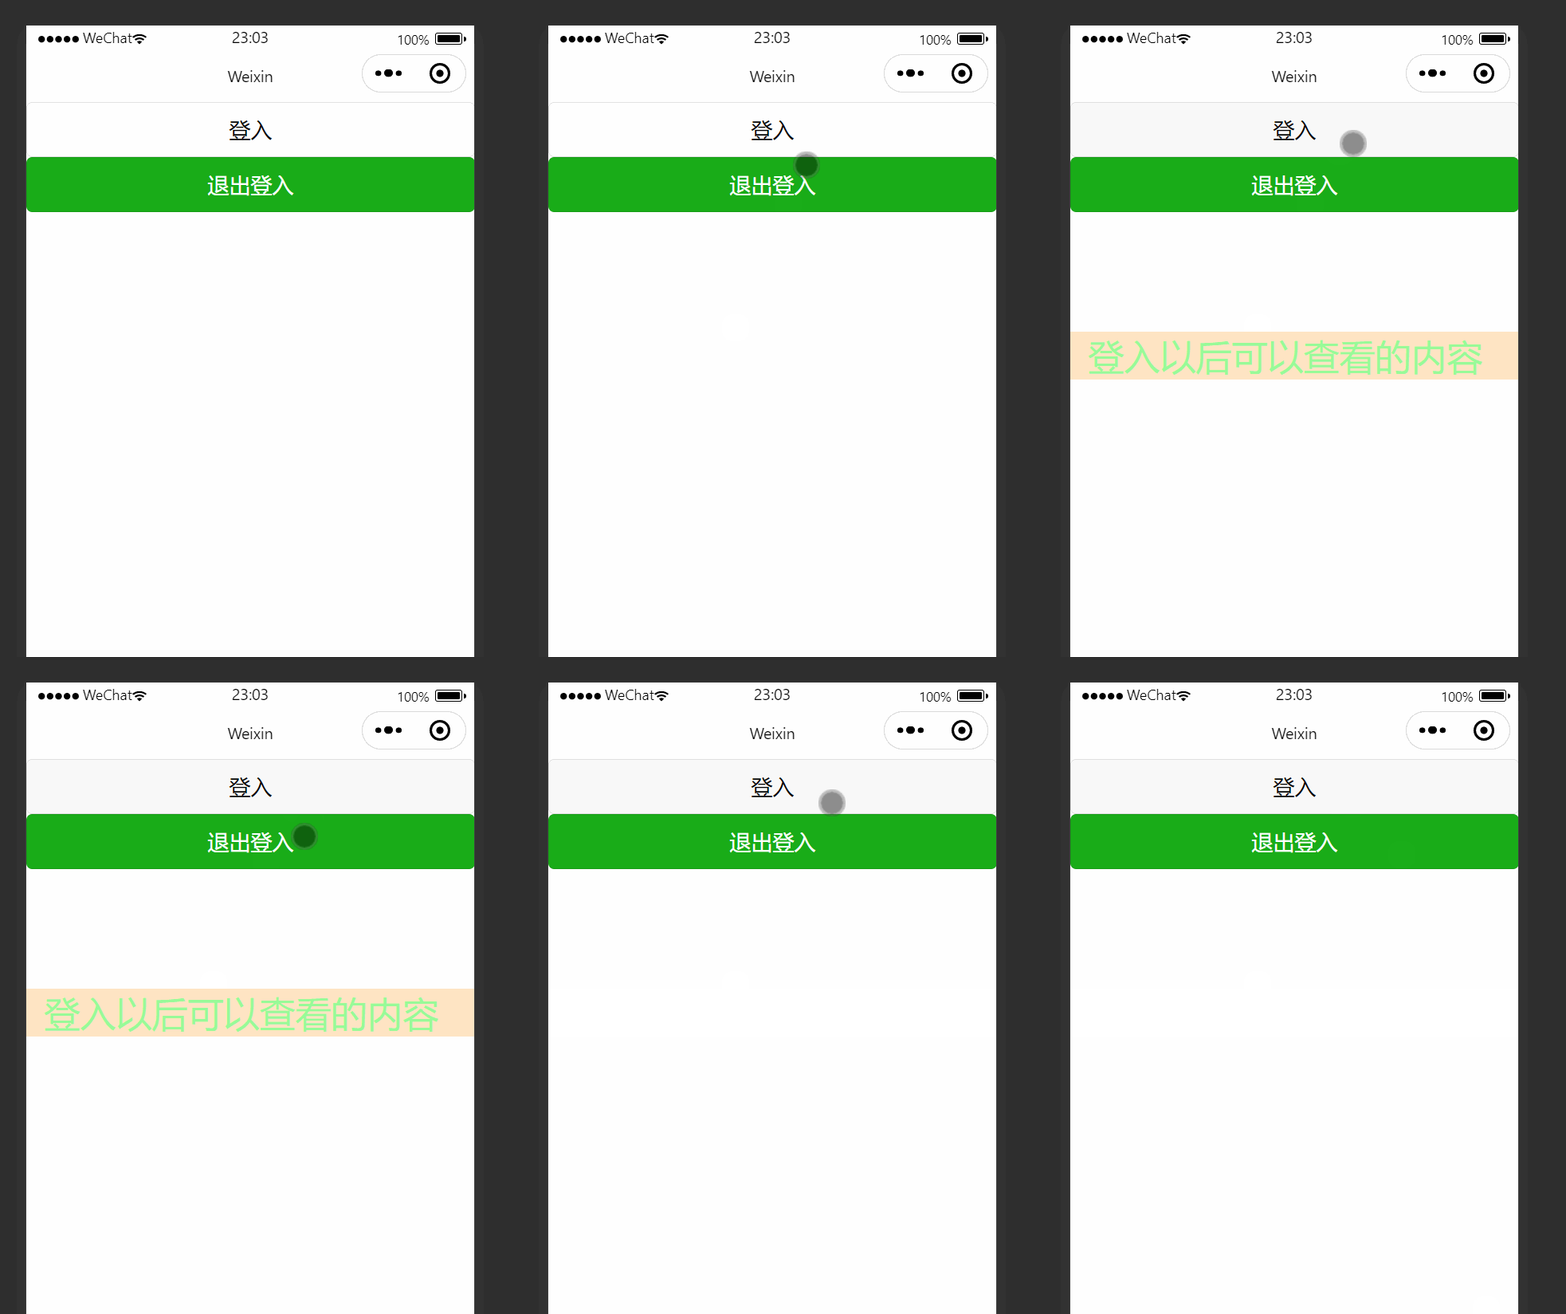
效果如下图:
